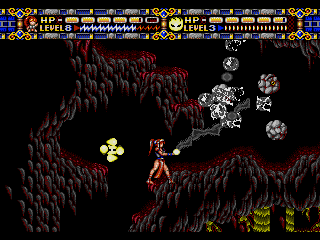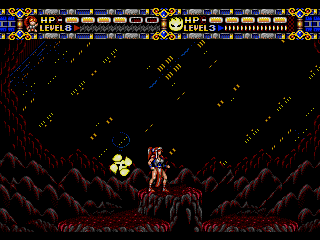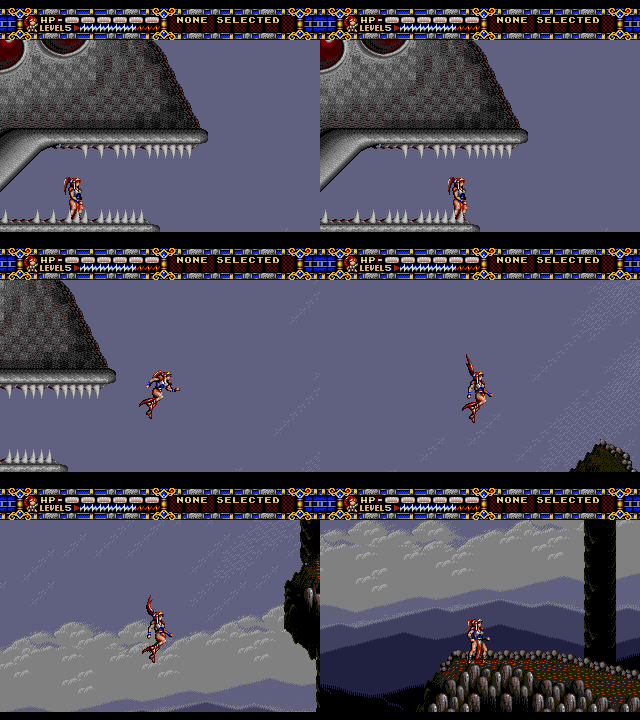
... And at the start of the next stage, Alisia just jumps straight off the burning battleship.
Strider? He's a punk, he needs a flying vehicle to get off the Balrog. Alisia just wings it.
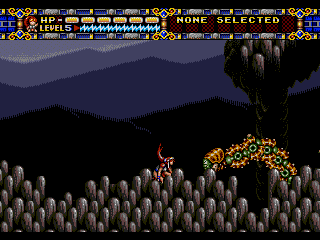
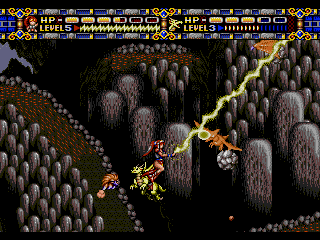
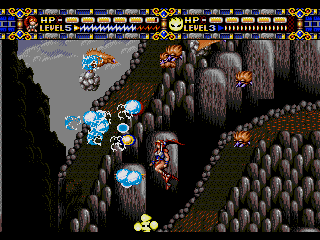
Stage 4 is the valley, and this is where the game gets more complicated, with larger areas to explore. This mountainous region has a couple of different paths but a few just lead to unreachable platforms. Fortunately, if you've been keeping up with the item drops in our playthrough so far, you won't need to worry about exploring everything (especially as there's apparently no Thunder Power here) but there's definitely a few things worth going out of your way for. At the start, the rocky path at the very bottom hides a gigantic worm enemy who telegraphs its appearance by scattering rocks before emerging- give yourself enough distance to kill it, and you'll be rewarded with another Blue Fairy! From here, you can either take the more direct path by jumping up on the first available platform and going left where possible to reach the summit, or go the more dangerous route to the right which has a HP Plate at the final available platform. Be sure to pick up whatever Potions and Meat you find along the way, as you'll definitely need them, and if you don't mind a second mountain climb, there's a cliff on the far left that leads to a leap of faith- jump down with max magic charge and fire when you see an item bubble for an Alisia Doll.
The enemies here are in great numbers and are small and pesky, so I'd recommend either the Thunder Raven or Ball O'Fire to keep them off you- the Thunder Raven is especially handy for the tiny moles that spawn on the mountain paths. You'll also constantly be pestered by flying beasts that carry rocks, and if you missed any Thunder Power icons before this stage, those rocks take a lot of punishment. Definitely take advantage of the Blue Fairy's power as best you can when making your way to the summit. At least there's no turrets or magicians around here this time, it's a real trip back to nature for us, something really amplified by the music here- it's got that sense of adventure to it, doesn't it? Your objective, though, is the summit, and when you get there...
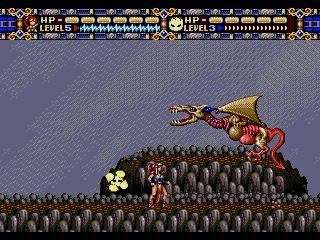
The music fades out, and you hear a blood-curdling cry, the shriek of a beast forgotten by both nature and humanity.
This is a fellow I call the Dragon Zombie, and it's your first real boss fight.

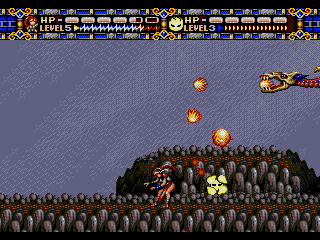
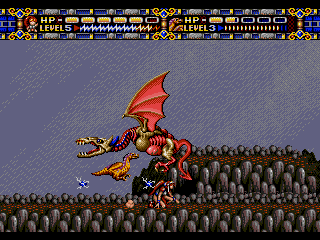
Much like the boss from Stage 2, the Dragon Zombie has a very specific pattern that it repeats until it's dead, but it's a much more difficult pattern, with a smaller weakspot (its mouth, only when it's open) and it does a lot more damage. After it appears for the first time and roars at you a few times, it'll fly off, then scream again as it flies across the screen at frightening speed (either duck or jump over it using the platform). When it returns, it'll start firing long-range flame shots towards you, opening its mouth as it does so. This is your best chance to pile the damage on without too much risk to yourself, as you can easily jump the flames, so take the opportunity! Afterwards, it'll fly backwards as it spits out fireballs that split into twin bullets on impact, then repeat flying forward. these attacks are kinda tricky to dodge, with your best bet being to rapidly tap the attack button to try and destroy as many as possible, using either Ball O'Fire to deflect as many as possible or Thunder Raven, hoping the timing of its attack helps you out. Afterwards, it'll fly at the top of the screen and move backwards, divebombing you when you're in its sights (you can attack it as it dives, but if you want to play it safe, just crouch and it can't hit you) before leaving the screen and diving low enough to hit you even if you're crouching. Finally, it'll go back to the start of the pattern with the off-screen dash (this one can't be ducked though!). This is a tough fight because of the amount of damage the Dragon Zombie can do and the ferocity of its attacks, but you can
... Incidentally, there is a way to killing the Dragon Zombie almost as soon as the fight starts. This tool-assisted speedrun demonstrates a strategy that involves bringing the Blue Fairy to the battle and shoving lightning into its mouth, but a few times while we were playing this fight, we somehow managed to pull off something similar with just a full charge of magic, we just can't reproduce it consistently. The key seems to be using the Rolling Bolt in such a way that it mostly ends up in the Dragon Zombie's mouth, so it's certainly possible to do, but a bit inconsistent. Satisfying if you can do it, though!
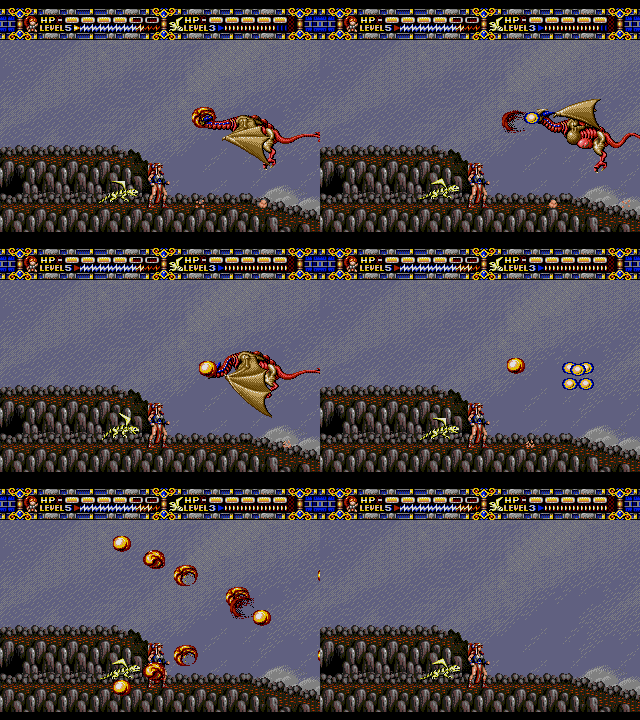
Also satisfying: the Dragon Zombie's head explodes when you kill it.
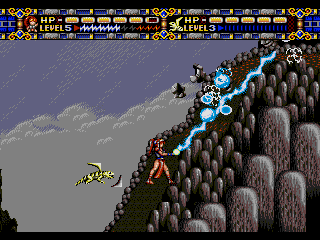
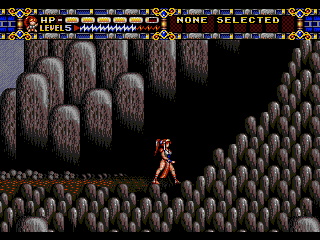
After you're done, there's a little climb with rocks tumbling down at you (pick up the Potion beforehand if you're weak from the fight).
At the top of the hill, an ominous cave entrance presents itself... What lurks within?
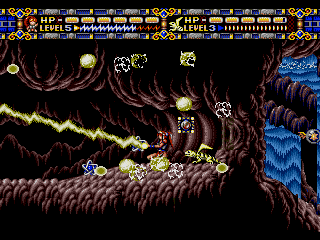
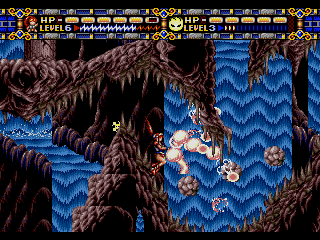
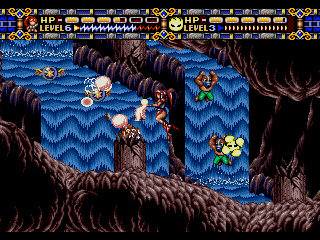
Stage 5's first area is a watery cavern, a little more sprawling than Stage 4, with a few secret areas and winding passageways. More notably, these are really small and cramped areas, so your summonable friends are likely to take more damage, which is unfortunate as due to the amount of small, fiddly enemies, the Thunder Raven would be a good choice if it wasn't so bulky. You may wish to consider the Boomerang Lizard or Ball O'Fire instead given their small stature. In any case, the opening area has some stalactites and bats to pester you, but the ones you want to watch out for are the ones above the first gap you can fall down- make it across without getting hit, and you can attack the wall to walk into it, leading to one area to the right with some Stars and a HP Plate, and jumping inside the wall leads to a more important area to the left with a Thunder Power and Alisia Doll. There's another fake wall down that first pit and to the left (there's a Star in front of it) leading to two more Stars and, at the very end, a Red Fairy. Handy for the weird enemies ahead- green blobs that can only be briefly stunned and walked past, not defeated.
The lower area of the caverns is even more cramped with twisted and spiky (but not harmful) rock formations, full of two tricky enemy types- rock creatures that defend themselves with rotating boulder shields (destroy the centre rock and watch out, it'll spew off a suicide bullet as it dies) and tiny mole men that, like the moles in Stage 4, dig out of the ground, but jump around a lot and also fire bullets when they can. It's definitely worth your time to destroy the rock creatures before moving forward, as they'll pile up damage really fast if you leave them alive, and for the mole men, jump to ensure you don't walk on top of them when they spawn (they seem to spawn forever though, so it's up to you how to deal with them). You need to make your way to the right to find a platform to high to jump up, then make your way left on a higher level, jumping between some ruined pillars (and fighting mole men) to find another Thunder Power and a Fairy Platform- make your way back right to find the platform and make your way out.
![you might say things are... heating up... in this game
[You're fired. - Ed]](images/alisiadragoon/alisiadragoons54.png)


Deeper in the caverns, and the calm waterways have given over to fiery lava, complete with flame pillars that appear when Alisia gets near any pits of the stuff and parts of the ground that expel jets of damaging steam, so watch your step (except the fourth pit you see- jump in and there's a Red Fairy down there for you!). This also comes with a music change, one of my favourites- the music here is a remix of the Stage 1-1 theme! A reminder of how far you've come, perhaps. The enemies from the previous area all come back along with a new one, a much larger mole man who can conjure rocks to drop on Alisia's head as well as fire lasers straight ahead. This area's a bit more straightforward than the last one though, with a few little corners hiding Potions and Meat but not much else. There's an area to the right after the large open space you need to make your way towards though, which leads to a cavern hiding the last Thunder Power you need to reach Level 8, the final power level, as well as a Fairy Platform. Once you use the platform (back to the left of the open space), a shower of rocks blocks you in, and not too long afterwards...

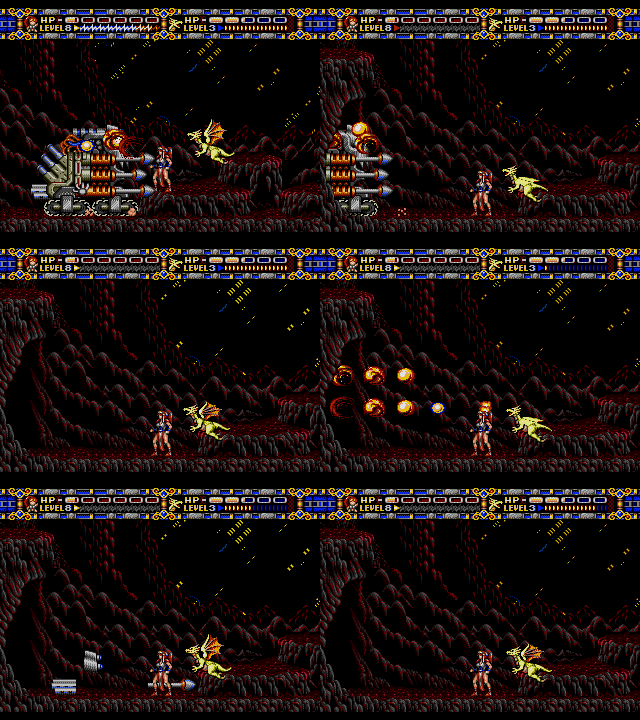
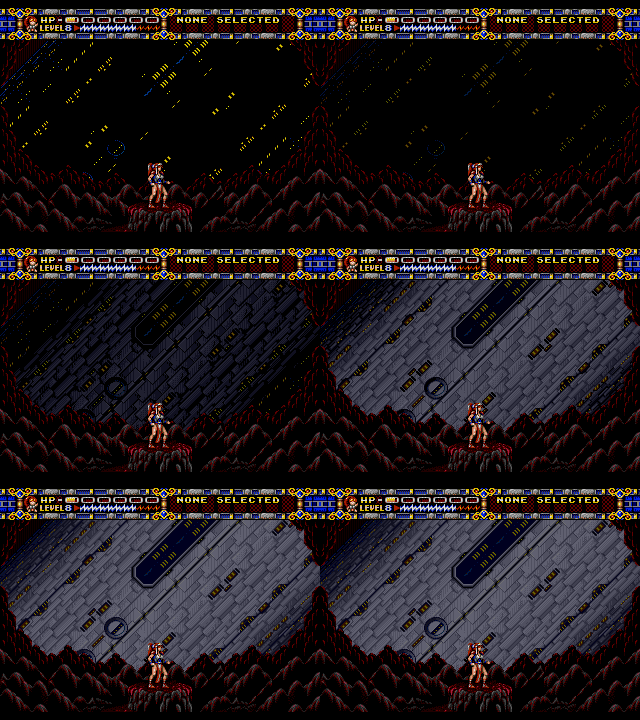
Huh. This is something a bit different.
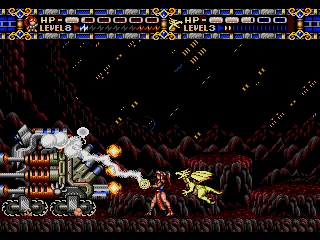
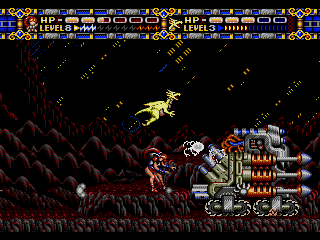
Before you can take in that background though, a weird automaton attacks you.


This is a simpler boss than the Dragon Zombie but can still give you a good kicking if you're not being careful. It's a slow-moving robot that gives you plenty of time to jump over it (you'll have to use the platform at the back) and attacks with a laser on the front that can fire forward and towards the ground for the most part, just moving forward to the cave entrances on each side of the arena. After a few cycles it'll start reversing out of one of the caves, launching cannonballs with somewhat wild arcs, and eventually it'll try and charge at you. The weakspot is the strange set of wires- looking vaguely similar to those beasts that controlled the battleship- on the back. You can usually hit it from the front if you jump and attack, but obviously it's best to jump clear over it and attack directly. Dragon Fyre can usually hit it from this position too and pile the damage on, so best you use it here. Not too difficult, but again, don't just eat those lasers, be careful! Once you're done...

Now it's just scrap parts.
Alisia then hops onto the platform, and...

Ye Gods... What in the world is this...?
Maybe that silver star mentioned in the intro wasn't of the 'twinkle twinkle' variety.
What horrors lie within...?


![you might say things are... heating up... in this game
[You're fired. - Ed]](images/alisiadragoon/alisiadragoons54.png)

