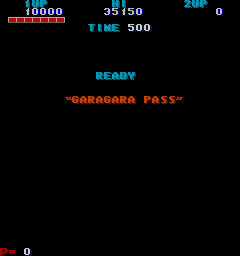
OK, next stage!
... So, uh, what's a Garagara Pass when it's at home?


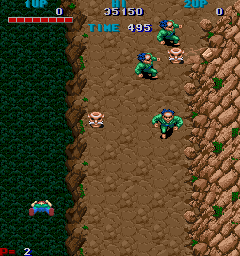
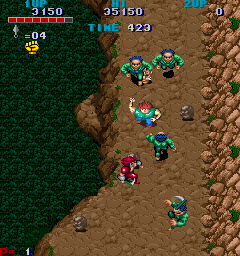
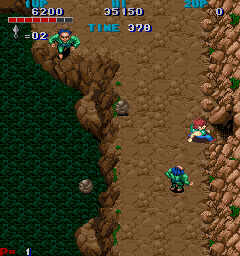
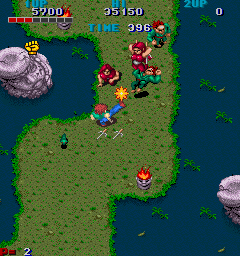
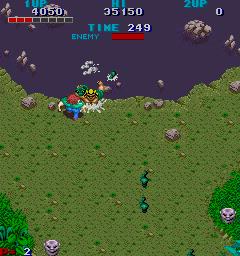
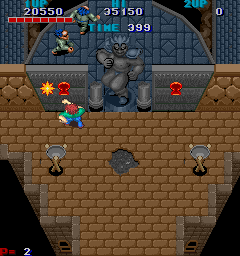
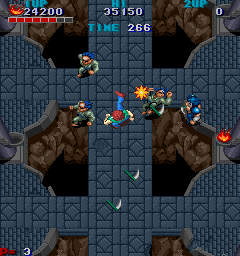
Anyway, you might notice the big ol' drop to the left- don't get too close to have a look, you'll lose a life. This section's pretty easy when you know what you're doing- the first two pots (which look like an old man with a massive moustache...?) have Speed Up and shuriken icons which, for once, you'll need. Use the shurikens to take out the bombers and sickle throwers you'll encounter (one sickle guy on a cliff can only be hit with the shuirken). It's the standard formula for the most part- lots of green-shirt grabbers- but in the second vertical section, stick to the left side of the screen. Boulders will fall from the cliffs on the right and head to the left, so this is the best way to avoid them. You'll also want to take out the sickle-thrower that appears on the left, as if you don't, he'll hassle you the rest of the way.

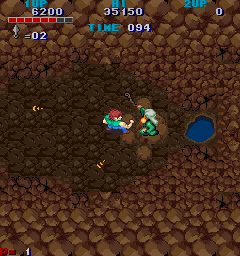
If you've been rushing through, your Speed Up should run out just as you see the cave to the right. Kick the door...

... And we meet this wizard guy.
Just what time period is this game set in anyway?!
He'll shoot fireballs at you, but just get in close and wallop him...

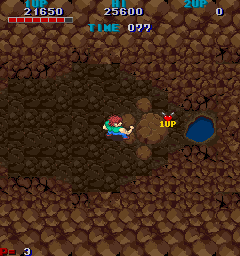
... And he'll drop an extra life! Lucky! Your health bar will also be refilled.
When you come out the cave, it's not far until the pre-boss rumble, and then...

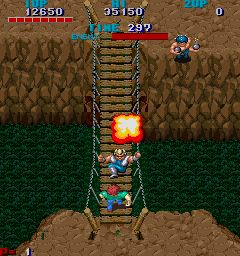
Just you and a guy on a bridge. And a bomber you can't kill.


The first time I fought this boss, I had absolutely no idea how to beat him. I couldn't touch the guy- if you attack blindly, he'll block everything and then counter-attack. I even considered attacking the bridge posts as the only way of killing him. Nope, turns out there's a very rigid pattern to this bad dude- bait him into doing his flying leg kick, then close in on him as he lands and smack him a few times, then back off before he can hit you. Later, rinse, repeat. Honestly, that's all there is to this guy, because trying anything else results in him automatically blocking it. The bomber will throw a few explosives your way, but he's not that much of a threat, so feel free to ignore him. It's not like you can kill him anyway.

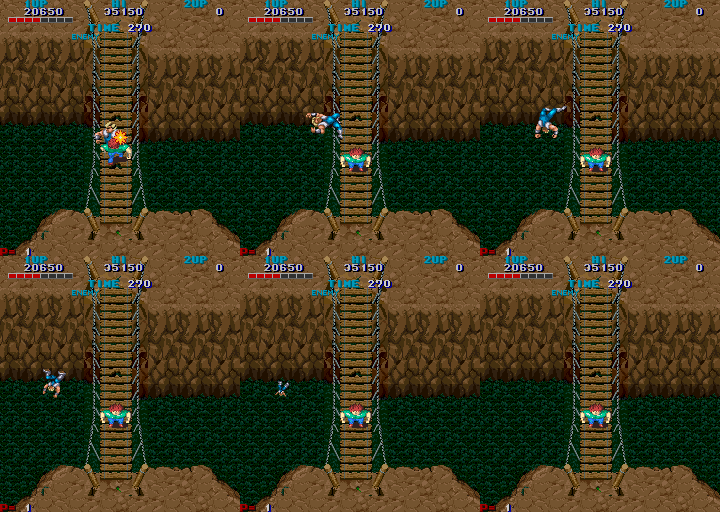
Once the boss is down, he takes a dive- pun intended- and we move on.

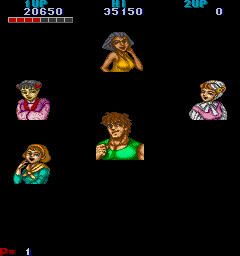
Just two ladies left.

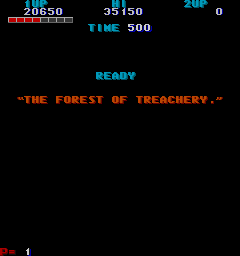
We're now in... The Forest of Treachery. Oooh. Spooky.
I'm going to point this out now- this is the round you're most likely to run out of time on. Don't hang about.


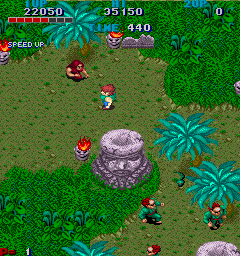
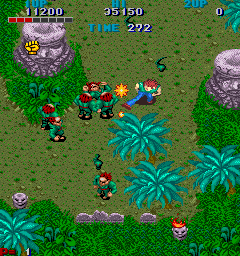
The main treachery in this forest comes in the form of the wildlife- throughout the stage, these little lizard guys will spawn from trees, the water, rocks... Basically, these guys appear from anything. They only take one hit, but the rate at which they spawn is pretty quick, and getting hit takes a whole health block off- how cruel. Avoid or kick 'em. Furthermore, we get to play with the ninja thugs again- they're back from Round 2! This time, though, not all of them jump around the screen. Instead, the first few ninjas you encounter lie in wait, ocassionally jumping on the spot to throw their sais at you. They give you plenty of time between sai throws, so sneak up and clobber 'em. Aside from those two things, this is familiar territory. Just bear in mind, special items in this stage are hiding under those torches. Punch them fires out, yo!

Two ninjas into the stage, here's the bonus door. You might want to skip it, though...

... All that's in here is two ninjas, an infinite stream of lizards from the statue, and an Energy icon.
If you really want, you can spend the rest of the time here hitting lizards for points.


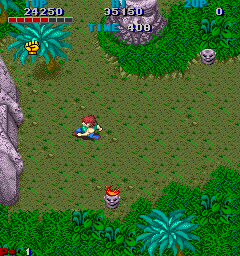
Moving on! The next section sees the return of ninjas jumping from the water, just like in Round 2- they jump in from the right, fire to the left, exit stage left while firing right. The first pair of them are pretty easy to avoid- if you look at the screenshot on the left, you can see that area to the left that sticks out. You can hide there and move when you're ready... The next set of ninjas are very tough to avoid, though. In fact, this was the first section that made me consult a super-playu, just to figure out how the hell to get through this section without taking damage... And neither of the two I studied could do it! There's just not enough room to manouvre, never mind that Ryu and Ko are normally too slow anyway. Honestly, your best bet is to just run. Keeping running. Don't stop. Specifically, if you grab the first Speed Up in the stage and peg it- skipping the bonus room in the process- then you might just make it through without taking too much damage. If it's any consolation, the next stage has an extra life for you... If you can make it. Anyway, the rest is pretty normal, although the trees in this stage are assholes- the collision detection is poor and unclear so you often get stuck in them temporarily.

After the standard pre-boss rumble- this time, with lizards and trees!- we fight...
Snake Man from Mega Man III the snake charmer from Two Crude Dudes some snake guy.


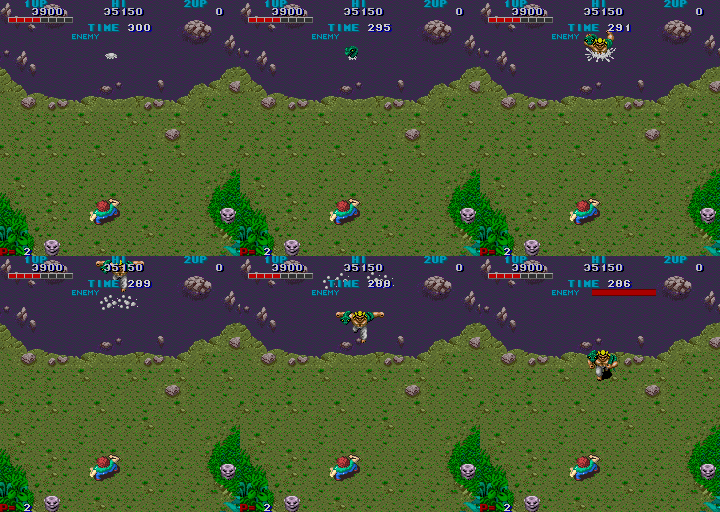
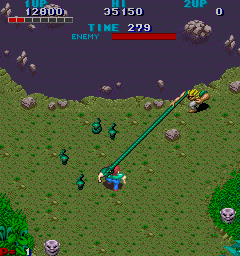
Mr. Snake doesn't do much in this fight. He'll leap out the water and, depending on where you are in relation to him, will either do nothing, try to hit you with his snake/rope (it's similar to the flail guy from Round 1) or jump back into the water to emerge a few seconds later. He'll do that last one if you get near him when he's not throwing his snake at you (Ooh, matron!). Additionally, the tiny lizards that have been annoying you since you started this round will stream from the pond, annoying the hell out of you in the process. To beat him, you have to wait until he uses his only attack, then get close and hit him. He'll dive back in the water, then jump out, and you carry on from there. That's not a quick method, is it?
There is a better way... Having looked at one of the super-plays I found- the insane 2-hour replay on the Capcom Arcade Cabinet leaderboards- there is a minor glitch you can exploit to do a load of daamge to this guy all at once rather than having to chip away at his health between he dives. It's difficult to pull off, but the thoery behind it is if you can get behind him as he jumps back into the water, he'll get stuck, and do his 'dive-into-water' animation on land and stuck in place- you can see that in the second screenshot here. While this is happening, he's vulnerable to attack, so if you can pull this off- you need to be quick, waiting until he launches his snake then closing in fast- it's the quickest way to beat him. I've had a lot of difficulty replicating it, though! So, wait for him to use his snake, then get close, hit him, let him back in the water, wait for him to re-emerge, repeat.

We're nearly there, ladies.

So, here we go. The Palace of Gashita.
(Yes, I know it's spelt wrong. Game's error, not mine, I swear)


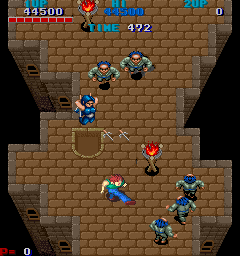
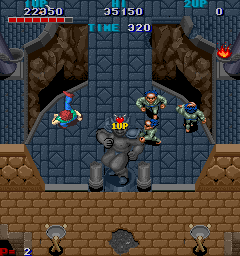
This is actually the simplest round in the game, as you never change direction. You must only trek forward! The first half is easy- just grabbers and stationary ninjas. Really, you should know the dril by now. You will, however, reach an impasse soon enough- a gigantic statue of Geshita (or is it Gashita? The world may never know) and two walls with keyholes in them (?), one on either side. The only key we need in this situation is raw power, so punch/kick the walls right in the key-hole to proceed. Once you're done, though, kick the statue a couple of times...

... And a 1UP appears behind it.
(Credit for this one goes to the first super-play of the game I found on YouTube. Thanks, HYO via ReplayBurners!)


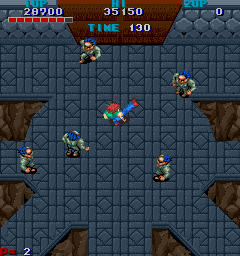
The second half is another area where you should just run to the end- it's a long corridor where little alcoves on each side hold item torches. However, they're almost all bonus points rather than anything useful, and getting them can be pretty awkward as you have to approach them from the top and reach out with your leg as far as you can. Not really worth the hassle. The only exception is the very last one on the right-hand side which hides an Energy icon. Just run through, stopping only to shake off grabbers and- this is important- killing any sickle throwers that appear. These guys don't mess about when it comes to the sacred art of throwing sickles, and they'll chase you, so take them out on your way up. Once you reach the end, we get the standard dogpile of grabbers... Although you'll be pleased to know that while it looks like you can fall down the pits here, you can't.
You might notice I've been saying 'run, run quite fast' a lot through this playthrough.
Well... Avengers fight for honour, that's a given. I never said they fought with honour.
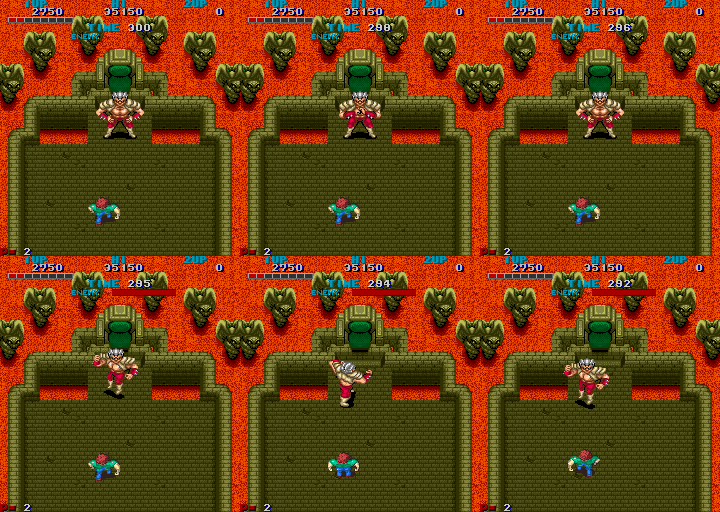
OK, here we go, the final battle- Souther from Fist of the North Star Geshita himself appears!

He does a bit of flexing beforehand, then...


Ow. OW.
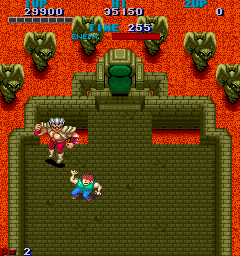
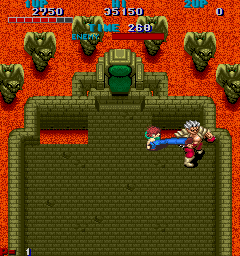
The first time you fight Geshita, he's probably going to hand your ass to you. The crazy thing is that he only has two attacks- one where he uses a roundhouse kick, and another where he uses a roundhouse kick twice in a row- and yet he's still going to murder you. Get anywhere near him and he'll attack which knocks you back pretty far, and even if you do land a blow on him, he's either going to block it outright, or take the hit and immeadiately counter-attack with his roundhouse kick. That's it. At first, I tried a few things- baiting him into kicking then closing in, using the roundhouse kick... At one point, I looked at the alcove in the middle of the screen and thought, 'Maybe if I get in there, I can hit him without being hurt?' but Geshita is programmed to move all the way to the side if you do that, so you can't reach him. I'd figured out every other boss by myself- even the bridge guy- but Geshita was just slaughtering me.
So, I consulted the super-plays I'd found, and...
Yep. You have to use the alcove.


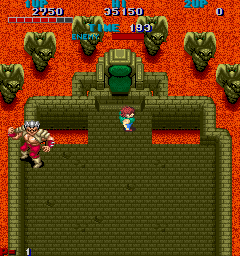
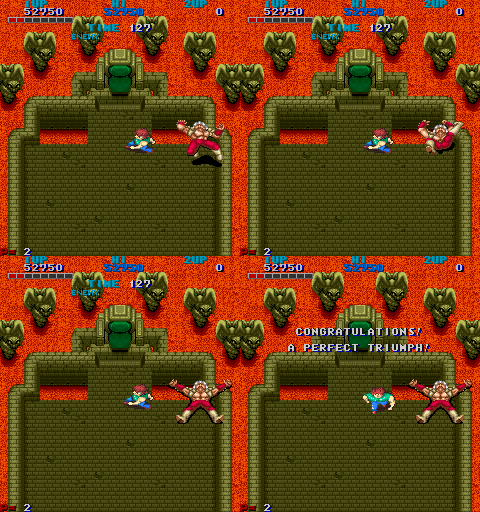
When Geshita retreats to the corner after you head into the alcove, you need to get next to him. Cling to the wall and inch your way over to him, then start kicking- he'll either block it or take the hit. If he blocks it, he'll probably keep blocking until you stop, so turn around then turn back. If he takes the hit, move back! He'll counterattack almost straight away. However, he won't move from his spot as long as you're right up against the wall (see the screenshot if you're confused). If you're not quick enough, you'll get knocked back into the main arnea, and Geshita starts moving again. As long as you move as soon as he gets hurt, you can stay there indefinitely and finish him off this way. This really is the best way to do it- even if you try the old 'respawn then clobber the enemy as fast possible', you'll get one hit in before being knocked back. So, play the sneaky way and...

'A PERFECT TRIUMPH!' indeed.
This town is safe now. All the FOTNS-inspired enemies are dead.
