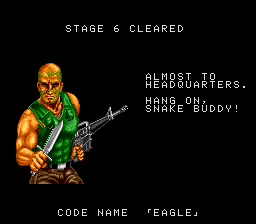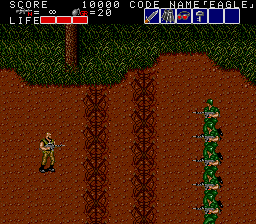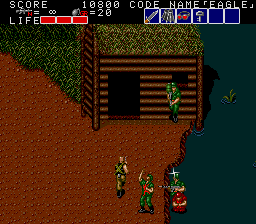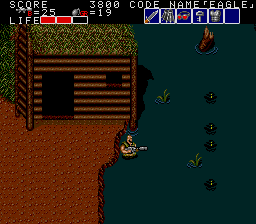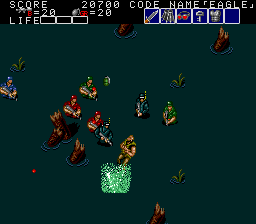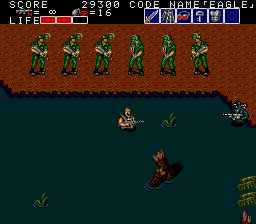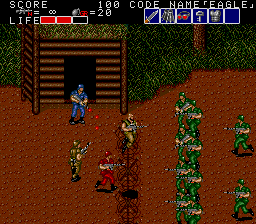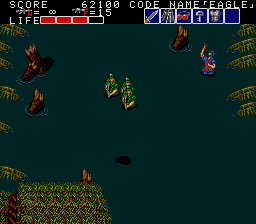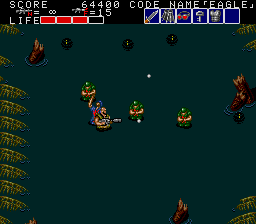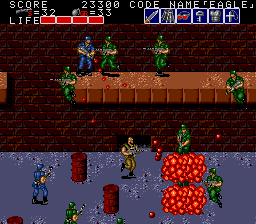
Stage 7 is the Marsh, and if you ask me, the hardest stage.


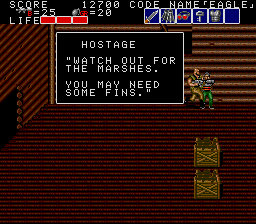
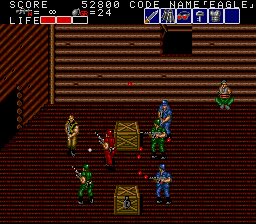
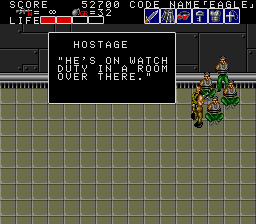
To start, get past the groups of soldiers and exploding soldiers, then duck into the first cabin- after clearing the place out, a hostage gives you some (incredibly obvious) intel, and the crates have a Bazooka and a new key piece of equipment- Body Armour. The manual says this reduces damage you take from enemies, but since there's no half-damage, what does it mean? It's mostly talking about attacks that take two blocks of health off- they'll now take just one. You might find that handy shortly!


Before that, we need to cross the marshes, and this is where it can get tricky. Much like the water section from Stage 2, you move slower in the water, but faster if you duck under with the Jump button (if you remembered to get the Fins, at least). However, the enym have their own underwater equipment, and so the scuva divers appear. These guys appear on-screen underwater, as a little green-blue blob, then surface to take a shot at you. They're very fast underwater, though, and it's easy to accidentally bump into them, especially as they appear from the bottom of the screen too. It's probably best to take this section a little slower than normal- stay away from the bottom of the screen, take out the scuba guys and clear a path before proceeding. You can speed things up by submerging if you really want, but remember that while you can dodge bullets like this, enemies can still bump into you and damage you that way.


Once you reach the shore, there's a whole row of soldiers to greet you, and after a hodge-podge of enemy types, there's another cabin.
Inside, there's some Food and Grenades. Not much, but better than nothing!

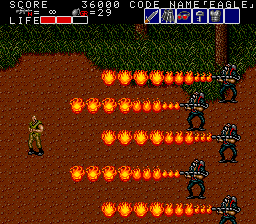
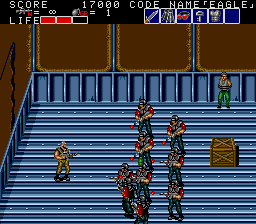
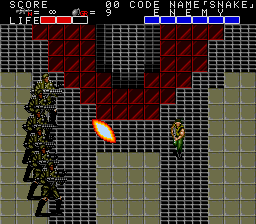
Straight after the cabin, flamethrowers! A whole five of 'em! The two standing furthest forward fire first, then the three in the back. Now, if you picked up the Body Armour like you were supposed to, the flames now only take one health block away... But you don't wanna get hit, do you? Nah! When both sets stop firing for a second, lob grenades at them to take 'em out, but back off quickly before they fire again. Once you're done, hop into the cabin, and...


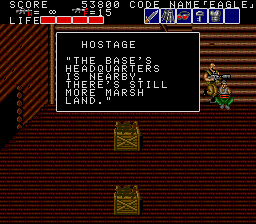
They're really packing the enemies in these cabins now, eh? The hostage just tells us the obvious.
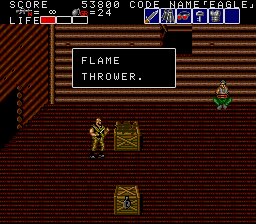
More importantly, though, one of the crates has...

Alright! Barbeque tonight!
There's some Muscle Emphasis Tablets too. Handy.


The next marsh section isn't too bad, mostly because of your new-found toy, if you know what you're doing. Since you're heading upwards rather than across the screen, there's less chance the scuba divers will sneak up on you from the bottom of the screen. Feel free to go on a frenzy with the flamethrower, but don't use it all- you're not likely to use this much up, but try to keep about 7 or 8 units of flamethrower fuel for the battle ahead...


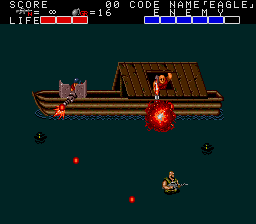
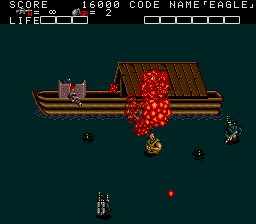
After a short wade, the Gun Boat appears!
If you haven't got the Flamethrower, this boss is an asshole. In addition to the gunner on the left side, and a rocket-launcher enemy that pops up from the cabin every now and then, scuba gear guys will keep pouring in, including from the bottom of the screen, and with your puny machine gun, it'll take a while to take the boat out. Since there's basically no strategy with the Flamethrower (point it at the Gun Boat and wait for it to cark it), I'm going to assume you don't have one. In that case, your best bet is to stay in the middle of your section of the screen- most of the machine gun shots will miss- and pelt it with grenades. If you're unlucky and don't take it out before the rocket launcher guy appears, take out any nearby scuba guys then submerge to dodge his rocket, then continue pelting it. This may take a few tries, but it can be done.

Just make sure you don't get shot as the boss explodes.
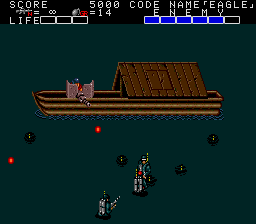
Depending on how long it was after you were fatally wounded, you may pass the stage...
Or you may have to try again!

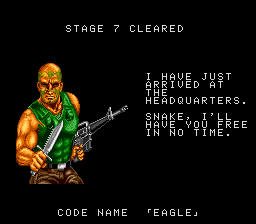
OK, get ready, soldier- we're gonna rescue SNAKE and trash the enemy!

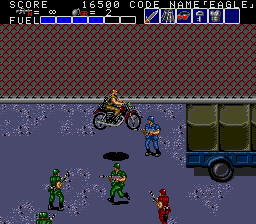
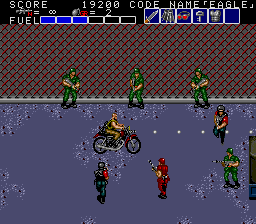
Luckily, this opening section is very easy, because after a second of walking forward, a bike appears!
Oh, I've missed these things. Steal the hog, then drive up to behind the parked truck, and...

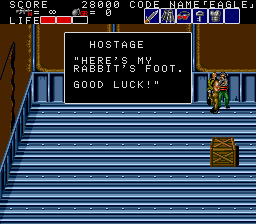
So many armoured guys, the game slows down! Take them out however you see fit- being careful not to blow then go for the goodies! If you've still got some Flamethrower fuel left over from the previous stage, you may wish to skip the crate- it's got Grenades- but definitely rescue the hostage, as he has the weirdest item in the game for you.

Rabbit's Foot. Huh. Yeah. Sure, buddy.
Obviously, this was an attempt to remove religious references from the game, but failed spectacularly as not only does the icon in the top-right contradict the text, the instruction manual calls it a Rosary. Nice try. Whatever the hell this item is, its usage is even stranger. It appears to completely nullify one hit you take, as if it takes the bullet for you. However, while you'd think that would make the icon disappear from your inventory... It doesn't. It also gets its one use back when you die and continue. Kind-of an odd item, really.

Anyway, leave then plough through the rest of the enemy forces until you get another truck to jump into.
There's some Muscle Emphasis Tablets waiting for you inside. You'll need 'em!

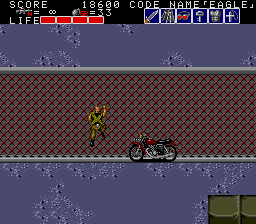
Sadly, at this point, we have to ditch our sweet ride.


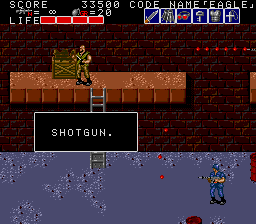
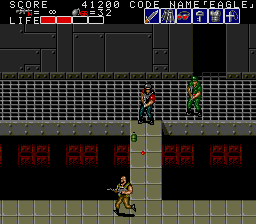
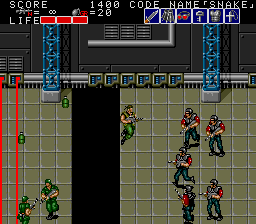
Climb the fence and we get to an area similar to the second part of Stage 1, with enemies on platforms above you. You'll want to grab the crate on one of the first ledges, as it's got a Shotgun, but you don't really need to deal with enemies on the ledges- there's a lot of enemies here, and things can get busy, but it doesn't feel like much of a threat, especially since you've got the almighty spreadshot. This area can get really clogged with slowdown too, if you keep the screen busy enough with bulletsand explosions, so there's no real danger. Just keep going, and we'll eventually get inside the base itself!


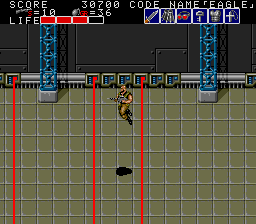
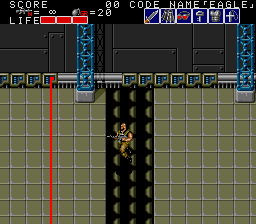
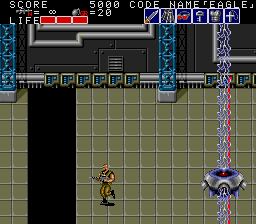
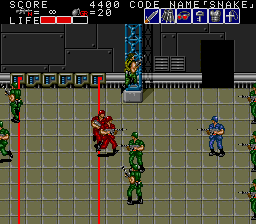
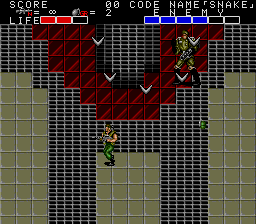
This next section introduces- finally- a use for the Infared Scope. Now, while most Tactical Espionage Action agents use cigarettes to detect infa-red laser traps (well, so I'm told), the Bloody Wolves have to make do with goofy goggles instead. This room has laser traps that will destroy the floor when you walk into them, and they change their positions every second or so. Without the Scope, you'll just have to bluff it and hope you don't run into them, but with them on, they're as plain as day... Although it doesn't matter eitherway, to be honest. When sprung, the traps give you plenty of time to jump out the way, and each set of lasers only goes off once, so you don't have to worry about them again. We'll see them again later, used to deadlier effect, but for now, just get to the door at the end, and...

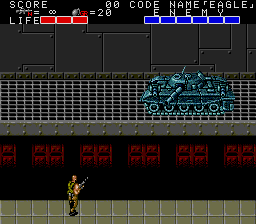
The thunder keeps on rollin', kiddo! And by that I mean Rolling Thunder's back for Round 2.


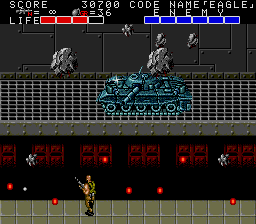
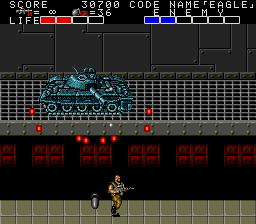
This time coming in a fetching teal colour, Rolling Thunder Mk. II is basically the same fight as last time. The differences are that you don't have a Bazooka or Flamethrower this time around, so a quick and easy victory is not on the cards. The other problem is every time it fires a cannon shot, the impact casues rocks to fall from the top of the screen- usually around two to four small and slow ones, and one or two big and fast ones. As a result, this makes moving to the opposite side of the screen to the tank even more dangerous, as it'll fire the cannon more often, which will lead to more rocks on your head. Ouch. The best approach is the same as the last one- stay just to the side of the tank's turret, squeezing in gaps between its machine gun bullets. You just need to watch out for the rocks too. You can handle that, right?

After Rolling Thunder, there's just a handful of soldiers in this area, so go to the door to meet...


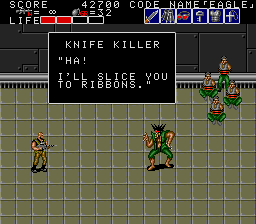
Oh, it's the KNIFE KILLER again. We gotta do this knife-only malarky again?
EAGLE disagrees. Let's Indiana Jones this asshole.

Perfect.
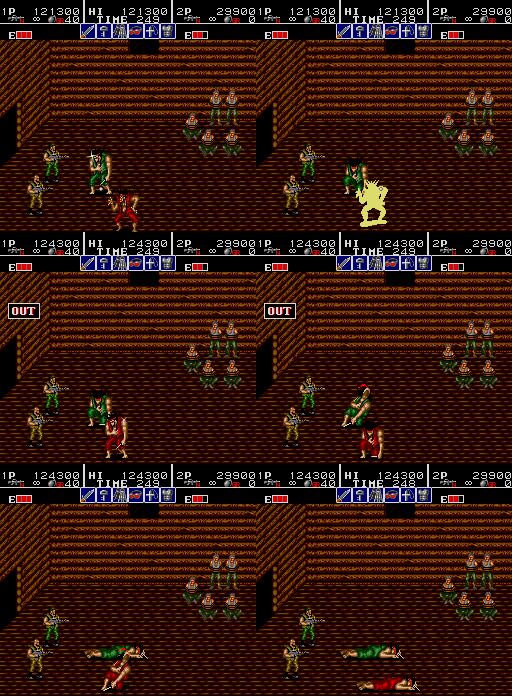
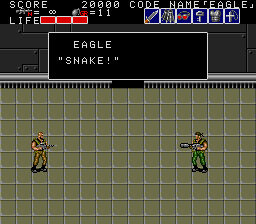
Incidentally, this scene is in the arcade version! It's in the final mission in the second cabin, so it can be missed.

It's actually funnier there because, as shown above, in co-op mode there's two of them.
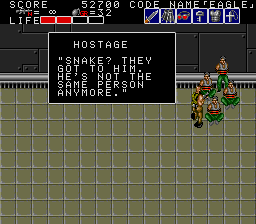
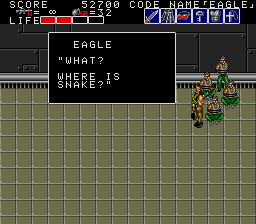
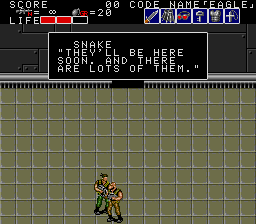
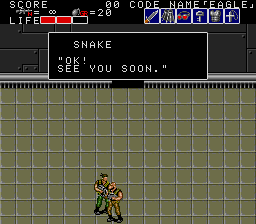
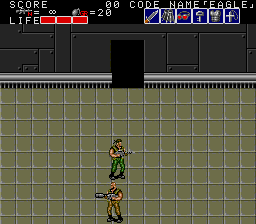
Anyway... Clearly, the game wanted to lighten the mood, as we've got drama ahead. Talk to the hostages...


... Huh? No, that's impossible. SNAKE's the strongest! THere's no way he'd...
In any case, one of these hostages also refills your health meter, so rescue all of them and head into the next room.


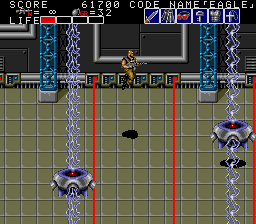
Before we find out hat happened to SNAKE, we've got another laser trap room, and honestly this is the one you'll most likely die in- there's nothing but Buoys in here! You can't jump past them, as always, and they also slowly inch their way towards you. The best strategy when one appears is to stand back- being sure not to stand in a spot where you might set off a laser- then pelt it with grenades slowly (wait until each grenade fully explodes before throwing another- does more damage that way). Once one's destroyed, move on until the next one appears, then repeat. It doesn't happen every time, but sometimes a Buoy will appear behind you too- if you've got no grenades left, you're stuffed. Sorry.
After the Buoys, though, we get a major plot development. Enter the door at the end, and...


...


... OK, I'm not going to lie.
The first time I reached this part, I burst out laughing.
It's just beautiful, isn't it? What mroe do I have to say?

Well, maybe 'watch out for this knife attack, God-damn!'.


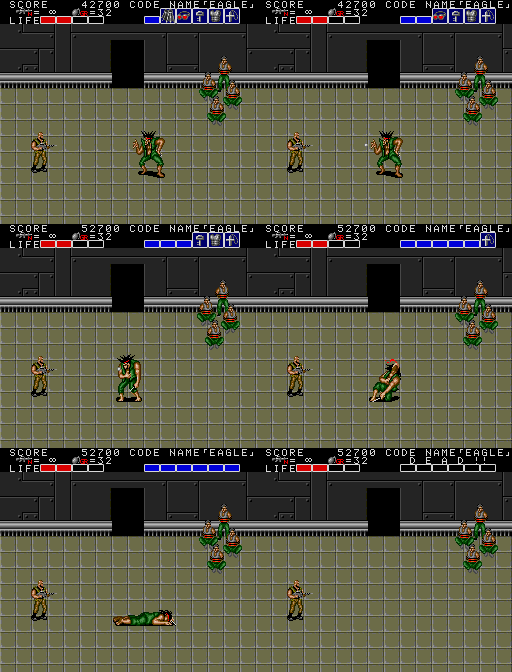
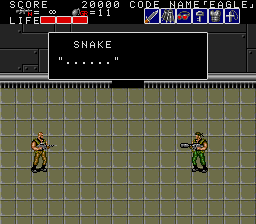
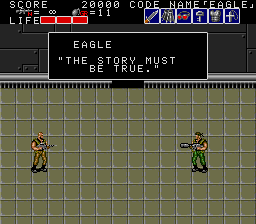
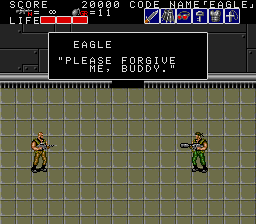
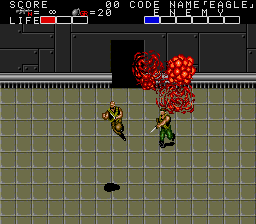
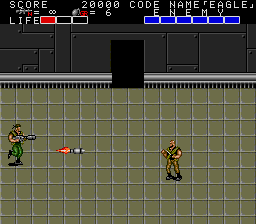
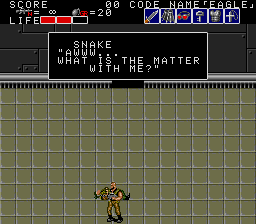
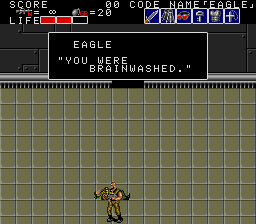
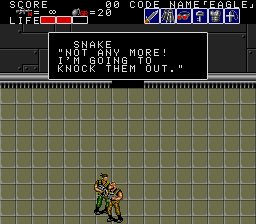
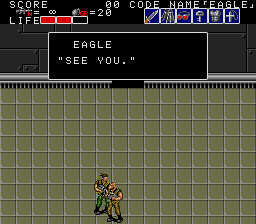
Obviously, this is a knife-only fight on your end- when two commandos fight each other, they don't use chickenshit guns... Well, EAGLE sees it that way. SNAKE just wants you dead, so he'll use his other weapons too- he's armed with a Bazooka (which will catapult you into the wall if it hits you) and Powerful Grenades (which he rarely uses). His basic pattern is to run at you with the knife, then fire a bazooka shot, move around a bit, then fire again, and sometimes use grenades if you're far away, or a knife-stab-frenzy if you're close. When you land a successful hit, he'll stop for a second, run for you with the knife, and the pattern repeats. It's a little tricky, but it's possible to catch him in a loop- stab him from above then move out the way as he lunages towards the top of the screen, then stab him from below and move again so he lunges to the bottom, and repeat. You don't have much time between each hit before he fires his bazooka though, so be quick about it. This bit might take a few tries, but it's not so bad once you learn his habits.

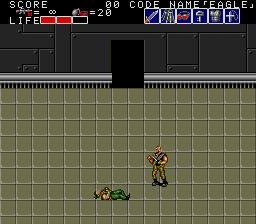
After stabbing your comrade-in-arms six times, you brought him to his senses!
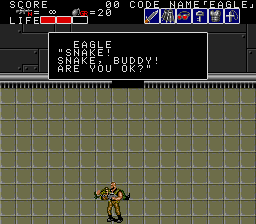
... Wait, shit! You didn't kill him, did you?!


Oh, never mind, he's fine.


At this point, please feel free to play your own triumphant music. SNAKE's back, baby.

Yes, at this point you resume play as SNAKE, and with EAGLE's inventory too!
Let's go get these punks, once and for all!


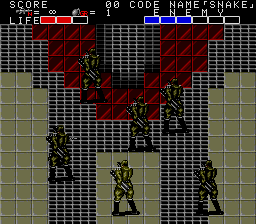
The next room is one last laser trap room- this time, instead of Buoys, it's just groups of soldiers you have to contend with at the same time. The groups to watch out for are the statue types that appear behind you (run!), the armoured guys, and the machine gun soldiers near the end. However, this isn't really a patch on the Buoy room, so don't worry too much.


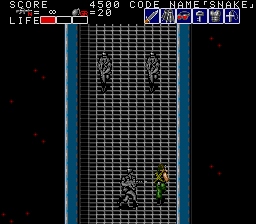
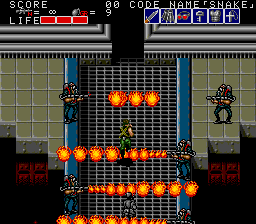
This final walkway, though? Now you can worry. The statues come into their own as they're very well camouflaged! After fighting five of them at once (you should have grenades, surely), you get an entire team of flamethrower guys! Fun! They act the same as the guys from Stage 4, in that they move slowly down the screen and fire to their side. Get a safe distance and lob grenades at them. Finally, before you can leave, there's another flamethrower team, stationary. Take 'em out, nice and easy, and get ready for the final battle.


Caution: best line of dialogue in the entire game is up next.

... LET'S.
ATTACK.
AGGRESSIVELY.

Even better? For this fight, the theme from Stage 1 returns, to get you pumped up.


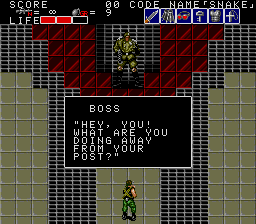
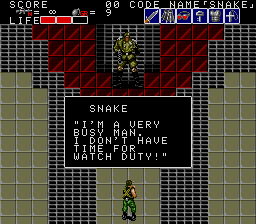
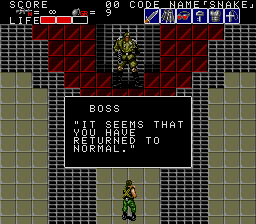
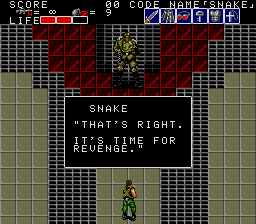
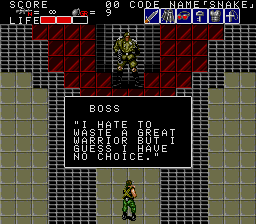
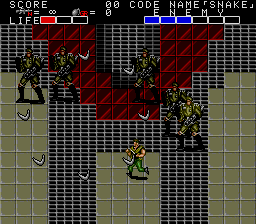
Good news! This time, you get to fight the boss with more than the knife! Bad news! He's brought his A-game to this fight. He is going to kick your ass. Mostly because he's learned how to teleport. His first phase is him circling around you clockwise, firing his massive cannon from Stage 4 intermittently with no audio cue. He'll also use his boomerang attack now and then, which is different- it'll spread out in a circle pattern, then fly offscreen onto to fly back on-screen gathering where it was fired. The only way to get out the way is to study his pattern- he fires when he's in the 9 o'clock position, then 6, then 3, then he'll stop at 6 and fire boomerangs, then 12, and so on. Learn the pattern, and just keep moving while you plug him with bullets (or, if you're good enough, grenades- fire them where he's going to be rather than where he is!). The boomerangs aren't much of a threat, mind- if you're wuick, he'll only get to fire one set anyway.
Knock three health blocks off, and he'll jump off the screen, and...


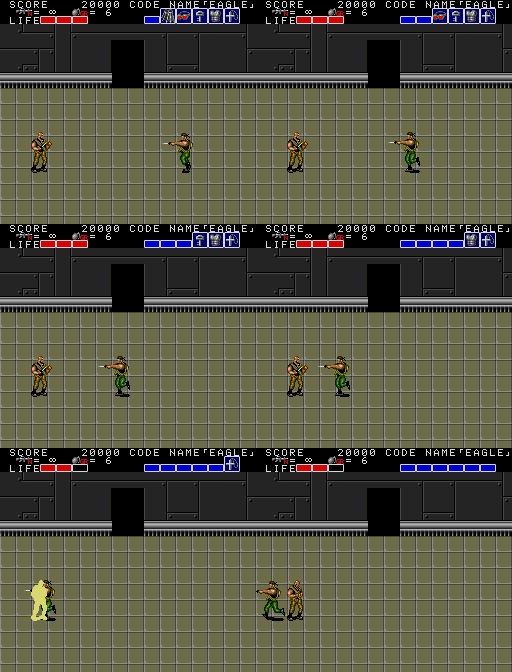
... Ah. This is where the screenshot format fails me.
You can't really see this because it's a static image, but what happens is several clones of the boss appear, dashing across the screen, with all but one of them flickering constantly. The one that's not flickering is the real deal, the one that attacks you (both with his bit shot and a circle of boomerangs) and the only one you can hurt. Now, there's one tip I can give you for free, and that his first move is always to skate across the bottom of the screen without attacking- as such, you should use this opportunity to stab him in the head as much as possible, then shoot at him. Beyond that... You'd better pray. This is not an easy fight at all. The problem is that you don't really know where he's going to appear from, so you need to be ready to move if he's heading your way, andhis shots are aimed directly at you, and sometimes he'll zip across the screen at double-speed, and he still uses his boomerangs. It's a frustrating fight all around, especially if you've died and you're on the standard three health blocks. The only other tip I can off is, if you catch him when he's moving in a straight line and he's already attacked, stab him- it does a lot more damage.
All I can say, really, is... Good luck!


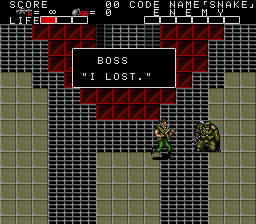
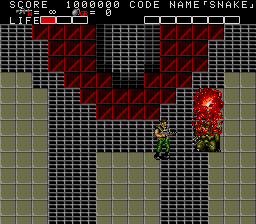
Should you succeed, the Boss finally admits defeat, and then explodes. Why wouldn't he?
That was a tough fight... But the game's not over yet. Head up into the next room.

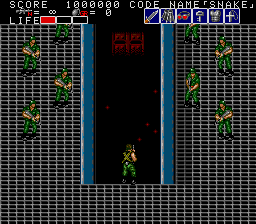
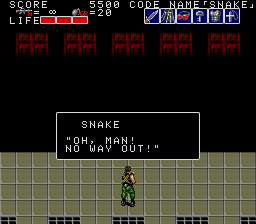
The last area is just a room with some grenade-throwing soldiers. Make your way through, and the ending sequence can begin.


... Oh dear.


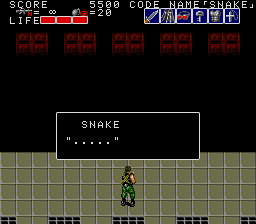
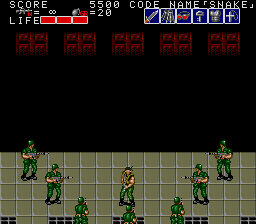
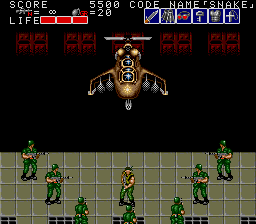
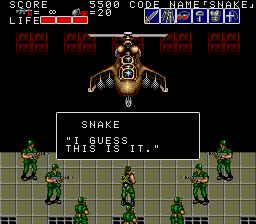
Well, SNAKE, you had a good run, buddy. Time to go down fighting!
The final page of this article is funny. I like it. That's why I'm going to read it last.
