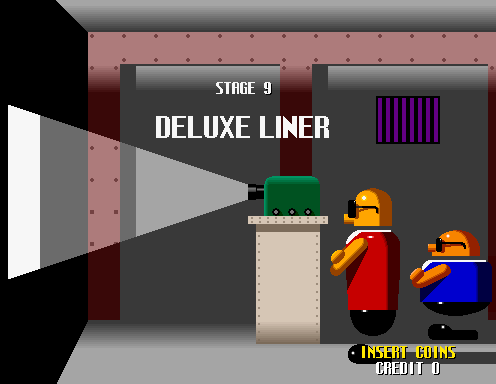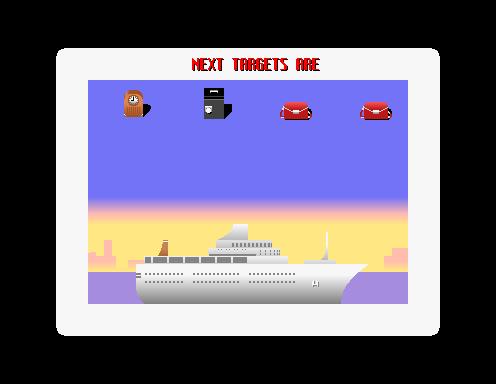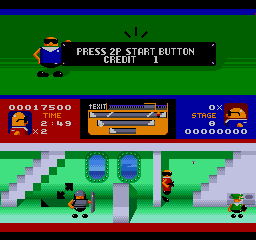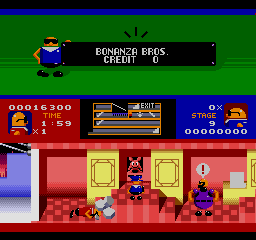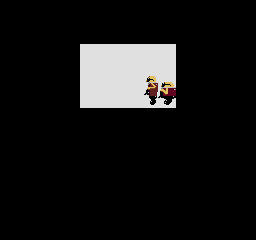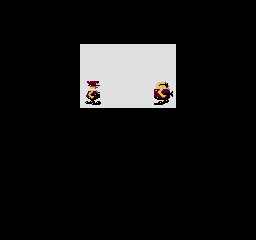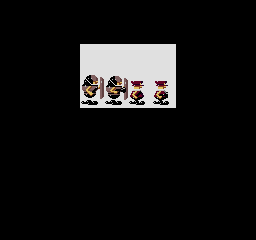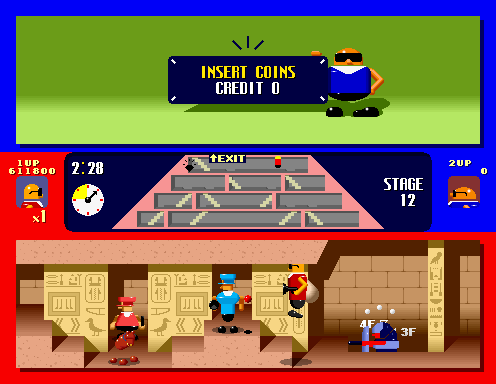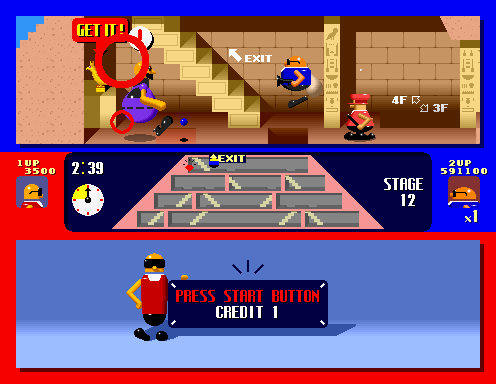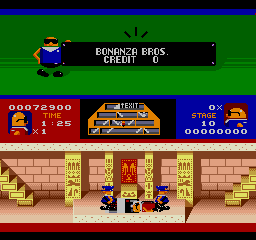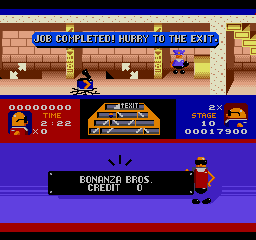

Now it's time to hit the high seas and plunder the Deluxe Liner.
This ship is called the Peppermint Star, just one of many astronomy-related location names in the game.


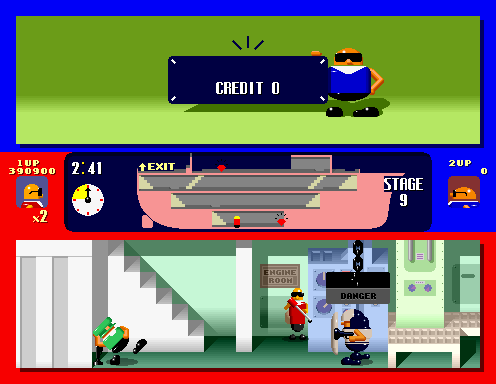
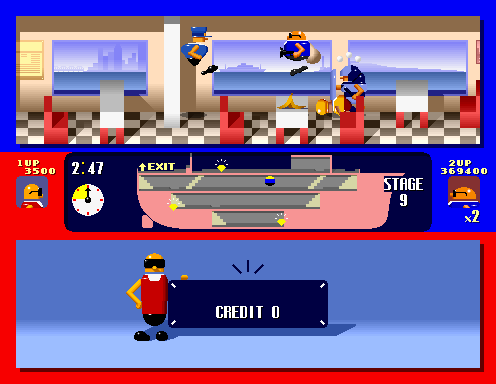
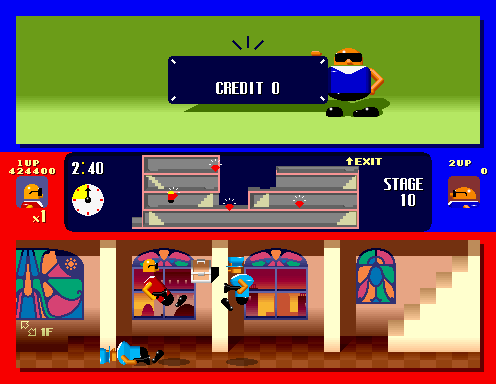
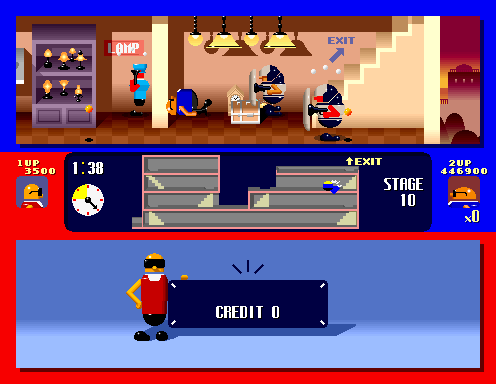
Ah, back to non-linearity, there's a lot of different possible paths for you (and you start at the top instead of the bottom for once) but no matter which way you go, you'll have to make a large detour to the engine room all the way at the bottom. The way guards recover from your shots way faster really rears its head here, as it's difficult to catch shield guards by surprise, a fact you'll definitely feel in the engine room- be patient, and wait for the guard to walk under the crusher, then take out the bomb-thrower in the corner! The rest of the stage sees the return of plate throwers in the dining areas and just a heck of a lot of shield guards. While it's tempting to make a beeline for the engine room by heading down each set of stairs as you encounter them, I found that got me killed a lot of the time. Instead, I'd suggest waiting to take out the very first shield guard you meet on the third floor at the start (don't let him raise the alarm, the guards in the room to the left will hear!) then book it to the left, preferably nailing the shield guard with the door and taking out the waiter before he alerts the blue guard (watch out for the banana on one of the tables if you jump over them). You can make your way downstairs once you're all the way across then back up to the final treasure and this seems to be a much safer and more consistent strategy- the hallway on the second floor just seems way too dangerous to do without getting bopped. Hopefully you've mastered the art of luring guards into the back then going back to the foreground to waltz past them, because they're really out for you here. Life's rough out at sea, I guess.


This one hasn't changed too much for the Mega Drive port aside from the across-the-board changes- less guards overall who are less aggressive, you know the drill at this point. You definitely feel you've got more room to breathe on this one, given how cramped some of these rooms were originally! However, you can no longer jump onto the bunkbeds on the second floor, so if you go that way, don't rely on that to dodge the guards, you'll have to take them out the old-fashioned way. The graphics being downscaled also means you can no longer see the ship's name or the poster for the engine room, which is a bit of a shame. Oh well.


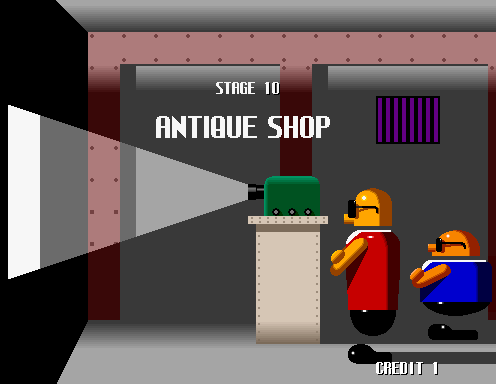
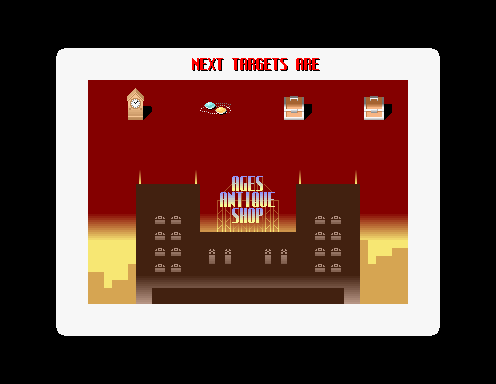
Next up, one more arcade-exclusive stage, the Antique Store. Try not to break anything, lads.


This is actually a nice and breezy stage- probably my favourite in the arcade- when you know what you're doing, as it's less densely populated for the most part. The main problem is the treasure on the very top floor, which you really have to go out of your way for, and the right side of the building, which has a couple more troublesome guards. At the start, you'll want to grab the treasure on the first floor, then be careful going up the stairs- try to avoid being spotted by the lean blue guards, otherwise you'll have a little gunfight on your hands. Catch them when they're not looking, then head up the stairs and evade the shield guards to get to the clock room. Again, you've got lean blue guards to deal with, as well as a bomb-thrower in the corner by the treasure, but leaving isn't so bad- the high block stops the blue guards' shots from hitting you, just make sure the bomb-thrower's taking a nap as you exit. Head back down to the spring on the second floor (grabbing a treasure on the way) to get to the right side of the building, grab the treasure in the accessories department on the second floor, then make a break for it! Watch out for the low ceiling in the last corridor too, you don't want to try and dodge bullets underneath it! If you're in co-op, things are a little easier- one player can go for the top floor clock and the other can head the long way around for the accessory on the right side, but approaching from that side will probably lead to them being spotted by a stout blue guard who raises the alarm- that player's on their own for that one! As for why this stage was not included in the Mega Drive port, I imagine it's similar to the reasoning behind the Department Store- a lot of different departments requiring unique graphics, combined with the slightly more normal setting lead to it being cut.

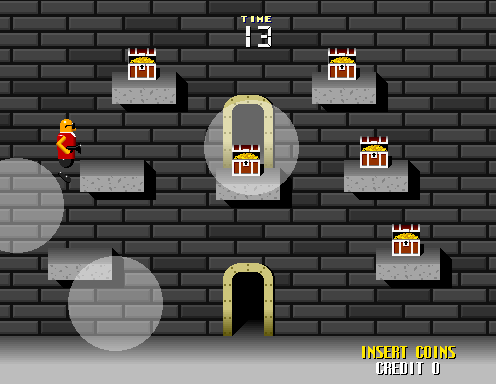
In the arcade version, after Stage 10 we get the final Bonus Stage, this time you're grabbing treasure chests.


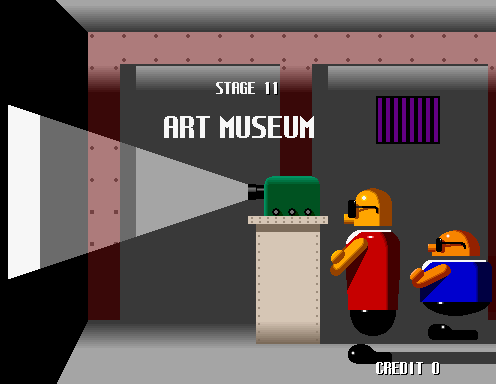
Nearing the end now, the penultimate heist is the Art Gallery.
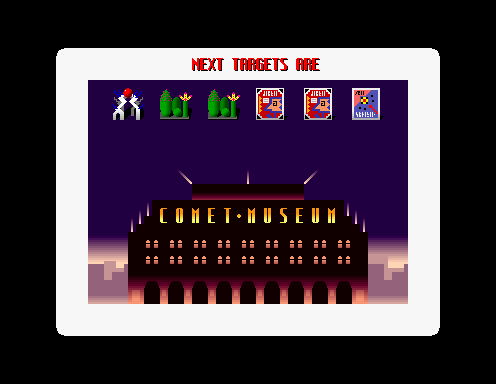
This is one more astronomy-flavoured building name- it's the Comet Museum!


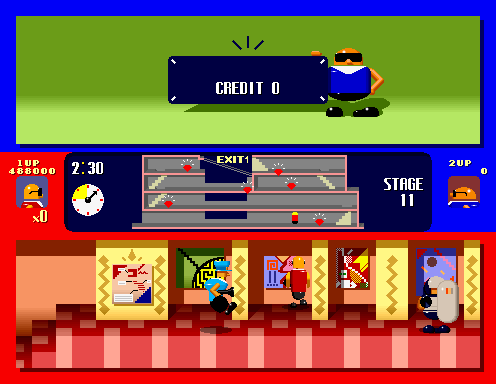
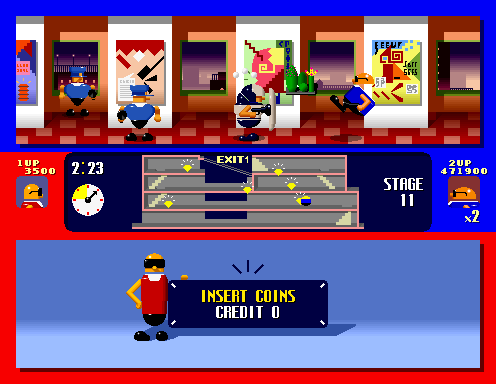
This is a long one, and one of the few levels where that self-imposed three minute time limit is going to be a serious concern for our boys. The first two floors consist of very long corridors adorned with abstract art pieces but, conveniently, there's also a lot of alcoves. Given the amount of blue guards of all kinds around here, as well as the standard shield guards, you'll be hiding in those alcoves a lot (to avoid a rain of bullets if you're not careful). The first two floors are pretty straightforward, really, with your main concern being the stout guards on the second floor who you can't really hide in an alcove from (lure them out and tag 'em) but the third floor presents a bigger challenge- a treasure on the open-air section guarded by two shield guards whose walking patterns are most inconvenient. Your best bet is to grab the attention of one of them then hide, so they're out of sync and easier to subdue. Luckily, the rest of the stage isn't too bad- make your way to the top floor then zipline across to the right, take care of the bomb-throwers then just waltz past three lean blue guards to the exit. Simple, right? Sadly, this is once again another stage without many different routes, so there's not much opportunity or incentive to split up in co-op.


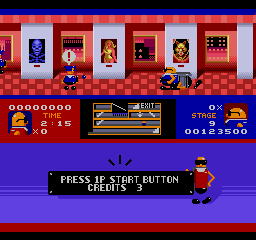
This stage is once again largely unchanged for the Mega Drive port beyond the stuff you're used to at this point, but there is one very significant aesthetic change- the gallery's exhibits. I'm guessing the developers figured that the rather nice abstract art pieces from the arcade game were going to be completely ruined if they were brought over to this port- the reduced colour palette and screen resolution would just do the poor things a huge injustice. So, they had to be thrown out, but in their place is teeny-tiny art referencing a large chunk of the Sega-published library of the Mega Drive in its early years! Well, Sega-published in Japan anyway, an important distinction for reasons we'll see shortly. Presented in a nice little table format, in the order you encounter them, the art exhibits are...

Arrow Flash
|

Arrow Flash
|

Arrow Flash
|

Whip Rush
|

Super Monaco GP
|

Fantasy Zone
|

Super Thunder Blade
|

Sword of Vermillion
|

Phantasy Star II or III
|

Altered Beast
|

Super Monaco GP
|

Golden Axe
|

Space Harrier II
|

Columns
|

E-SWAT: City Under Siege
|

Zoom!
|

Super Hang-On
|

After Burner II
|

The Revenge of Shinobi
|
A couple of things to note here. First off, Fantasy Zone is a bit of an outlier, as no version of the game had appeared on the Mega Drive as a stand-alone game, but a micro version of the game was hidden in Arnold Palmer's Tournament Golf. Next, Arrow Flash gets a whole three pieces to itself because the developer of this port, I.T.L., also developed that game for Sega. Next, Arrow Flash and Whip Rush were published by Sega in Japan (and Arrow Flash was published by Sega in Europe) but that's not the case for the US, as they were picked up by Renovation instead. Finally, Zoom! is the real oddball here, as while it was indeed published by Sega in all territories, it's absolutely not a Sega game! It was originally a C64 and Amiga game by Netherlands-based Discovery Software (the same company behind Sword of Sodan, eep) and was ported to the Mega Drive by Cyclone System and Sigma Pro-Tech. A real oddball for it to show up here!


The last intermission for the Mega Drive version happens after this stage. Looks like everyone is here!


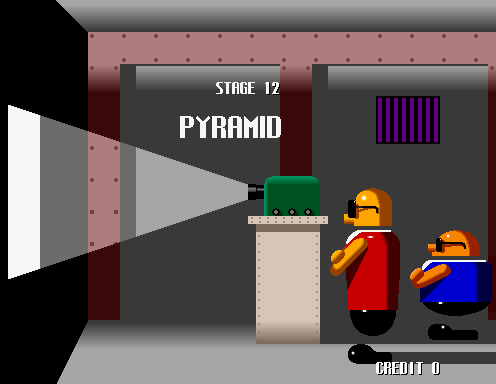
This is it, one last job: the Pyramid.
What, you didn't know about Badville's pyramid? It's almost as famous as Mount Judd, the pyramid of Nuneaton!


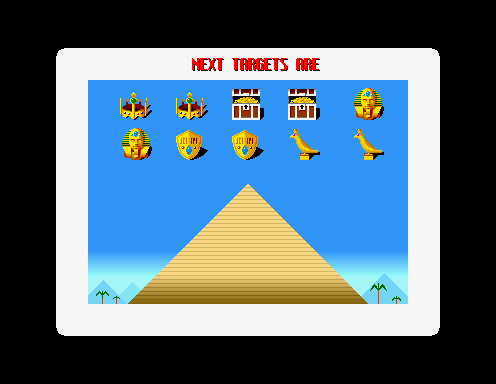
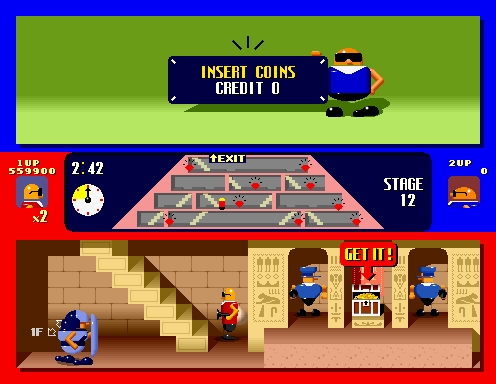
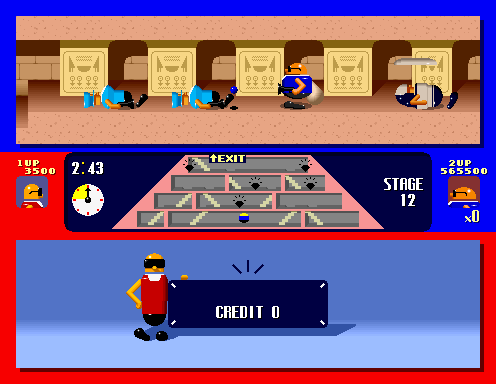
With ten treasures to collect and an interconnected nest of rooms, floors and pillars (fortunately, there isn't a single door here to get whapped with), the Pyramid is the single longest, most complicated stage in the game, and if the Art Gallery didn't make you cut it close with the timer, this stage absolutely will. The biggest stumbling block from the off is absolutely the long corridor on the first floor- there's a total of three treasures that can only be accessed by passing through here, and you have to make it across here both from the left and the right. Approaching from the left, the longest stretch has two lean blue guards and an armed shield guard, with a low ceiling (so no jumping) and a series of alcoves to duck into. The guards recover very fast from being shot, so your only choice is to take this slow- take out the blue guards (preferably by jumping and firing as you scroll them on-screen), inch your way towards the shield guard and try to catch him when he's not looking but also when the blue guards aren't. It's a tricky balancing act, but it can be done. Once you get across there, you're not done either- the lower-right chamber has a stout blue guard ready to raise the alarm and a bomb-thrower, but it's not so bad if you catch the blue guy unawares. Heading back through the long first floor corridor isn't as difficult as the first time, as you take out the shield guy first and then just need to duke it out with the blue guys. Back on the second floor, grab the treasure between two blue guards (use the temporary invincibility from grabbing the item to your advantage!) and make your way upstairs...


Two more floors to go, and most of these final treasures can be done in a smash-and-grab style (again, using that wonderful temporary invincibility to make good your escape) especially since guards in this stage don't usually (key word, usually) tail you from room to room, but you still can't let yourself get sloppy right at the end! Once you reach the fourth floor, shoot to the right and take out the two guards and the dog as soon as you can- preferably, you want most of the blue guard to be off-screen to cover yourself- then hop down the stairs for one lightly-guarded treasure, grab the other treasure in the right corner of the fourth floor, clear out the hallway and prepare for the final test. See those very suspicious dark tiles on the floor? They are, indeed, pretty sus- they're trap doors, and stepping on them will send you plummeting to the room below, almost certainly leading you to get shot while your head's in the floor, losing a life. Take out the bomb-thrower, carefully jump over the trap doors, grab the treasure then knock the bomb-thrower out again because he'll be back up, and cheese it! The exit stairs are right there!


Finally, the Mega Drive version changes out a lot of the treasures to be found here, mostly for rolls of film for whatever reason, but their locations remain the same. Needless to say, having less aggressive guards makes the long corridor on the first floor much more manageable, but one area that's definitely more difficult is the trap door area right at the end. The way jumping works in the Mega Drive version is that there's a slight delay between pressing the button and the jump coming out, so you need to be very careful (preferably with the bomb-thrower taking a nap too) when jumping over those trap doors. You don't want things to go to pot right at the last moment, do you?
We're all done here, everything that's not nailed down is ours!
