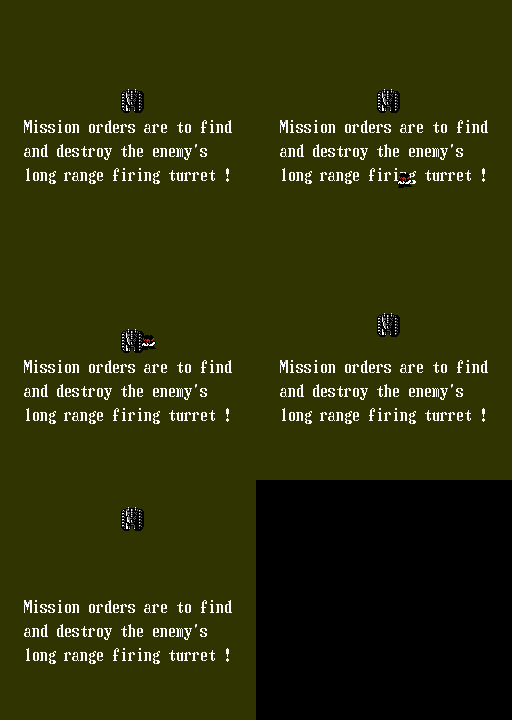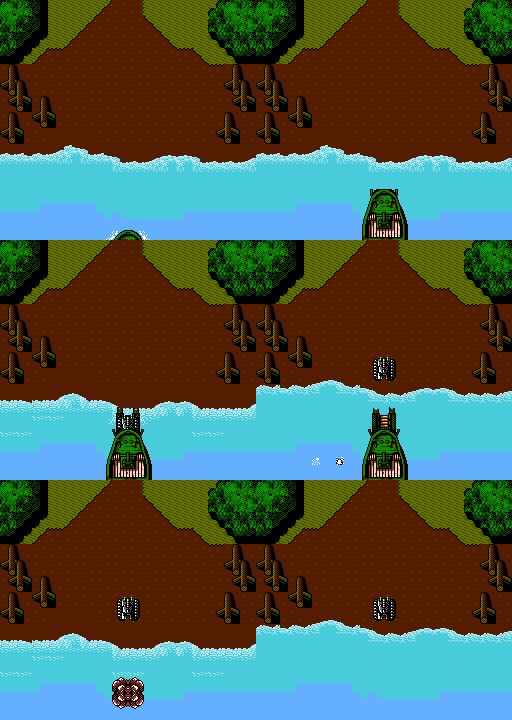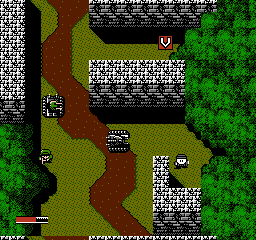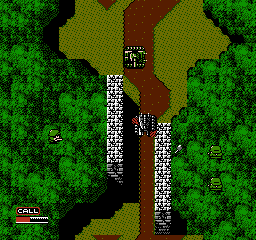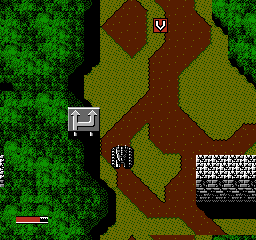
Once you start the game, you get this little intro of Paul/Ralf hopping into the Iron Tank...
(You may notice the mission orders here are different to the ones in the intro and manual. We know. We know.)
(These are the proper mission orders, though. We'll get to why later.)

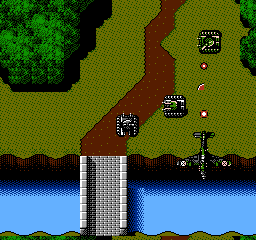
... And here's his landing, where his dropship is unceremoniously bombed seconds after he hits terra-firma.
Secret operation my ass, the enemy knows you're here!
I guess it can't be helped.
Before we begin... Here's your chance to pick the Easy Route or Hard Route.
Keep scrolling for the route with choices.
Operation initiated. Rescue all hostages! Destroy the enemy weapon!


Section 1: Landing Zone
Password: N/A
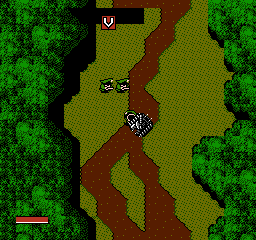
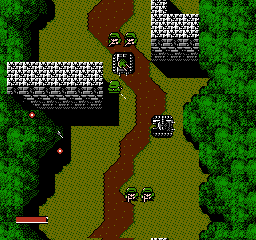
Right off the bat, the game introduces the main enemies you'll be facing- infantry armed with machine guns and sometimes grenades, and tanks of various shapes, sizes and colours- in this section we'll find only the Louis (fires machine-gun, one hit to destroy) tanks. The infantry might seem to be little more than annoyances- they won't do much damage to you with their piddly weapons, although in higher numbers they can be a threat- but they're actually quite important. Don't ask me how this works, but if you run them over rather than shoot/shell them, you'll gain a sliver of energy. Apparently, the Iron Tank is fuelled by the blood of its enemies, but this odd trick will be useful throughout the game for keeping your gauge as full as possible. As for the tanks, these first few are little more than target practice, as they only fire weak machine gun rounds- use them to get a feel for moving the turret, in particular 'flicking' the turret left/right quickly (tap B and a direction at the same time to move it that direction in one increment- it's quicker than holding and moving). There's really nothing to this section- you can try hiding behind the walls if you like (it'll be handy later), but just plough through.

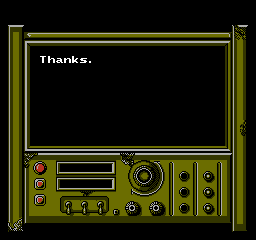
Shortly after starting, you'll rescue your first P.O.W.. Let's see what he has to say.

The later P.O.W.s are a bit more useful, but you really should save them all.


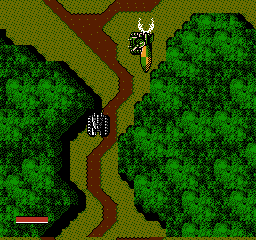
After rescuing the P.O.W., the enemy will try and psyche you out- at the top of a narrow forest path, they'll drop a bloody massive bomb just inches away from your tank, causing flickering white lights to go off all over the shop. However, it won't actually harm you, just don't stare at it in an unlit room, OK? They'll also start sending fighter planes to bomb you, but fortunately the way the path is constructed, you'll be dodging them with no problem. The rest of this section serves as an introduction to the Gustafu tanks, who fire cannon shots at you and take one shot to destroy. However, they go down very easily and should pose no bother at all. Keep going, and...

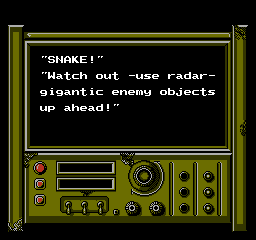
Oh, the radio's going off. When your allies want to contact you, you'll see 'CALL' in the bottom-left corner.
Press SELECT to answer...
Wait, this ain't Metal Gear! You have to press Select but also click the radio icon on the bottom of the menu, silly.
Incoming transmission!

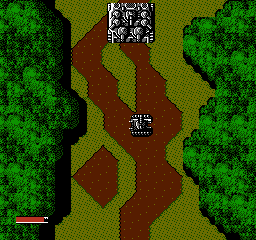
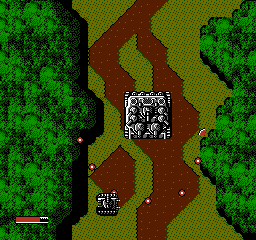
They're exaggerating a little. The upcoming boss is barely bigger than you. Here it comes...


This is the Folten, a heavily-armoured tank with multiple turrets (according to the instruction manual) and it's a joke. Its main attacks are a five-bullet spread shot, and just ramming into you. You could play fair and not switch on your tank upgrades... But hey, they blew up your boat, no point in playing fair now. By this point you should have, at the very least, partially-filled bars for V and B shots, so flick 'em on (and maybe L if you want to keep away) and pelt this little thing with all you've got. It'll go down in seconds! Just, uh, remember to switch your upgrades off after the battle, you don't want to waste them.
After you defeat the Folten, you've got just a short forest area to go through, but be careful- the game introduces the beige heavy tanks in this section, called the Becks Haus. They fire three-bullet spread-shots and take two cannon shots to kill- that doesn't sound too imposing, and there's only one of them here, but at this early stage in the game, where you have no Reserve energy to bank on, they can rip your tiny tank to shreds if you're not careful. If you've got anything left in your B meter, switch it on and take it out in one shot- you don't want the hassle, really.

Anyway, your first path-split of the game is just ahead:
Head left for Section 2A: Railway Fight, or right for Section 2B: Ichiban, the Puma and the Fort.
