♫ BGM: Ultimate Truth ♫
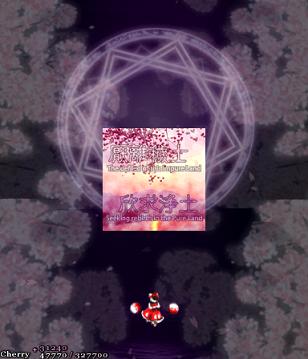
The defiled of this Impure Land
Seeking rebirth in the Pure Land.
Eh?!

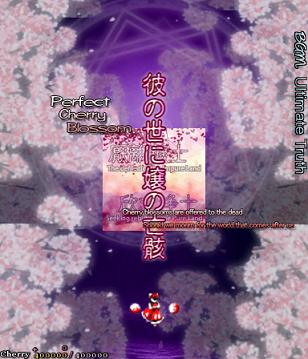
Stage 6: The Flower Garden of Hakugyokurou
Cherry blossoms are offered to the dead
Should we mourn for the world that comes after us.
Well, after those pretty cryptic messages, it's time for the final assault. Don't be distracted by the cherry blossoms- this beautiful flower garden is the setting for the end of the game, and presumably where the 'spring' of Gensokyo is being held. Since Perfect Cherry Blossom isn't one of your old-school shoot-em-ups, there's no extra-long stage here, no boss rush, no tricks- you've got one fairy gauntlet to run, one mid-boss to beat up, and then the final battle... Let's hop to it, then, and get Gensokyo's spring back!


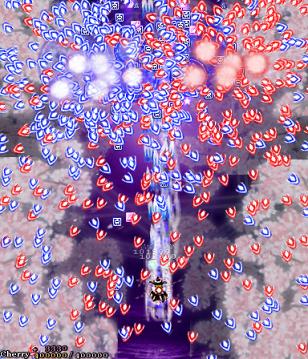
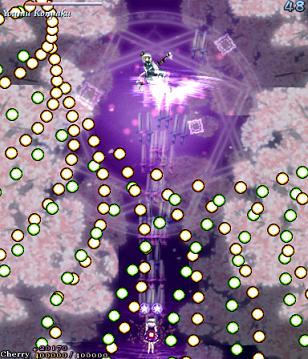
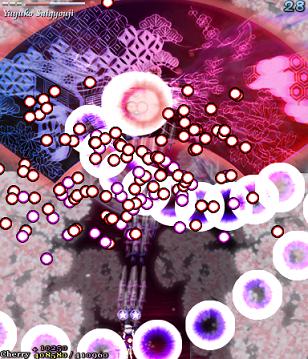
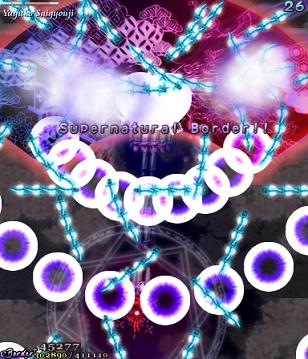
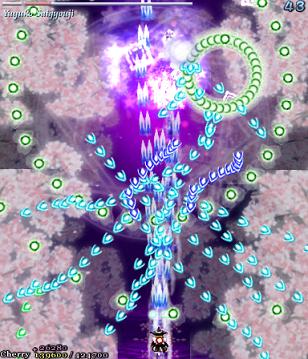
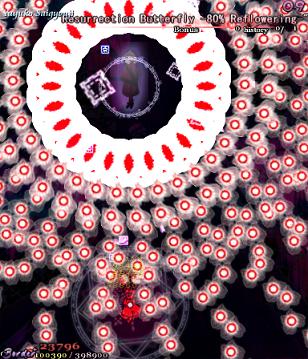
The last-ditch resistance from the ghost fairies is similar to the attack they were using at the start of Stage 5... At least, for the first 2 attacks. From there on... Well, just look at that screenshot to the right. It's enough to make you ill, isn't it? Fear not, because soon after, Youmu comes back to kick you into touch again, dispelling the majority of these bullets. You can also get quite a lot of Point Items from this bit if you keep shooting while trying to survive...


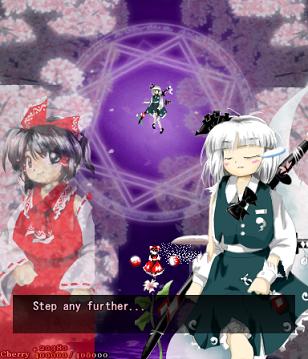
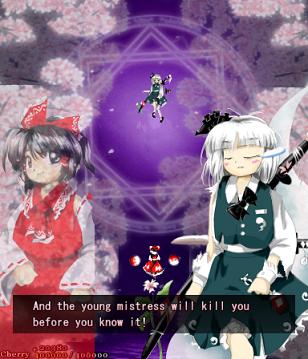
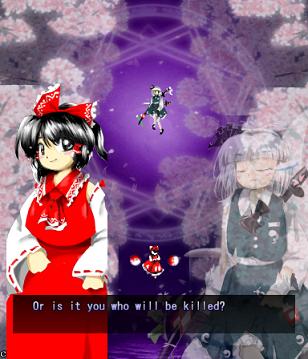
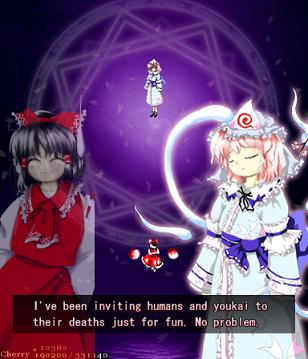
Here, Reimu tries to be cool and bad-ass, but sadly fails.


Well, this is awfully familiar.
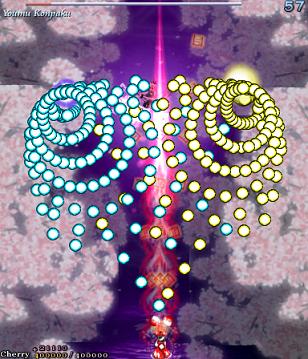
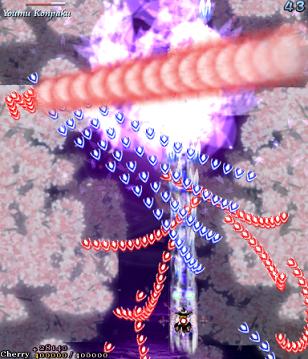
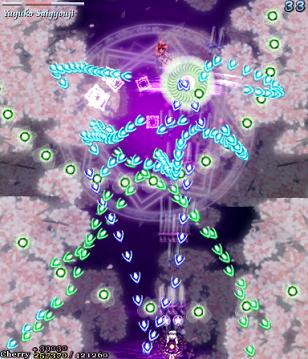
Once again, Youmu subjects you to the terrible Crossmatrix of Chaos, but surprisingly, this is the easiest version of it. Unlike the other uses of this attack where the three different attacks- the yellow/blue matrix, the green/brown matrix, then the aimed-at/aimed-away shots- would follow very closely from one another, nearly mixing together, this doesn't happen here. There's a nice bit of space between each attack, so you can take it easy. Well, not too easy, I guess- it's the Crossmatrix of Chaos, after all.


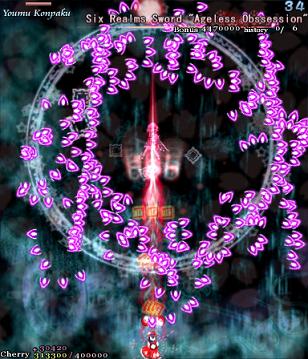
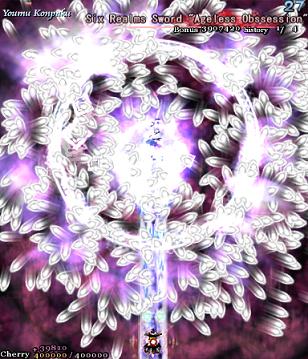
Ooh, this one's dastardly. In her last-ditch attempt to stop you from meeting her boss, Youmu unleashes 'Ageless Obsession' which employs a neat, if cruel, mind-trick. She'll start launching purple arrow bullets all over the shop, and they'll fan out in different directions, but when it looks like she's slowing down time again, and the bullets all turn white... They actually keep going at the normal speed! They don't slow down at all! That's pretty low, because by now, you've probably gotten used to slowing down your actions when the screen changes, but it won't help you here! Aside from this devilish trick, there's not much else to say. There's not much of a discernible pattern here, although after a few rounds she'll double the amount of bullets she makes each time, and that's when the screen gets a little bit crowded...
After you beat Youmu again, she'll pass you a Bomb, and then it's the main event. Time for Reimu to have the last word on this matter.
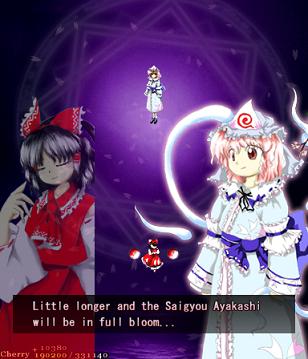
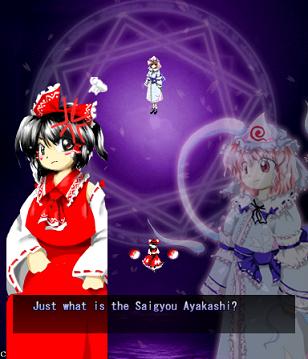
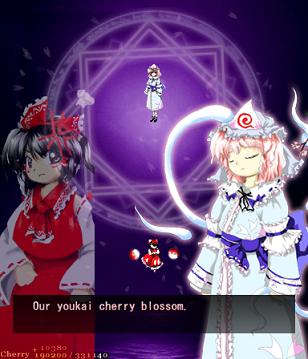
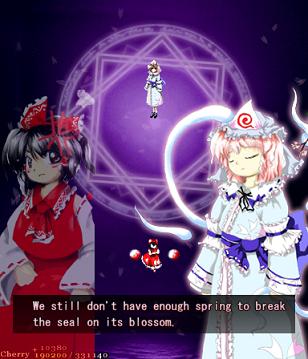
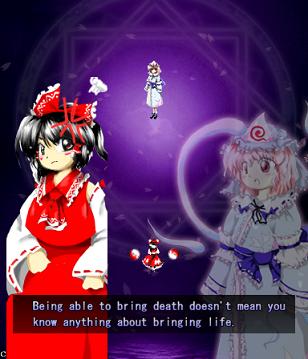
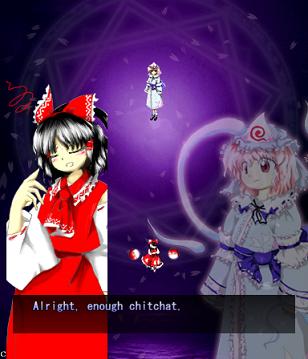
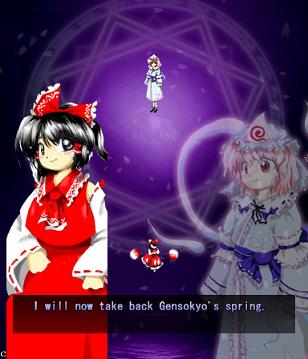
Once again, I've had to hack it up a bit. I'm sure you can find the full conversation elsewhere... Like here for instance.
Unfortunately, her dialogue here isn't terribly funny, but it's got plenty of wonderful plot exposition!


There's something that bothers me about the ghosts here, y'know.
Are they the ghosts of all the fairies you've killed on the way here? Think about that.


Looks like someone isn't happy. Oh, joy of joys, we're about to meet the FINAL BOSS!

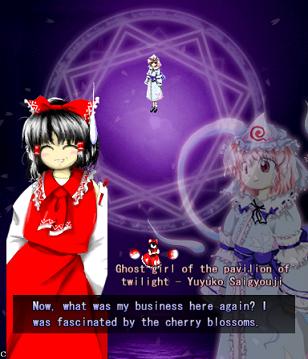
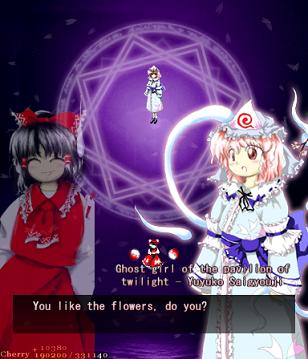
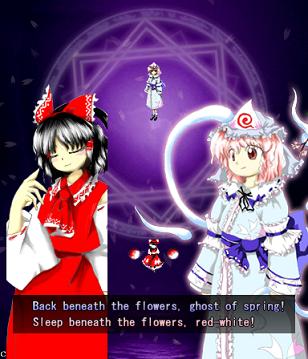
Yup, this is the woman responsible for this mess- Yuyuko Saigyouji. What an asshole.
Well, OK, she's not really evil. Just a little misguided. And forgetful. And probably something else as well, but it escapes me right now.


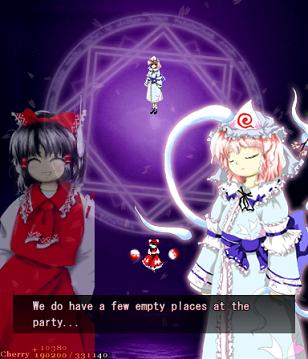
They have a few empty places because Reimu killed all the other guests on the way here.


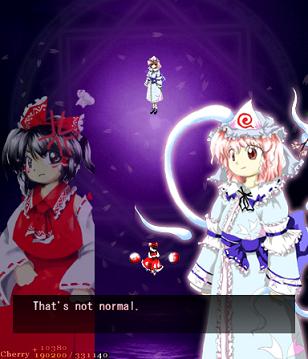
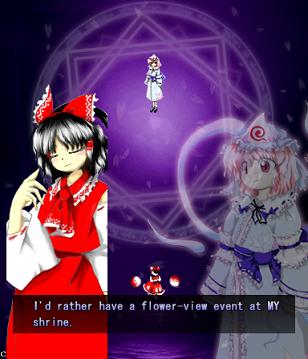
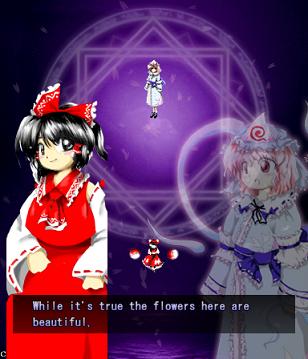
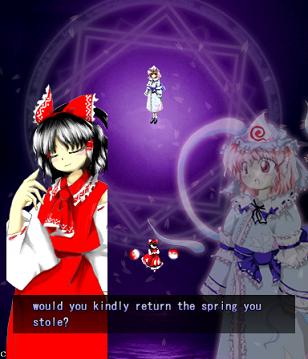
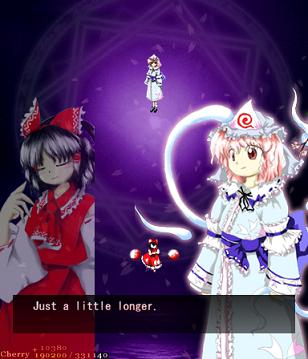
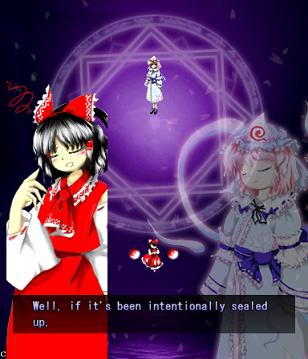
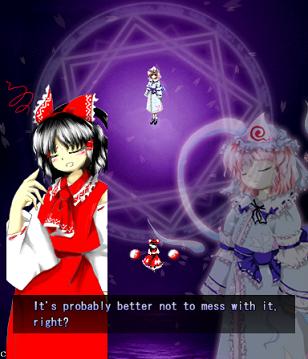
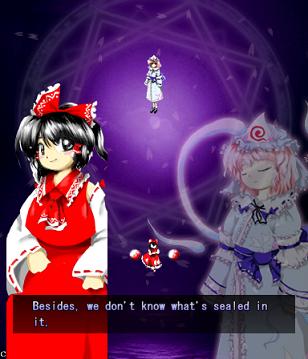
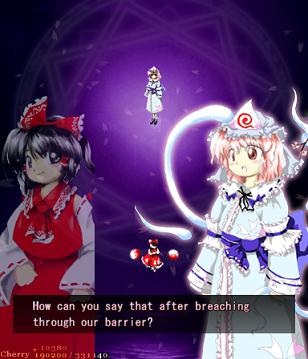
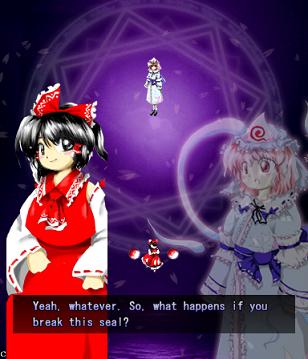
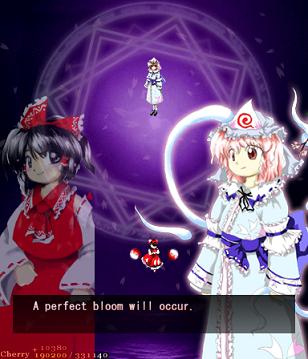
Reimu gets straight to business. No faffing about here... Or so it seems. We've still got a lot of conversation left.


WARNING! A PLOT DEVICE IS ABOUT TO BE EXPLAINED!


That's right! The plot MacGuffin is just a tree. A haunted tree. Ha ha, oh, wow.


Silly Reimu, you shouldn't be using logic here. This is a shoot-em-up, and logic does not apply.


"Pfft, yeah, I broke some dumb seal between life and death, whatever."
That's just how Reimu rolls.


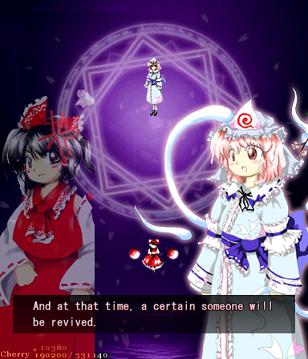
SPOILER ALERT!
The dead person is Yuyuko herself. She's been dead for so long she's forgotten she's dead.


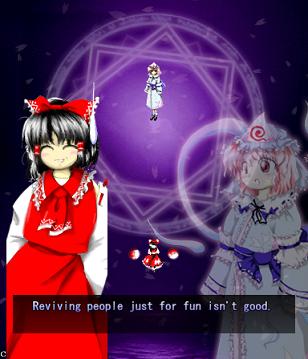
Wow. That's like, deep, man.


Reimu says what the audience has been screaming for the past 5 minutes.

To make up for the distinct lack of The Funny, here's Marisa being silly:

There, that's a bit more like it. Now, let's get it on.


♫ BGM: Bloom Nobly, Cherry Blossoms of Sumizome ~ Border of Life ♫
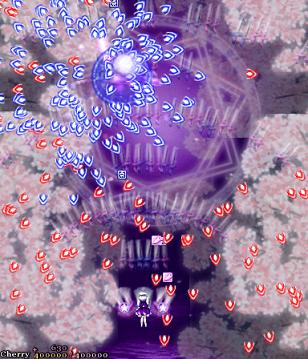
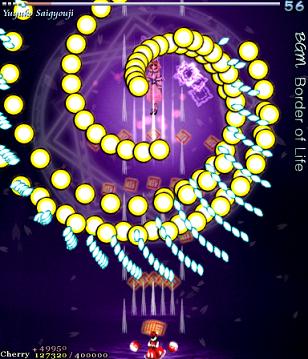
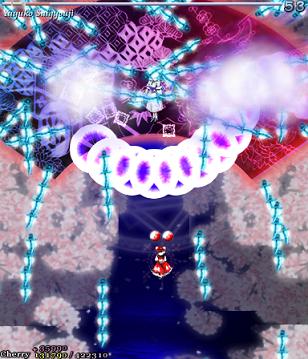
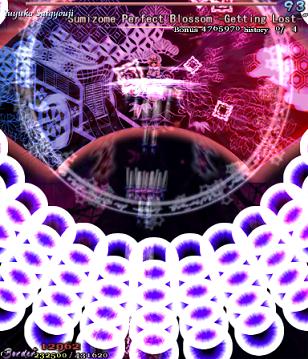
As Yuyuko is the final boss of the game, you're probably expecting a harsh fight, and a harsh fight is exactly what she gives you- she has five life bars, six Spell Cards and ten different attack patterns in total. This is a bitter fight until the very end, so bring everything you've got to this one! Her opening gambit is a bit unnerving really- if you're playing to beat this son-of-a-bitch, then you're probably frazzled by this point, and something like this is the last thing you need. The pattern revolves around her launching streams of diamond bullets, coupled with spreads of sphere bullets, and while the sphere bullets seem to be the main threat, the diamond bullets are aggravating- they're designed to seal off gaps between the spheres. When she starts launching out the bullets like crazy, as demonstrated by the screenshot to the right, there's often just a pixel or two in it.
If you lose a life to this opening attack, feel free to cry- we won't think any less of you.


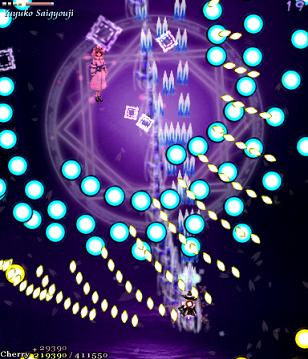
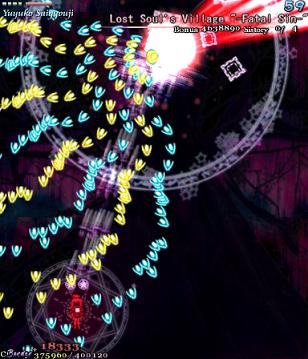
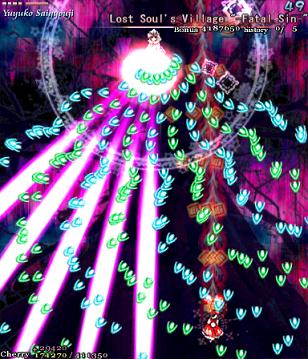
Right, so, first Spell Card! Let's do this! 'Fatal Sin' is another one of those mind-trick cards, where Yuyuko tries to distract you with something shiny on one side of the screen, while bringing death from the other. In this case, she'll fire out a load of arrow bullets that snake their way down one side of the screen, twisting and turning as they head over to you just to annoy you. While it's tempting to just avoid them entirely, she'll also swing some giant death lasers over her head, covering the opposite side of the screen. If you're in the middle of the screen, then the lasers are gonna catch you. Like it or not, dodging your way through the arrow bullets is the only way you're getting out of this in one piece. Unlike bullets, which have hitboxes smaller than their on-screen sprites, lasers can't be negotiated with- touch 'em, you're dead.
Once you beat this first Spell Card, you'll start moving back towards the flower garden, and...

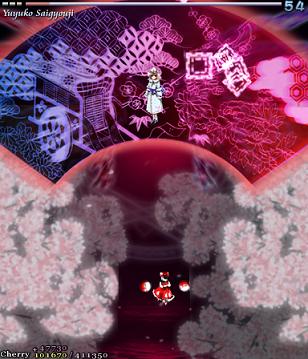
... A giant fan appears out of nowhere, and Yuyuko continues her assault.


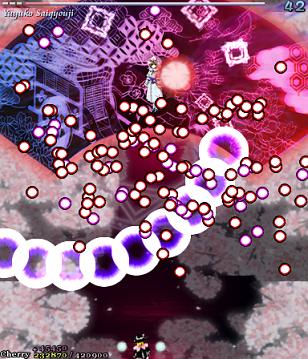
The fan starts spewing out very slow bullets that seem to wander around aimlessly, a bit like Letty's wandering bullets. Hey, remember that? Y'know, about 6 pages ago, when the game was gentle and wasn't kicking your ass every 5 seconds? Yeah, that's when the game was boring as well, so man up. Er, anyway, she'll also send a huge spread of gigantic bullets your way, with the one in the middle aimed directly at you. Just nudge your way to the left/right to avoid it... Then get ready for another gigantic bullet spread from the opposite side. As you bring her health bar down (which you can do either by hitting her or the fan) she'll step things up and launch the gigantic bullets faster and faster, so do try and keep up, and try not to let any of the wandering bullets hit you. That's always a painful experience.


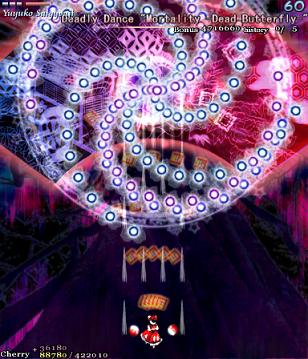
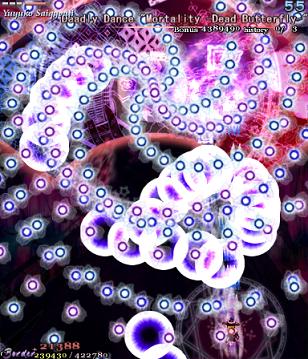
Next Spell Card's up, and this one's a doozy. 'Mortality - Dead Butterfly' introduces us to Yuyuko's special bullets, which are basically the same as the normal sphere bullets we've seen up to this point, but they have some sort of weird light effect on them, which sometimes makes it difficult to see whether they're going to hit you or not. They're not much fun to be around, so Yuyuko also throws in some gigantic bullets which launch out from her in a line, then home in on you, stop, then drift off-screen. The fact that they all gang up on you at once means that it's going to be a tight squeeze, not to mention the fact that there's usually 2 or 3 rows of the bastards on screen at once. I'd like to say that you could develop a strategy here- like, for instance, herding the big bullets to once side to keep them out of harm's way- but that's a lie. This is all about luck. Keep moving and shooting like a madman, and hey, maybe you'll capture this Spell Card! Ha ha, yeah, maybe.


Suddenly, knives! Dozens of them! Similar to the last non-Spell Card attack we had to survive, Yuyuko fires out large spreads of gigantic bullets, but this time they'll crawl v-e-r-y slowly to the bottom of the screen, so they're nice and easy to navigate. Unlike last time, though, you don't get the small mercy of having to dodge slow, wandering bullets that rarely cause a fuss- oh no, now you've got to dodge the most annoying bullets in the game, the bloody knives. Anyone who's played The Embodiment of Scarlet Devil might start getting horrible flashbacks to the fight with Sakuya when they reach this part, because the knives have a really weird hitbox. Even worse, as you get Yuyuko's health down, the knives start acting up and curving in weird directions, so get ready to cry.
If you've managed to get this far, congratulations! We're halfway through this hell.


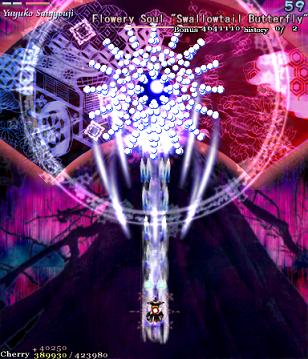
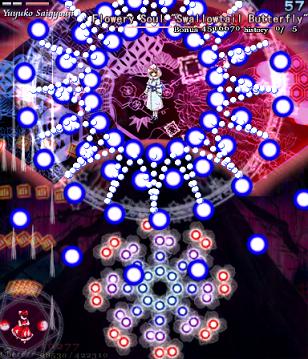
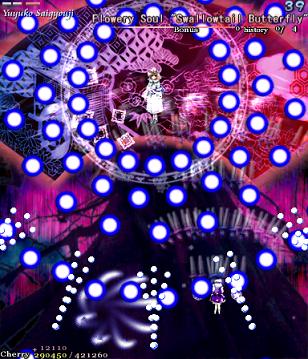
And now, it's time for my favourite Spell Card in the game, 'Swallowtail Butterfly'. Every now and then, amongst all the difficult Spell Cards, ZUN throws you something that's really a cut above the rest, something that hasn't been seen often in a shoot-em-up, and in Perfect Cherry Blossom, this is that Spell Card. Throughout this card, you'll be pestered by 8 lasers that home in on your location, explode into a nice little bullet pattern which expands then retracts, then home in on you again, and so on, until you beat Yuyuko. While this is happening, she'll still be firing out waves of big bullets for you to weave through, and she'll even throw in some ping pong bullets from time to time (but without the element of gravity that the other ones in the game have) which essentially turns this battle into one of luring the lasers to one corner of the screen, making your way through the spheres and the ping pong bullets to the other side, and repeating. It's difficult to get it down, but once you do, it's tremendously fun! Honest!


The next non-Spell Card attack is kind-of weird. As well as flinging about circles of sphere bullets like they're going out of fashion, Yuyuko conjures up streams of arrow bullets that make their way down the screen in a way that I can only describe as 'lazy'. Play the game and see for yourself. Anyway, you need to pay attention to the colours here- the dark blue arrows aim at you, the light blue arrows aim away from you, and the green arrows aim wherever they want just because they can. She also throws a spread of normal green bullets at you, as if you haven't got enough to keep track of. Just as long as you stick to little nudges left and right, rather than leaping from one side of the stage to the other, you'll survive.


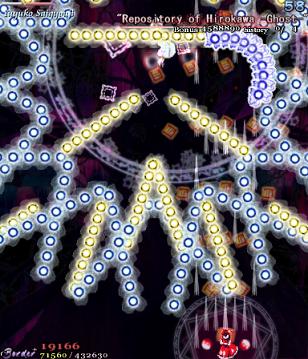
And then ahahahahaha oh nooooooo we get to fight 'Repository of Hirokawa -Ghost-' and oh boy is this card mean. This is your first chance to get acquainted with the absolutely evil stacked bullets- bullets that are more than meets the eye actually several bullets in one, and as they make their way down the screen, they'll unfurl into a gigantic column of pain, as pictured above. After the opening introduction with these bullets, Yuyuko then throws homing stacked bullets at you, which are the same concept, just, y'know, aimed at you. And she's not stingy with them either, she'll toss 'em out like they're going out of fashion, absolutely riddling the screen with bullets. The only advice I can give you here is do not get trapped in a corner. This is what Yuyuko wants you to do with the constant homing stacked bullets, and if you let her, she'll repeat her opening attack and probably kill you. It's very tough, but keep moving, squeeze through the tiny gaps, and avoid those corners like your life depends on it because, by golly, it does!

For the final Spell Card, Yuyuko opens up with a lovely bunch of gigantic stacked bullets...


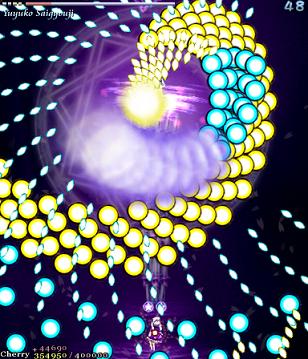
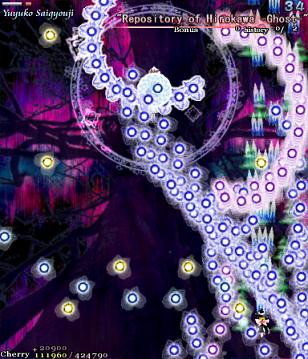
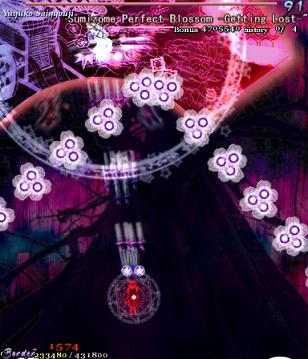
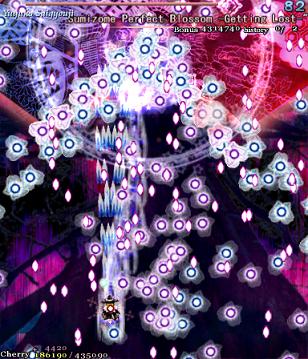
... And now, it's the last stretch! Hang in there! This is her final life bar, so surely she's dead after this one? Then again, she's a ghost, so does she really die or what? Story quibbles aside, 'Getting Lost' is a nasty, nasty little card. The stacked bullets come back, but this time, they'll swirl around a bit before they aim at you and unfurl (although some of them intentionally seem to be aimed away from you) but she'll also throw in diamond bullets to get in your way- some move up, some move down, and it's a bit like Youmu's 'Delusion of Enlightenment' that we had to deal with on the last stage. Y'know, the rain of diamond bullets. Anyway, once again, you're gonna have to really squeeze through those gaps, tiny and impossible-to-see as they are... Or, if you want, you could just give yourself a break and bomb that shit into oblivion. You know you want to. However you do it, whittle her health down and you shall be victorious! This game is finally o-

♫ BGM: Border of Life ♫
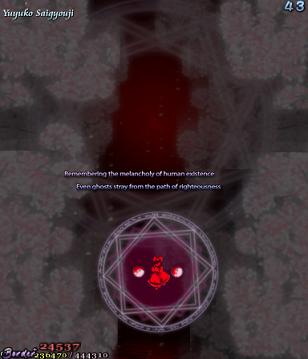
Remembering the melancholy of human existence
Even ghosts stray from the path of righteousness.

... Awwww, shit. What now?!


WARNING!
The final attack is approaching at full throttle!
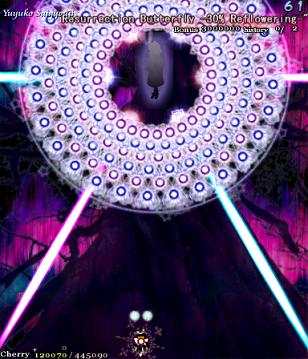
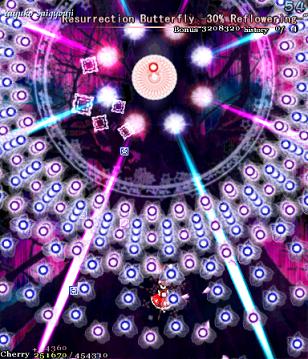
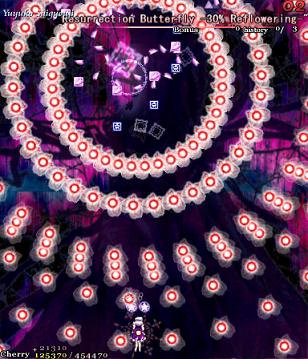
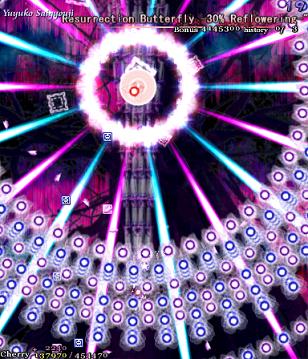
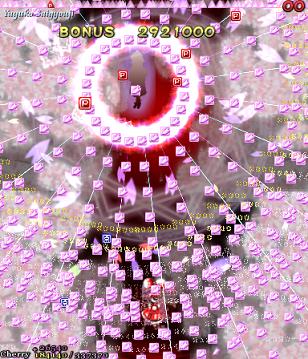
Ha ha ha, oh man, you actually thought it was over! Yuyuko's real final Spell Card, 'Resurrection Butterfly - 30% Reflowering', is a little different from the others in the game. If you think filling her with bullets is going to help you, then you can forget it- she's turned into a shadow, so you can't hit her. If you're wondering how you're supposed to get her life bar down when you can't hit her, then you're thinking about this totally wrong- she doesn't have a life bar anymore! Rather than killing her, you've simply got to survive this attack until the timer goes down, ending the game. Usually, this would mean you lose your Spell Card bonus, but this is an exception.
As this is the final Spell Card in the game, you'd expect it to be utterly impossible. Amazingly, ZUN has decided to show a little, dare I say it, mercy, and so this isn't as bad as you might think. Yuyuko launches out a tightly-packed cluster of bullets that don't require much weaving to avoid, then she'll fire off 4 waves of stacked red bullets that move slightly to the right or the left- this is the hard part of this attack, but the trick is to remember not to move too much, otherwise you'll walk right into it. While all this is happening, you'll be hemmed into the middle by the lasers to the side, which increase in number as the clock ticks down... That's all there is to it, she'll keep repeating this until it's over.
This Spell Card just takes a good sense of timing, and a steady hand... Which, if you've been playing since the start of the game, is something you might be lacking right now. To really understand this card, you have to put yourself in the mind-set of someone who's made it up to this point, after countless nights trying to get this far without losing all their lives. You've been wailing at this game for the past half-an-hour, constantly groaning at each embarrassing death you've probably suffered. Your hands are a little sweaty, but it's the constant shaking you're more worried about. You might have a slight migraine if you've put your headphones in because of how stompin' the final boss music is- and oh shit son, now the music's getting cranked up a notch. This is the last stretch, you keep telling yourself- don't fuck up now!
There's only two ways you're getting out of here:
Death, or victory.

Finally, one more Lunatic shot for the road- it's mostly the same as the Normal version, but adds in a spread of gigantic bullets. GOOD LUCK.


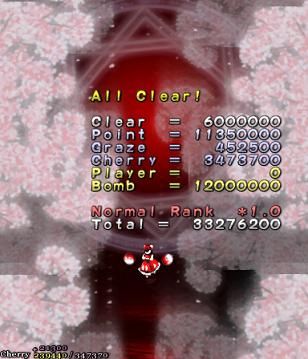
And here we are, a well-earned results screen... Assuming you didn't continue like a filthy scrub.
Let's move on to the last page, assuming your nerves weren't fried by that last battle...
