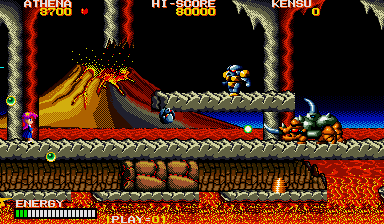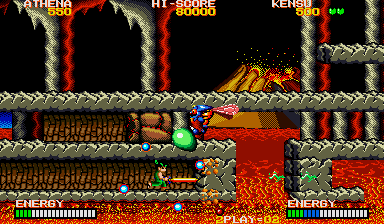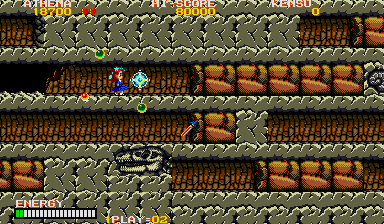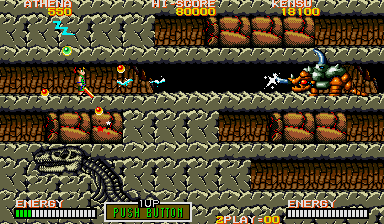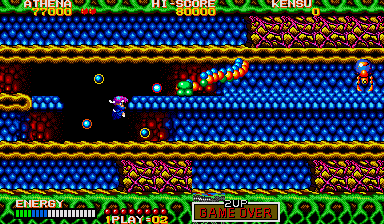

Stage 5, then, and the break that the game gave you in the last stage was clearly to lull you into a false sense of security. You may have made it to the centre of the earth (well, I'm guessing this from the lava motif) but the game's really pissed that you've made it this far, so it gets real serious. In order to end you once and for all, the game brings back the Head Guys (they're less common, but still annoying), the Triceratops, and introduces some new enemies. The worst is probably the Lava Monster, which attacks you in packs, fires bullets at you, and can leap up the entire screen in less than a second. Like the fish monsters from the last stage, they can emerge from the lava, so you have to keep on the lookout for them. Slightly less annoying is the Spring Snake that doesn't walk- instead, it jumps everywhere, but fortunately it falls in the lava most of the time, so it's not much of a threat. It's still a pretty tough stage, though, 'cause even if you get the Phoenix / Dragon transformation here, it won't help you that much- if you get a pixel too close to the lava spurts, your energy meter is drained instantly.


Weirdly enough, about two-thirds of the way into the level the game continues to use its sneaky 'make the player feel safe then fuck 'em up' technique by replicating the stockpile room at the end of each stage. Loads of blocks, no enemies. Isn't that nice? Thing is, you're going to need all the supplies you can get because in this section you get to fight (or more likely, avoid) not just one, but two Triceratops enemies. That's a dick move, SNK. At least you're armed to deal with them because of all the items that the bricks give you, but still, hardly polite.


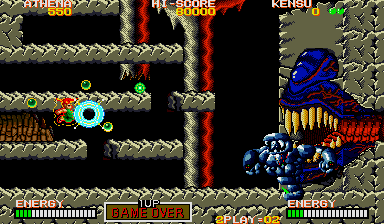
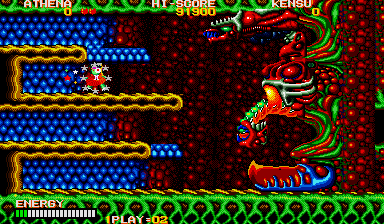
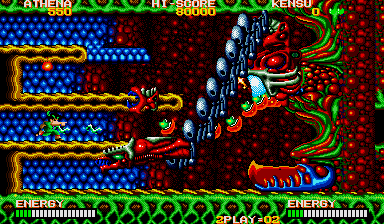
The boss is another genuine boss rather than a wall to defeat, despite appearances to the contrary. Yes, I'm fully aware there's a giant Giger-esque alien head embedded in the wall, but that's not the enemy here. No, it's the rock monster, and he's a bit of a pain. He's got a limited range of movement- there's only about four places on-screen where he's allowed to sit still, including the far right corner, on the lowest level near the middle, and on the second level from the top, closer to the edge. His two attacks are a three-bullet spread attack (which, as long as you've got some Psycho Balls and plenty of energy, is nothing to worry about) and his head- sometimes (usually when he's close by) his neck will extend out and sweep counter-clockwise across the screen. If he's more than halfway across the screen and uses it, don't try and camp out in the bottom-left corner otherwise you're dead. This is the attack that will get you killed, but if you abuse the Psycho Ball attack's invincibility frames and remember that you can safely pass through its neck (only the head will kill you), you might be able to take him out. Alternatively, pelt him with high-energy Psycho Balls as fast as possible and he'll go down like a scrub.


Here we go, the final stage, and... What the fuck is going on?!
This is not a scientifically accurate depiction of the centre of the earth!
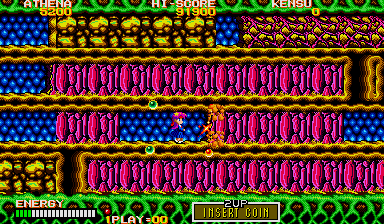
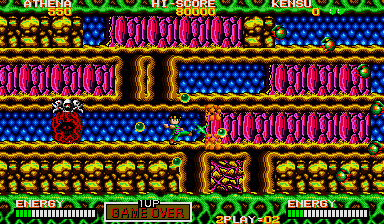
Well, OK, it's the Shiguma's personal base, but c'mon, it's a bit garish. Naturally, being the last stage, SNK does all it can to finish you off for good. There's an entirely new batch of enemies, and they're the worst yet. Chief among them is the blob-like alien, a nasty little bastard that acts much like the Blooper from Super Mario Bros.- they float around the screen, generally move in long strides, and while they only take one shot to kill at full power, you'll probably have died a few times so you won't have full power, and they'll swarm you. There's also some caterpillar-like things that take an obscene amount of punishment and can move all across the screen, some alien pod things that spew out bullets, a bunch of things that circle around you then close in (use a Psycho Ball to take 'em out) and some other blob-like things that explode into four giant blobby chunks when you kill them. What a lovely rogue's gallery, eh? You'll have to be on top form (and hopefully full power) to get through this alive.


The most aggravating threat to be introduced in this stage isn't an enemy, though. It's the walls. Some of the walls here are pink and look vaguely like taffy, but destroying them won't give you any items. Instead, shortly after you've destroyed them, they'll reform, and if you're anywhere near them, you're dead. Now, exactly when they respawn seems to be a bit random, as if you destroy a lot of them in a row, they'll all reform at a steady pace, regardless of how quickly you destroyed them. Sometimes they'll take their time in respawning, and others it's instant. Whatever the timing is, if you're so much as within a pixel of them when they respawn, consider your life over. One tip that does help is to always fully destroy walls if you shoot them once- they seem to start their respawn timer as soon as they're shot the first time. In any case, if you were wondering if there would be huge gauntlets of nothing but these purple taffy walls, you would be correct, so you'd better be ready for them. The best approach is to use a Psycho Ball when your meter's yellow or red, and then dash forward in the hopes that the respawning walls won't catch you.


The final boss is a bit strange, in that he's a fusion of several other bosses- the Stage 2 boss (it has a lunge attack), the Stage 3 boss (the bottom section launches projectiles at you, like the eyes) and the Stage 5 boss (the fact that it's got a tail, I guess?). He's a culmination of all the terrors you've faced so far!
He's also completely impossible.
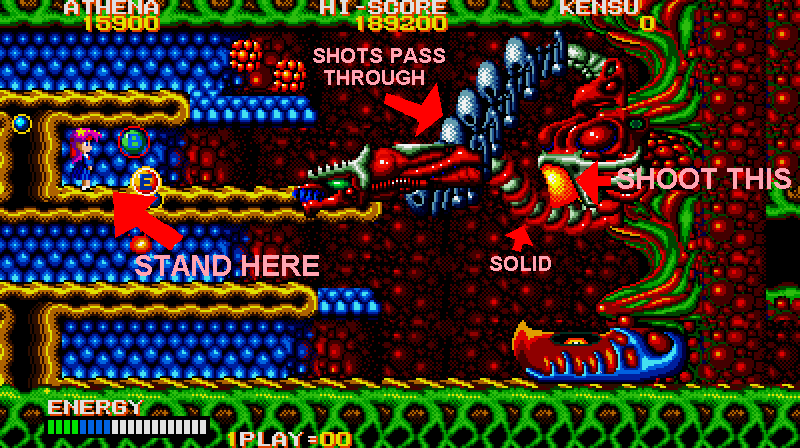
At least, in practice. In theory he should be fairly easy to beat. Here's a diagram:

Let's analyse this thing, shall we? As you can see here, the boss is basically Dobkeratops (Stage 1 boss) from R-Type- it has a tail that moves around and protects the chest, which is the weak spot. Unlike Dobkeratops, the head of this beast moves as well, so you'd think the chest is protected from your attacks 99% of the time. However! The tail of the creature is indeed completely impervious to your shots, as is the head, but the neck isn't. Your shots will pass right through it. But what about its attacks? They are a head lunge, a weak fireball attack from the head, and the spiky things it launches from the bottom of the screen (which sometimes turn into bonus E and B symbols)- the spiky things and fireballs are negligible threats here, it's the head lunge that's going to really do you in. It seems wildly unpredictable at first, but soon you can see how it works- it'll pick one row to lunge at, but return to its default position by passing through another row- either the one directly above or below.
In theory what you need to do is put yourself where Athena is in this enlarged screenshot, and make sure to press yourself against the wall, then turn around and face your enemy. From here, you can shoot at the chest through the neck, and also avoid the head lunge fairly easily- if it lunges at this particular row, it will never pass through the one below it on the way back (it always uses the top row) so just hop down a row, then get back in position when it's safe. Do the same if a spiky thing or fireball heads your way (you can also go up to avoid the fireball, but watch out for the lunge). From here, you can also easily grab any bonus E and B symbols (should they appear) and if you ever find yourself in a real jam, you can just use the Psycho Ball's temporary invincibility to avoid getting killed- you won't be using them against the boss itself, trust me. If you're at full shot power, then keep this up and the final boss will die.
Now, I said in theory several times. That's because this boss absolutely refuses to die, ever. He takes an inordinate amount of punishment- especially if your shot isn't upgraded- so this battle will go on for quite a while. You're very likely to slip up during that time- the safest spot on the screen isn't 100% safe, so you will need to keep moving and stay on top of all the shit you need to be aware of. It's easy to get out of the pattern and die like an idiot, especially when it comes to the top row, which you'll need to hop to sometimes but is also very unsafe. Keep up this battle of attrition, though, and it will die eventually.
I decided, though, that surely that can't be the only way to beat this guy. There must always be another way! Sure, SNK had made Victory Road the year before and are more than capable of making something completely impossible, but there must be something I'm missing. So, after looking for a while and finding the only 1CC video of Psycho Soldier on the internet (I couldn't find any others, oddly enough, and the link I used has died long, long ago), I thought that, finally, I'd be shown some true pro tactics to defeat this boss from someone capable of giving this game a bloody good seeing to.
Denied!
The player just uses a Super Psycho Ball attack to kill the boss in one hit.
However, the video does demonstrate a secret pro tactic for all the other parts of the game- keep your energy meter at just below max or keep your Psycho Ball stockpile at seven or less, and you can coast through most of the game and kill any adversaries with a Red Psycho Ball attack. A clever tactic to break the game's back over your knee, for sure!
You must have great spirit and skill to make it this far. On the next page, you'll find the ending!
