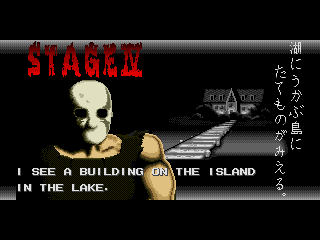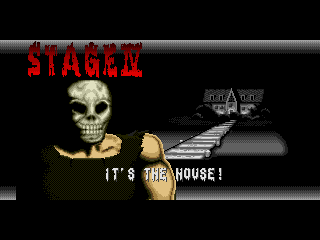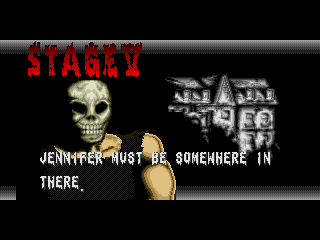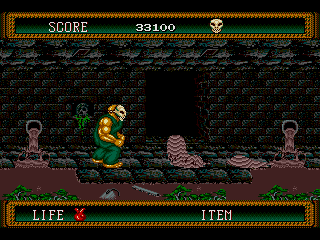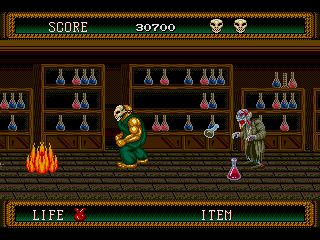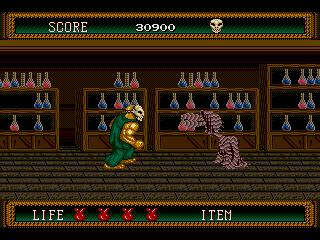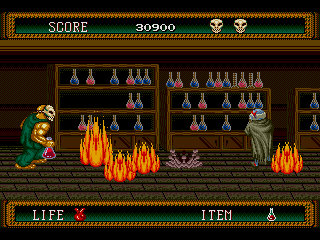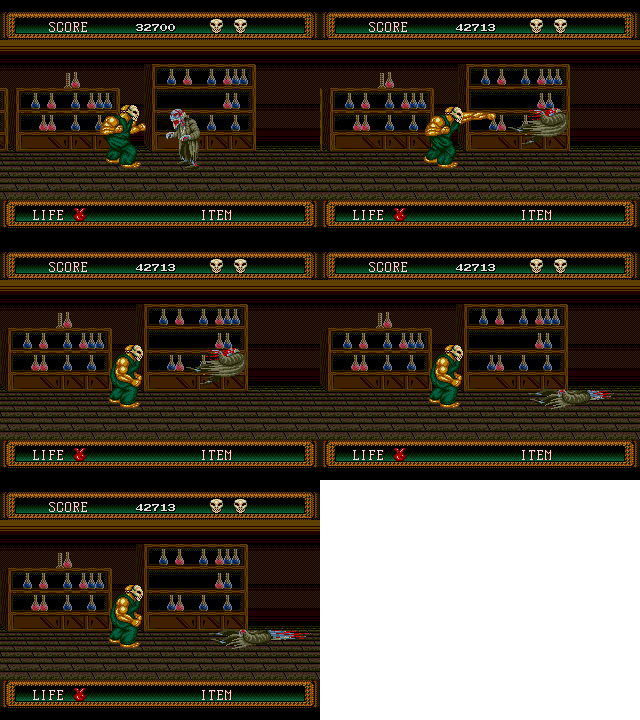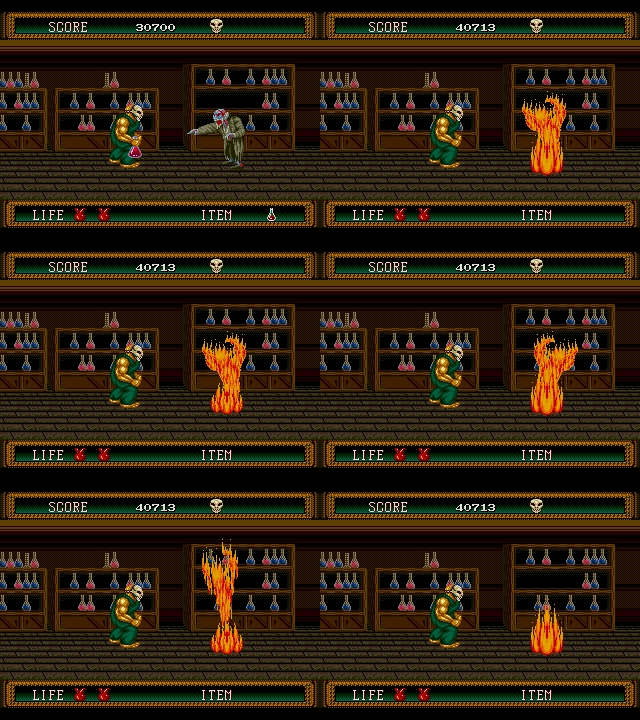


Stage IV, and it looks like we're getting closer to our objective.
Now here's where things get a bit weird about the different translations offered. The Western version just calls it 'the house', implying that it's the West Mansion again. If you were playing this in the 90s in Europe, then perhaps you wouldn't be aware that the West Mansion had burnt to the ground in the previous game, so this wouldn't seem odd to you. Those living in America in the 90s who had both a TurboGrafx-16 and s Mega Drive (we refuse to call it a Genesis) might be a little confused, but in this instance, the Japanese version of the story makes the most sense- this is a second, hidden house where West conducted even worse experiments than last time (well, it's implied a little later on). Enough story! Let's get to it!


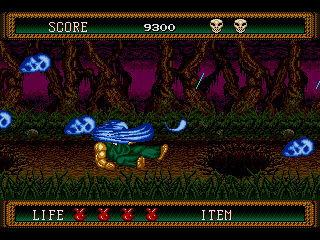
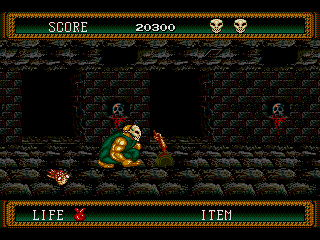
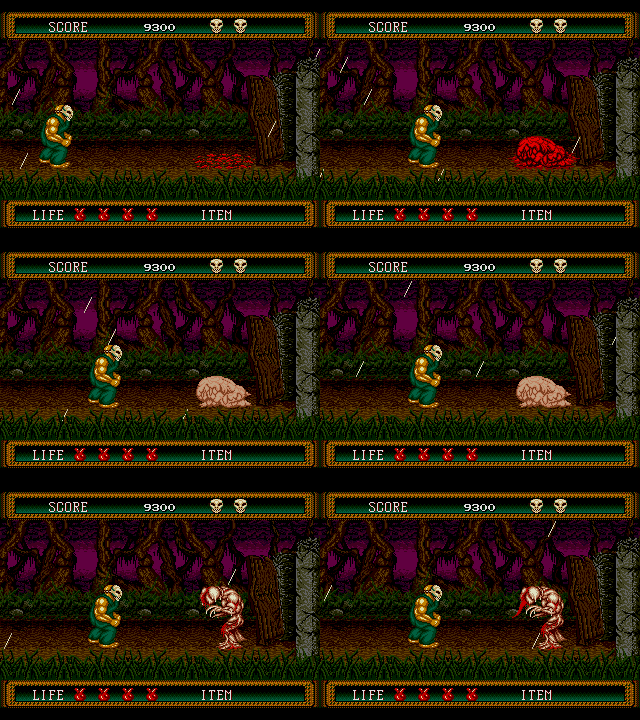
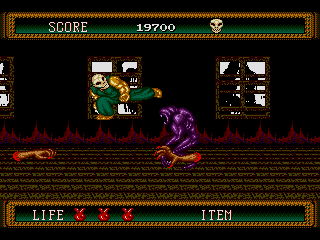
The first section here is auto-scrolling- there were a handful of these areas in the first game, but there's only two to be found here, and this one's a bit brisker than the other. As Rick makes his way across the bridge to the island, a weird octopus creature (apparently called Hell Tentacles in the Japanese manual, which is the kind of name I imagine seeing on a tape at the back of a 90s VHS store with the label 'absolutely not for kids!!') gives chase! You can't hurt or kill it (yet) so don't waste your time- just keep running. There's also some blue Deadmen in your way- the last we'll see of them, aww- and they're best taken out using the slide tackle so you don't have to stop when attacking them and let Hell Tentacles get too close. Sadly, this section has one of the most entertaining weapons- an oar that can smack Deadmen into the lake, as seen above- but it's kinda wasted here as it'll slow you down, since you have to stand still as you swing it. This is assuming you even find it, as it's partially hidden by the fog at the bottom of the screen.

In any case, eventually you'll reach the island and Hell Tentacles leaves you alone. For now.


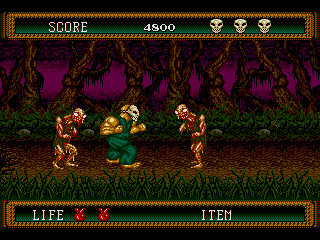
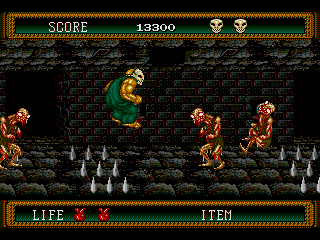
The island itself is one of the weirder segments of the game. First, the primary enemies are Ghouls, which are sorta-like zombies (in that, well, they're dead and rotting) but unlike the very punchable and delicate Deadmen, they have a tendency to get back up- punch them once and they'll go back into the ground, then their spirit rises to resurrect from the ground shortly afterwards. They'll eventually disappear permanently, but you should just keep marching on here, as the other enemy is a bit more annoying. The Spirit (these ones have faces, aahhhh) floats above the ground, take a few punches to knock out, and if they touch Rick, they'll encircle him and reverse your controls. Left is right, right is left. Fun, especially since this area's dotted with Ghouls and pits. My advice? Try and avoid the Spirits, but if one grabs you, march on and keep picking up Spirits so your controls don't suddenly revert to normal. This is especially amusing as gathering enough Spirits will cause some slowdown, if you want to flummox your poor little Mega Drive.


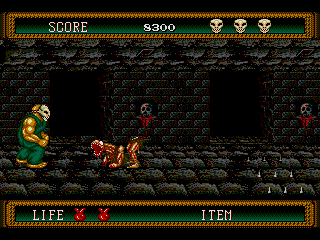
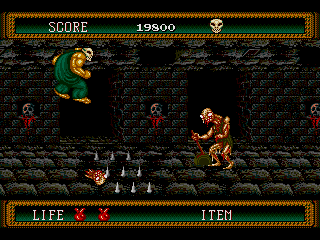
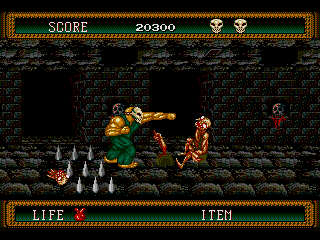
On the plus side, this section has one of the few optional areas of the game- like the auto-scrolling sections, the first Splatterhouse had quite a few of these, but there's less of them in 2. Fall down any of the holes and you'll end up in the... Dungeon? Basement? Dungeon-Basement? You'll still be attacked by Ghouls- these ones stay dead- but killing them drops a weapon you can only find here- a Ghoul Head! Throw it at a Ghoul and it'll most likely sever its legs (must have sharp teeth, I guess) and it'll crawl after you... Which makes it harder to hit, so don't do that. Use it against enemies behind you, and they'll probably get split in half... And crawl off the screen, away from you! So, bear that in mind. The other problem here is the floor- spikes like the ones from Stage II will appear constantly, and not necessarily in set places, so be sure to keep moving.

Oh. This guy's operating the spikes in the floor with this switch. Deal with him, please.


Well, he tried his best. Let's give him a hand, folks!

After reaching the end of either section, you'll encounter... A shack?

Oh, and this thing. Whatever it is.


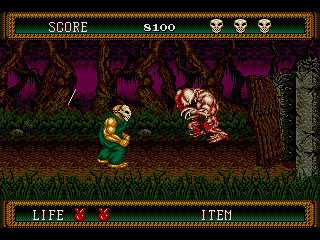
Apparently called a Metamorl (or Metamooru, according to The West Mansion), this beast is almost like two Splatterhouse bosses mashed into one- Mirror Rick and Mutant Jennifer. As intimidating as that sounds, it's not too tough when you know what to do. First, you have to know its pattern- he'll hop towards you (like Mutant Jennifer), and when you're in range, he'll jump back and do a sliding kick (like Mirror Rick). If you land a hit on him, he'll stagger back slightly then immediately slide-kick you. The trick is to move close to him when he's hopping forward, bop him on the nose, then jump over him as he slides and either kick him on your way down (make sure you're well clear of him otherwise you'll bump into him) or repeat the bop-on-the-nose technique.
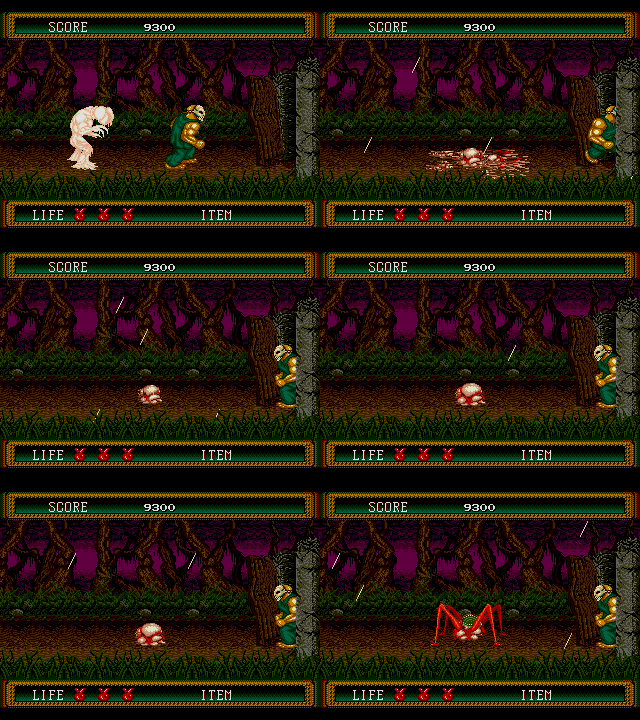
After a few hits, it all gets a bit... Well, you've seen The Thing, right?

Yep. That's a Thing if ever I've seen one.

This form is a right little sod. It's fast, small, hard to hit, and likes to jump around a lot. So, basically, it's an enemy that Rick couldn't possibly be more ill-equipped to fight. Even better, if you successfully get some distance between you and the Thing, it'll stand still until you get close, and if you attack it, it'll most likely jump over you then ram you from behind. This is one where I just threw my hands in the air and basically gave up. By 'gave up' I mean 'looked up strategies on YouTube'. This Game Master runthrough of the game shows that you can corner the beast, but while this video makes it look pretty easy to pull off, that's not really the case. Good luck with this one, punk!


However you beat the boss, we're now at Stage V, and we're finally in the house itself.
To be fair, it took until Stage IV in the first game to get to the house, but shush.
In any case, this stage is the longest in the game, so get ready!


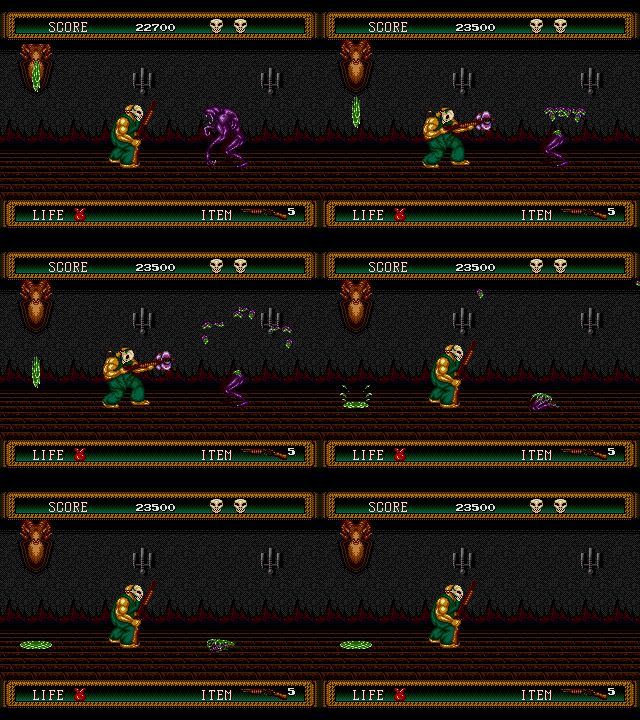
The first room in the house is pretty straightforward- no pits or anything, you'll mostly be hassled by purple Deathnoids and a new enemy, apparently called Dark Nail, which are disembodied hands that crawl on the floor. Some of these enemies will approach you from behind, though (at the very least, this is the one use of that annoying Deathnoid scream- they telegraph when they're appearing behind you! The hands, not so much) so stay alert. The only other hazard here is in the form of the deer heads mounted to the walls- the ones with glowing eyes will spit goop on you. Don't walk into it, silly.
As you can see above, the main attraction in this section is it's the only part of the game where you get to play with the shotgun! It's mounted to the wall under the first spitting deer head, so you'll have to tap Up to grab it (it's the only time you'll actually have to grab a weapon like this) and, as per standard Splatterhouse rules, has just eight shells. If you're careful, you've got enough shells to get to the end of this section without having to deal with any Deathnoids with fisticuffs, so just keep an eye out for Dark Nails, carefully negotiate the deer heads, and we're done here.


Next! The Library. This is a pretty dull section- just you, bookshelves in the foreground, and a whole load of Dark Nails to get in your way. They'll either crawl towards you (get 'em with a crouching kick), crawl then jump at you (step back, then crouch and kick) or fall from the ceiling. The problem here is that the shelves in the foreground can hide the Dark Nails so you might walk into them without knowing. That's not very sporting, Namco. Also not very sporting are the few Dark Nails that appear from behind you. Just take it slow- there's no rush- and make your way to the end.

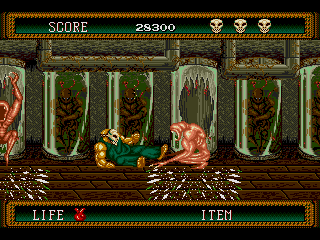
Next! The Deathnoid Chamber. Apparently this is where this rotten lot's being created and stored. This is analogous to the Mirror Rick fight from the first game, in a way- lots of test tubes in the background, but get too close to certain tubes- the first one is after the tube you see bubbles coming from- and...

... Oh. Well, that was a bit weak.

That's actually a good description for this entire section. While the Mirror Rick room in the first game was pretty unnerving, especially with that creepy music before Mirror Rick appeared, and also tough- this one's a total waste. You can almost walk through this entire room without stopping! The first two Deathnoids will jump over you when they break out, so walk under them to scroll them off-screen. The next one spawns behind you- keep walking, scroll him away too. Two will appear in front and behind of you next, but if you don't stop walking you'll go under the Deathnoid in front of you and they'll both be scrolled off screen. The final one needs you to stop to let it jump over you like the first two, and, er, that's it. It's actually harder to try and take them on- these pink variants take three hits apiece! At the very least, you can take solace in the fact that this is the last area in the game with Deathnoids in it. I guess this is a little breather, then...

... Unless you were clumsy and fell down one of the holes in this room.
Yep, back to the dungeon for you.
Same deal as the one in Stage IV- punch Ghouls til they die, avoid the spikes, only use Ghoul heads against ones behind you.


Next! The sewers. The Mud Dead from Stage II are back- different palette this time, y'see- but unlike before, there's no bone club to smash them lying around. Also, they can spit projectiles at you now! It's simple enough to deal with them, but you have to be quick- punch them, then jump over them straight away. If you're too slow, they'll start reforming already, and might be able to catch you while you're jumping over them. You'll also have to watch out for the odd Mud Dead puddle that chases after you from behind- don't ignore it, jump over it and let it pass otherwise you might get trapped between it and other Mud Deads. You also need to watch out for pits, but careful play should get you through here.
Once you reach the end, we're about to meet the house's boss. Might be a surprise!

Oh, hey, doc!
Who's this guy, then? A subject for debate, certainly. Those who've played the original game would assume it's Dr. West (meaning that Hell Chaos wasn't his mutated corpse at all- just some angry giant zombie dude). It makes sense- his name is mentioned in the Japanese manual for Part 2, after all. If you had the American/European instruction manual, however, you might think that this guy is some other doctor entirely- Dr. Mueller. He's apparently a totally different doctor who found the Terror Mask, and he also narrates a few sections of the manual, like the bestiary and weapons list. Why Namco decided to put this guy in the manual is a mystery- he's never mentioned in-game, and it seems he's just a renamed West. There's more about this at The West Mansion, so read up if you like.
Let's deal with him, in the only way Rick knows how!


This is almost like a chase sequence, as you have to make your way through the lab, harassed by the zombified Dr. West as he throws chemical vials at you frmo time to time- the green ones contain Mud Dead enemies (adding to the ones already in the lab), the red ones cause big explosions. There's also chemical vials dotted about the floor- shaking ones will burst into flames, stationary ones can be grabbed and thrown. Though it's tempting to throw the vials at West himself, don't waste them- instead, wait for a Mud Dead to get in your way, and use it on them to destroy them. Boy, that's satisfying, especially after the crap they've given you in the last section! There really isn't much else to it- just take your time when dealing with the explosions, get past the Mud Dead or blow 'em up, and...
Eventually, West is cornered. Let battle commence!

... Oh. Bit anti-climatic, that.
Well, if you want something a bit more dramatic... Hang on to a chemical vial until the end of the stage and lob it at him.

The fire lingers, though, so this way's a bit more dangerous. That's what you get for playing with chemicals.
With West now a greasy (or possibly burnt) spot on the floor, let's take a trip to the Land of the Dead!
Finally, to the business of rescuing Jennifer. Took us long enough.

