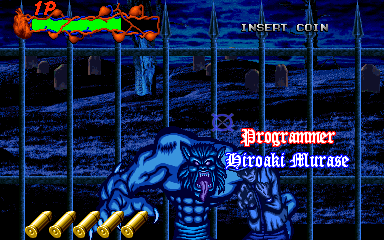
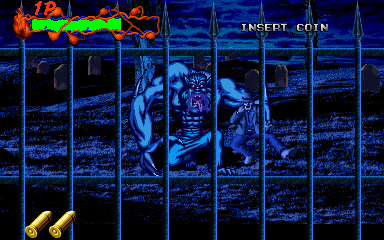
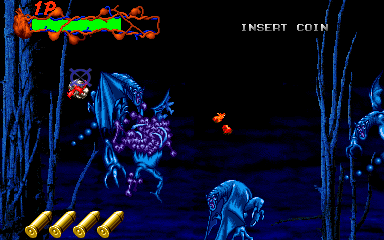
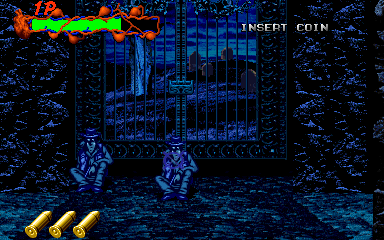
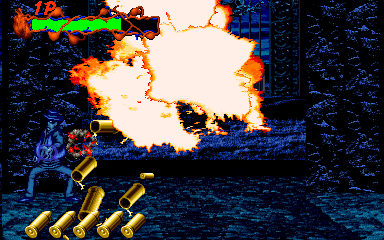
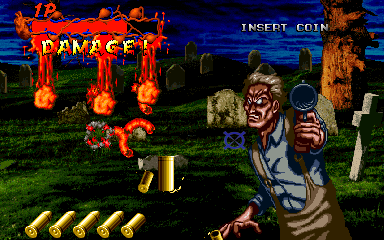
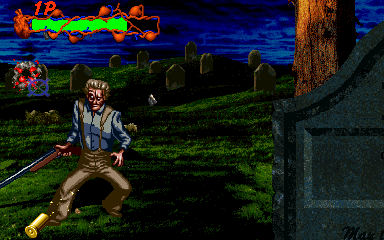
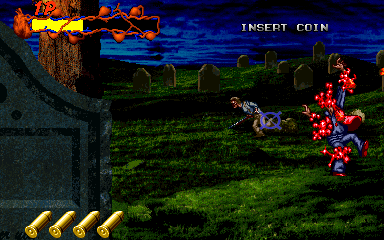
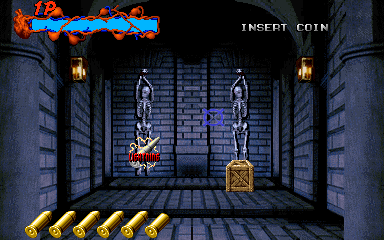
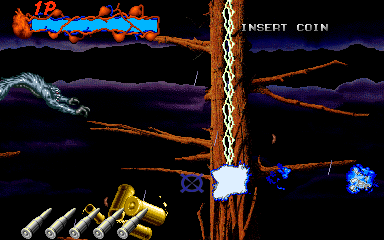
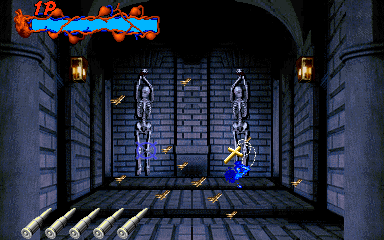
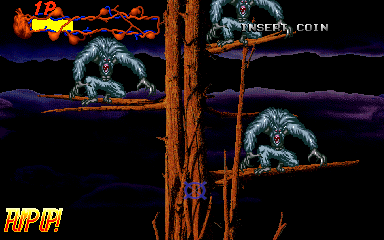
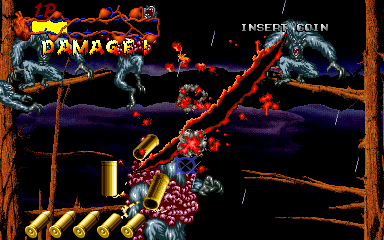
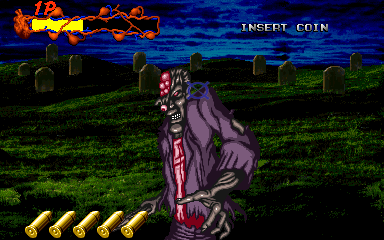
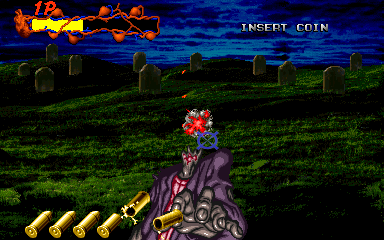
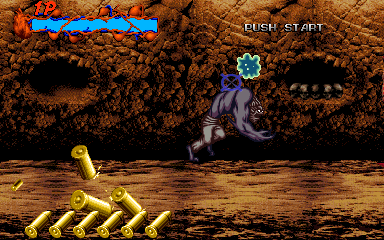
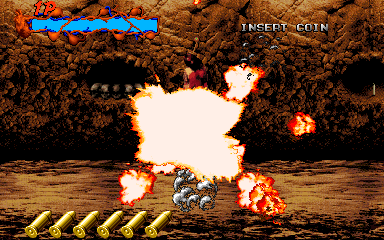
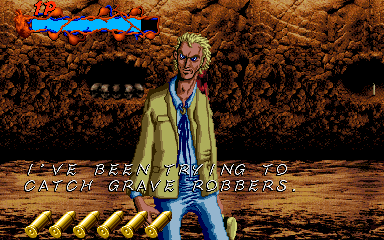
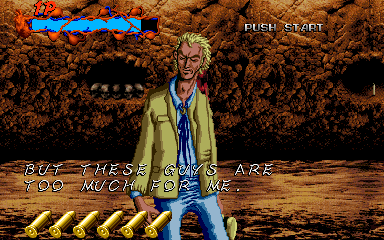
Before you coin up and start playing the game, the attract demo runs an insanely cool intro story.
Bear in mind that this is an arcade game, so small impressionable children were able to watch this.

So what's the deal here? Murder? Innocent people in peril? Time for someone to tell us what's up.

Haha, oh wow. Make way for Edward Windsor, everybody, the greatest video game character ever.
Why is Edward so amazing? First off, he's quite a snappy dresser, as anyone who wears a hat like that in public automatically wins my respect. Second, his introduction of the story is great, partly because he starts it with "This night reminds me of the nightmare" in a voice so gruff, Solid Snake would be jealous, but even better... He introduces himself rather humbly: "My name is Edward Windsor. I'm a miserable detective." How can you not fucking love that?! Is he a really lousy detective, or is he just clinically depressed? You don't know! So, Ed here is the game's protagonist, and while he may only have a rifle to hand, he sets about solving this mystery plaguing the townspeople, and heads to the graveyard...

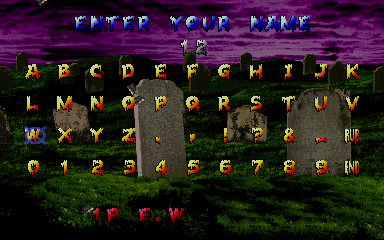
Ah, but before we do, we have to put our name in. For reasons that'll become clear halfway through this level, we do this bit first.

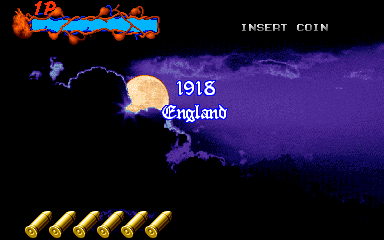
So, here we are, Merry Olde Englande, 1918. Let's get to the bottom of this mystery, gang!


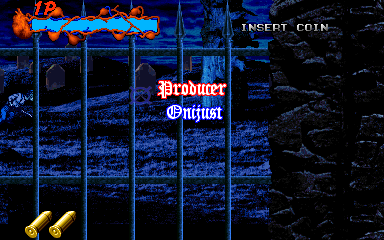
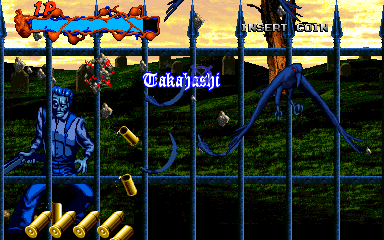
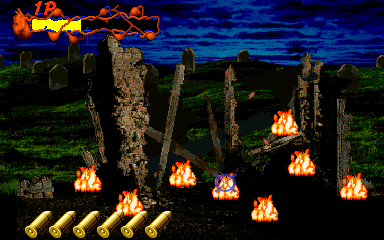
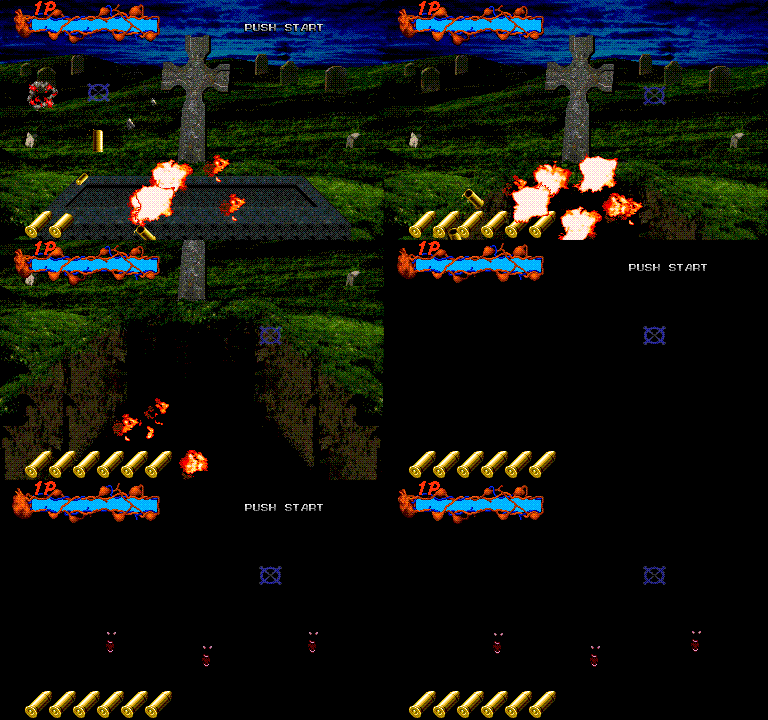
Amusingly, the credits are displayed at the beginning of the game, but you can actually shoot them to make them explode if you so wish! The opening segment flits by very fast, with various grave robbers running in the background, trying to take a pot-shot at you. While you might think you'll be able to ignore them, they actually can hurt you, so don't just let them attack you!


Gah! This must be the monstrosity doing all the kidnapping, then. You can shoot him as much as you like here, he'll simply refuse to die. With a taunt of "You'll never catch me!", he hops over the fence and scarpers with his poor victim. We'll be catching up with him later on. Strangely enough, shooting his victim doesn't rip him asunder like everyone else in the world of Zombie Raid. Odd, that.


The view then cuts to above the trees, as a cloud of grotesque bats fly in. However, they're not much of a threat, although the way they explode in mid-air is pretty disgusting... This 'intro' sequence finally ends at the gate of the graveyard- you need to shoot the giant padlock as goons rush in from both sides. Fortunately, it doesn't take many shots, but when you do destroy it...

... We bear witness to Inexplicable Explosion #1, as this gate is the first in a long line of things that explode for no reason at all in this game.


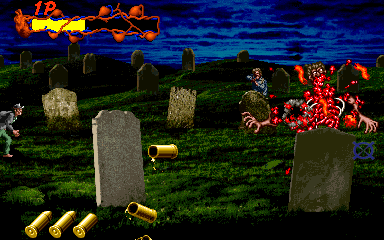
Now, the game begins in earnest. This first graveyard section is pretty straightforward, as there's only two enemy types here to bother you- the tall and lean graverobber who utilises a rifle exclusively, and a short and stout graverobber who sometimes throws knives at you. They'll keep coming for you, and you've just got to fill them with bullets before they get the chance to fire. There's also a few innocents in the background, so, er, try not to shoot them. As the screen slowly scrolls along, you'll notice lots of gravestones, and these can be shot for bonus items. However, they seem to be made out of solid steel, as it takes nearly 2 whole reloads to take these things out. That's what you get for trying to desecrate someone's gravestone, you dick. You'll also have to be careful, as some graves have dead bodies behind them, and others have live people you mustn't shoot, like the comely wench in the screenshot to the left...


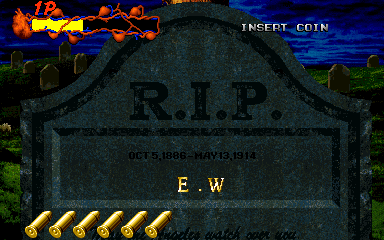
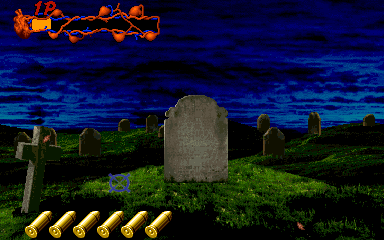
Eventually, you're flanked from both sides by graverobbers, so Edward takes shelter behind this preposterously large gravestone. The view flits from left to right as you take out the enemy on one side, then quickly move over to deal with the enemies on the other side, and this rigmarole continues for a little while. As you move from side to side, though, you might notice something familiar on the big gravestone. After a drawn-out gunfight, Edward finally decides to look at what's written on it, and...

"Oh no! I can't be dead!"
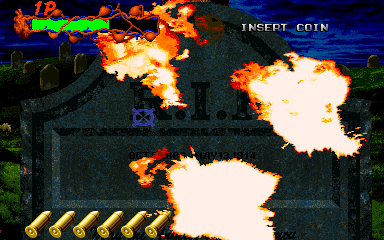
That's right! You put your initials in at the beginning of the game, rather than at the end, solely for this throw-away gag. And what a gag, it comes packaged with my second favourite voiceclip in the entire game. There's something farcical about having to re-establish the fact that you're not already dead. Classic stuff, folks.


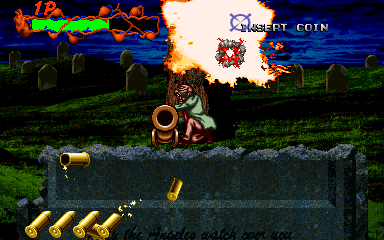
You'd think this is Inexplicable Explosion #2, but alas, you're wrong, as there's a perfectly good explanation here- there's a midget with a cannon! When the gravestone stops exploding, he'll start firing stupidly large cannonballs at you, which you need to take out lest they hit you, and shoot him a couple of times. Has he no respect for the (not really) dead?!

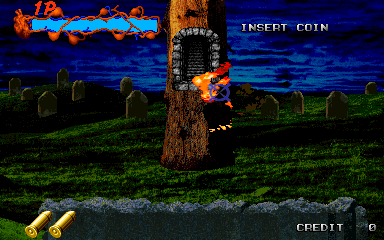
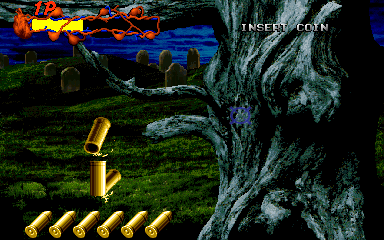
Ah, now just before we continue, there's a secret here. An unnamed player who contributed to arcade-history.com's page on Zombie Raid gives a guide to three hidden rooms in the game, and this one's the first. Before you destroy the cannon-firing midget, shoot at the front of the tree. About 4 or 5 shots ought to do it, and then this secret passageway appears, which you'll also need to shoot. This is the first of three secret rooms which contain ancient relics of immense power... Or, in other words, some really cool exclusive items. You won't find these things anywhere else in the game, so if you want to try them out, make sure you pop in here. The items in this secret room are...


Lightning
This weapon is practically divine intervention- whenever you fire it, lightning strikes down from above and fries the enemy. It's a little less useful than the Fire weapon though, as the blue flame it produces doesn't last nearly as long. However, unlike the other special weapons, you get 6 rounds per reload rather than a paltry 4.

Holy Cross
Hardly the most useful item available; the Holy Cross acts as a shield, and the next time you get hit, the damage will be nullified. One use only.
So whether you went for the secret items or not, let's press on.


Holy shit!
Werewolves can climb trees now?! That's it, humanity is screwed!
While the prospect of a tree-climbing werewolf is a scary one, let's not lose our composure here, people. There are innocent lives at stake. At the start of this section, the werewolves seem pretty docile, and they're taken out in one hit. As we move across the trees, though (which seems impossible, given that Edward presumably cannot fly) they'll leap towards the screen and try to slash you. However, these attacks are really fast, so you've got very little time to react before losing health. Just take them out before they get the chance to attack you, and this section's easy.


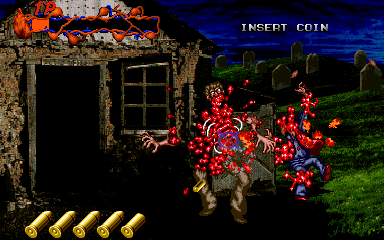
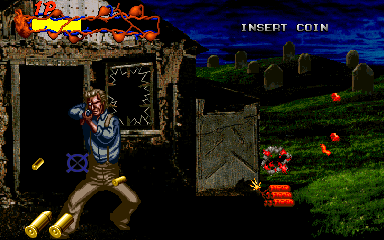
Back on solid ground, this part of the stage is a lot like the first graveyard section... But we're going rouge; the level scrolls from right to left here, how rebellious! After more gravestones, we get another stand-off, this time in front of an abandoned shack. You can shoot the windows for extra goodies, but sooner or later...

Now it's our turn for some small-scale property damage.

I'm not sure why someone's left dynamite lying around, but shooting it has some pretty dramatic results, as you can see. For whatever reason, the music also cuts out... The game then continues through the graveyard, as it's done already, but there's something that bothers me about this place.


I mean, it just feels so... Lonely. The graverobbers stop appearing so frequently, all you can hear is your heartbeat, and you have the horrible feeling that something bad is about to ha-

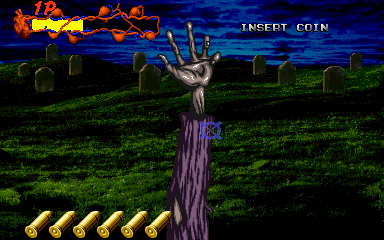
AAAAH! WHAT THE HELL IS THAT?!

AAAAH! ZOMBIE! KILL 'IM, KILL 'IM!

DIE, YOU UNDEAD SCUMBAG! DIE, DIE, DIE!


AAAAH! MORE OF THEM! TIME TO GET DEAD, YOU GHOULS!
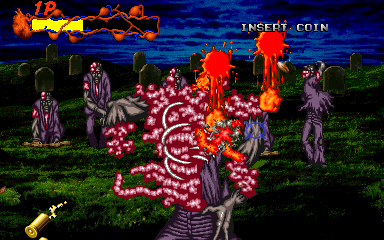
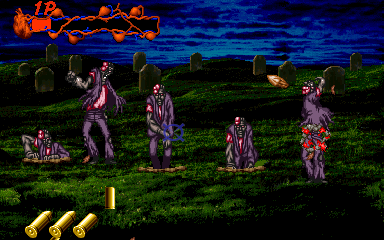
OK, panic over. Complete with a terrifying sound effect, the zombies come at you in full force for the first time, so that the game can actually live up to its title. However, these zombies aren't terribly traditional, as while they're very clearly of the zombie persuasion (check out the exposed brain and messed-up eyeball) they don't seem too interested in biting you much. Their main attack is to throw giant stakes at you, which you'll need to shoot out of the sky. Weirdly enough, they usually just lurch towards you and then walk off screen, although some do get up close and personal like the first zombie. The main threat here is the fact that these guys take ages to kill, and the longer they stick around, the more opportunities they've got to throw stakes at you. Even though a single bullet from Edward's rifle is apparently enough to rip apart an ordinary man, it takes almost a full round to cut through these titanium zombies. Funny ol' world.

And now for the real Inexplicable Explosion #2, which sends Edward down into the depths and... Oh dear, I don't like those faces...

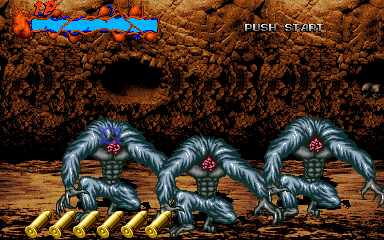
... Which is why, of course, you ought to decapitate the gits before the lights come on. Classy.

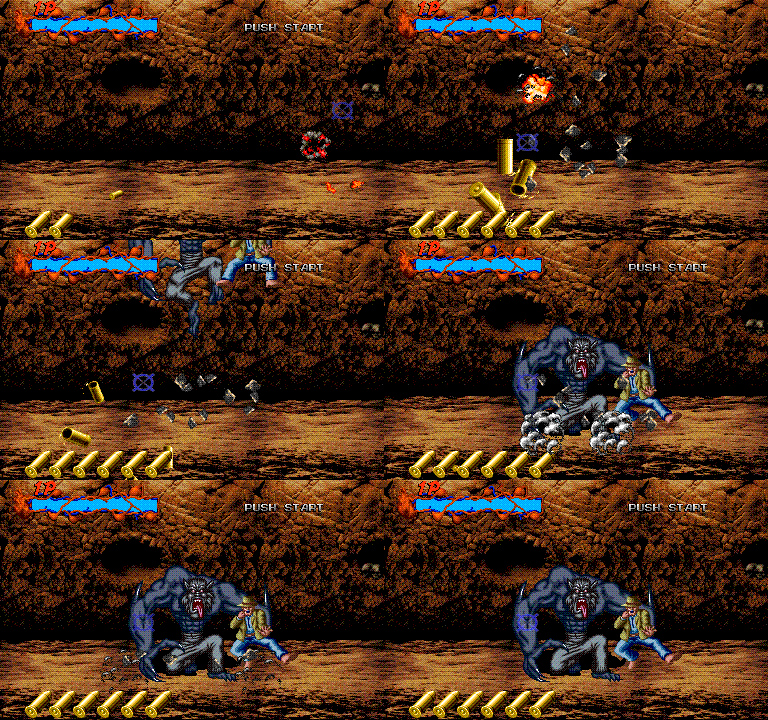
Straight afterwards, our friend Wolfie returns, remarking, "You're giving me a headache!" then throwing his captive aside as he goes after you.
Oh, and we also get Inexplicable Explosion #3 as he makes his way downward.


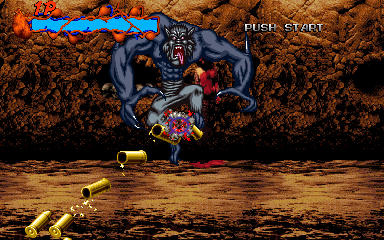
The Wolfman isn't a terribly difficult boss, mostly because he has no specific weak-spot- hitting him anywhere will hurt him. He'll use three different attack patterns for the majority of this fight. He starts off a good distance away from you, jumping around from side to side, and occasionally standing still, where he'll slash you after a second or so. To prevent him from attacking, you have to shoot him repeatedly, which will make him twitch violently and try again. Sometimes he'll also jump closer to the screen, which actually makes things easier, as he's an even bigger target.
His other mode of attack is to jump off-screen. Edward amusingly looks from side to side for him, then you see him in the background, running quickly. He'll ocassionally spit giant globs of phlegm at you (ewww) which you'll need to shoot before they can hit you, which I don't blame you for- we don't know where Wolfie's been, you might catch a cold off him or something. He'll mostly switch between these two patterns, but randomly, he'll jump to the back of the screen and start howling to summon his werewolf henchmen. Usually, though, he does this at the point where his health should be low enough that a couple of rounds ought to finish him, so you won't have to worry too much about this attack.

When he's dead, he'll explode- I'd call this Inexplicable Explosion #4, but every boss explodes, so it doesn't count- and his captive talks to you.


"Thanks, you saved my life!"
Well, that's awfully polite of you, Charles. Glad to see a fellow monster hunter doing their bit for the community.


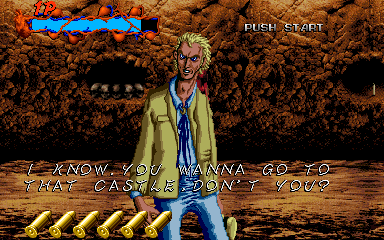
Huh? I never said anything about that, but whatever. Storming a castle's got to be better than dealing with these punk-ass graverobbers.


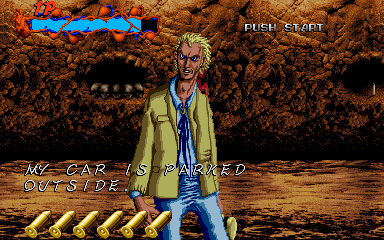
... I'm not sure I follow your logic, Charles, but I'm all about free rides, especially to spooky, possibly haunted castles. Let's roll, dawg.

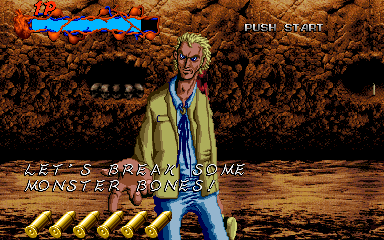
"Let's break some monster bones!"
Yesssss, best line in the entire game!
I don't think I need to say anything else about this line. Just listen to it.

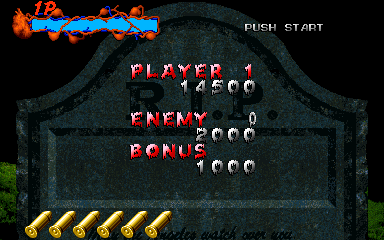
At the end of each level, you also get this little score screen, which I'm pointing out partly as an excuse for the caption I've given it, and partly because this is the only time you really see your score in-game. You get a score bonus based on how many enemies you've killed, and a generic bonus based on the level you're on- 1000 for Stage 1, 2000 for Stage 2, and so on. The score's important, because it refills your health meter- shoot as many enemies as you can to get more health at the end of the level. Anyway, shall we ride, Mr. Charles?
Let's go to the castle and BREAK SOME MONSTER BONES!


