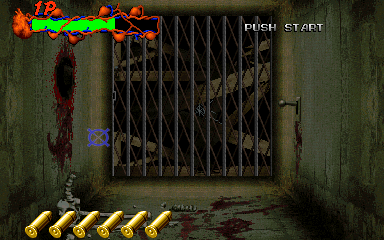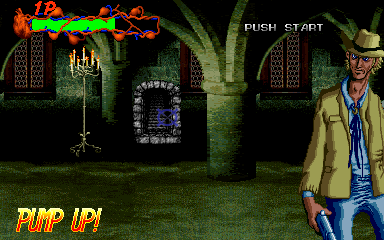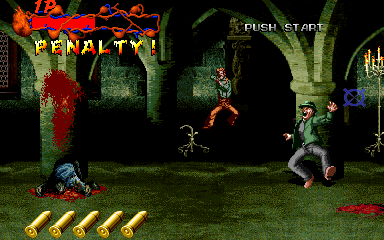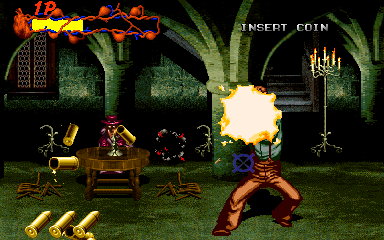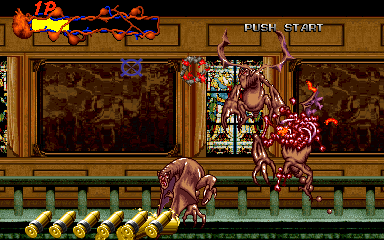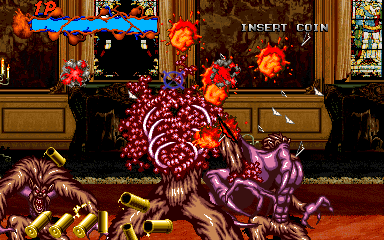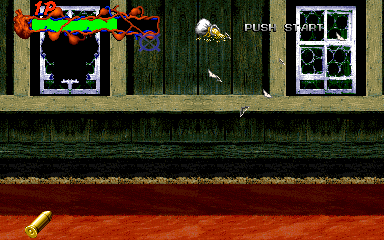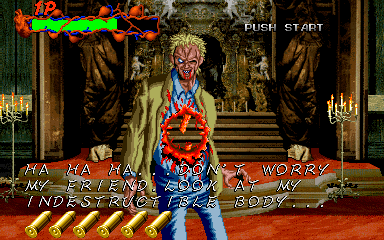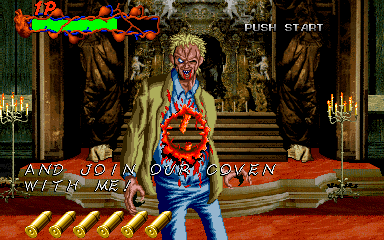

Stage 4 starts in the elevator, and mere seconds into the ride, Wolfie comes back! Well, at the very least, he's got a new palette, and greets you with, "Now it's MY turn to feast!" as his battle-cry. He enters in the same fashion as his predecessor (i.e. making the roof explode and then dropping in) which you'd think would count as Inexplicable Explosion #5 but, since we sort-of expect that from our dear Wolfman, it isn't. This fight's very short, and it's also one you technically can't win- you can pump him full of as much lead as you like, but you can't kill him. His only attack is use the original Wolfie's slash attack, and you can stun him by shooting him enough. Eventually, he'll meet his end, just not by your hands...

Charles! You son of a bitch! Where did you learn to be such a total bad-ass?!

... Charles?!


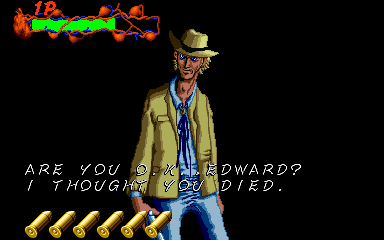
"Are you O.K.?
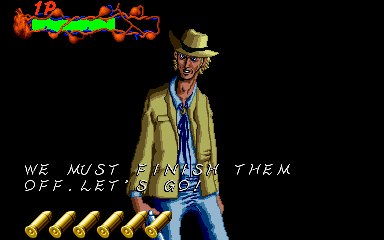
We must finish them off, let's go!"
Ah, that was a scary couple of seconds. That evil face must've been my imagination... What could it possibly mean?
(WARNING: FORESHADOWING DETECTED!)
Let's get back to business, my good man.

... Well, having said that, it's time we found the final secret room... At least, I think it is.
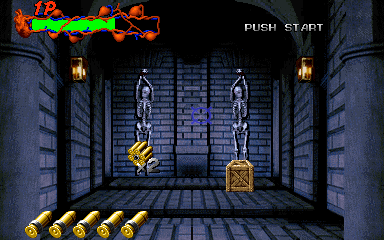
Shoot at the wall in the middle at the start, and we get to have our last set of special items... And these ones are probably the best in the game.

Ammo x 2
The name's deceptive- it doesn't give you double the ammo capacity, but it gives you something much better; Auto Reload.

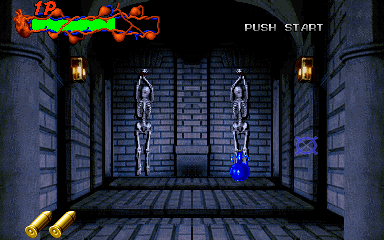
Blue Potion
A free credit, essentially. When you die and you've picked this up, you get boosted back up to full health.


After you get out of the secret room, destroy the first set of candles you see to grab an Auto weapon- it goes without saying that combining the Auto with the Ammo x 2 item means you can hold the fire button and slaughter anything that comes on screen within seconds. However, this also means you need to be extra careful of the innocent villagers that seem even more frequent now... Some of them are still tied up, too, so free them and be a good Samaritan, eh? This section's pretty simple, really, nothing we haven't seen before- graverobbers, Frankie, and the odd zombie, although the first wave that appears suffers at the hands of Charles...

I hope he'll help us out for the final boss, 'cause if he does, that guy is gonna get so dead.


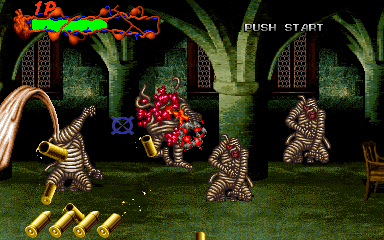
Unfortunately, it's at this precise moment that the laughs and frolics stop, as our sworn arch-enemy, the mummy, comes back for another pop at you. Even the almighty Auto + Ammo x 2 combo isn't quite enough to stop this enemy from hitting you and taking your precious Auto away from you as you once more curse the very air you breathe. Fortunately, they don't stick around for too long, and some of them even walk off screen once they've become bored of you.
It's this section that also highlights Zombie Raid's one true flaw- some of the sections drag on a bit too far. This one, the initial graveyard scenes, and the upcoming lab section are probably the worst offenders. Aside from these parts, the game keeps things active and exciting, but these bits drag on for just a little bit too long. Fortunately, we get a nice change of pace right about now!


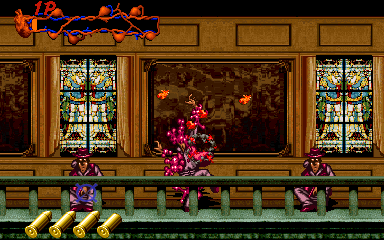
We move up quickly to the banister, where there's some more graverobbing goons to bring to justice, and just for the hell of it, you can smash the windows in the background for extra goodies. The bat things come back for another shot at us too, although I really have to wonder- is Edward looking up at the balcony, or is he actually flying? 'Cause if he was looking from the bottom floor, then the enemies wouldn't be able to hit him... Or, perhaps this is one of those 'suspend your disbelief' things. Zombie Raid doesn't adhere to your 'laws of physics' rubbish. Just roll with it.


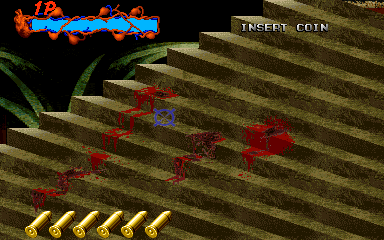
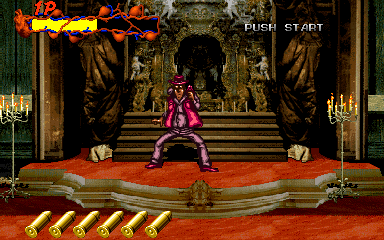
Back on the first floor briefly, we go up some blood-stained stairs (borrowed from the set of House of the Dead, unless I'm mistaken) which leads us to a corridor filled with windows, werewolves, and weird-looking statues... What could they possibly mean? (WARNING! FORESHADOWING DETECTED!) This section isn't terribly long, and so we'll skip ahead a little- after this we quickly move to... A completely empty corridor?!

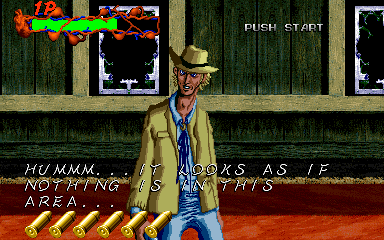
... Oh. Well, that was anti-climatic. What do you think, Charles?


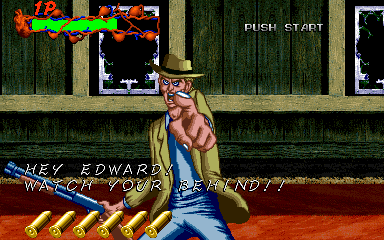
"Edward! Behind you!"
GASP! What could this unseen horror possible be?!

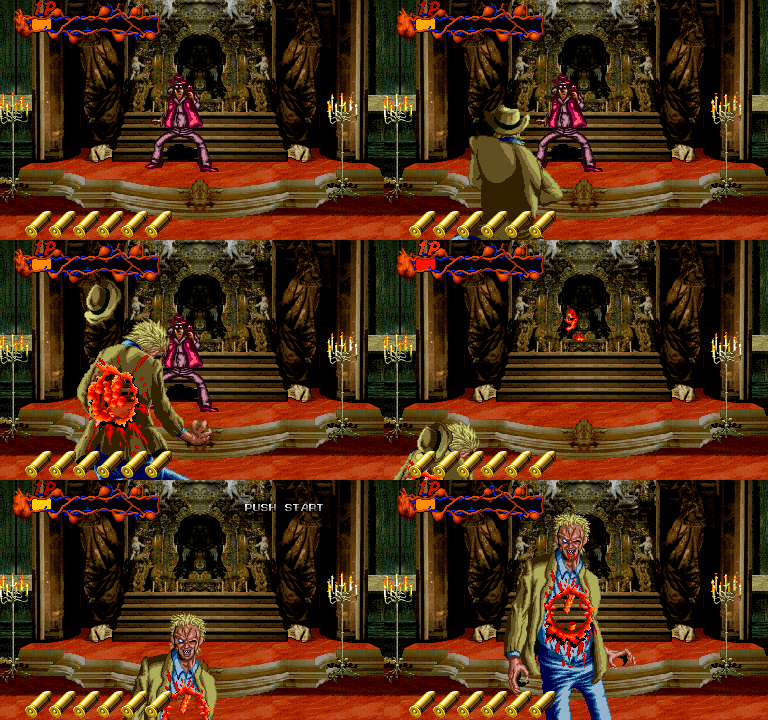
Huh? It's just one guy. Before Edward can kill him, Charles dashes forward, but...

"Chaaaarles!"
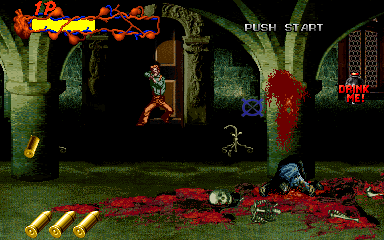
Holy shit!! Charles gets most of his internal organs removed and he's still alive?!


I... Whoa.
This is the best moment in the entire game, hands down. What a twist!
OK, sure, you can sort-of guess Charles is gonna turn out to be some sort of enemy after the evil face that flashes up at the start of the level, but it's on-screen for only a brief second, so it's really easy to miss. I missed it on my first play-through, so this moment completely threw me for a loop. I think it must be the shock that, after being shot at by these graverobbers for so long, one shot is enough to make a hole in your up-until-this-moment indestructible partner... Anyway, much as it pains us, we have to fight him. Let's break some Charlie bones!

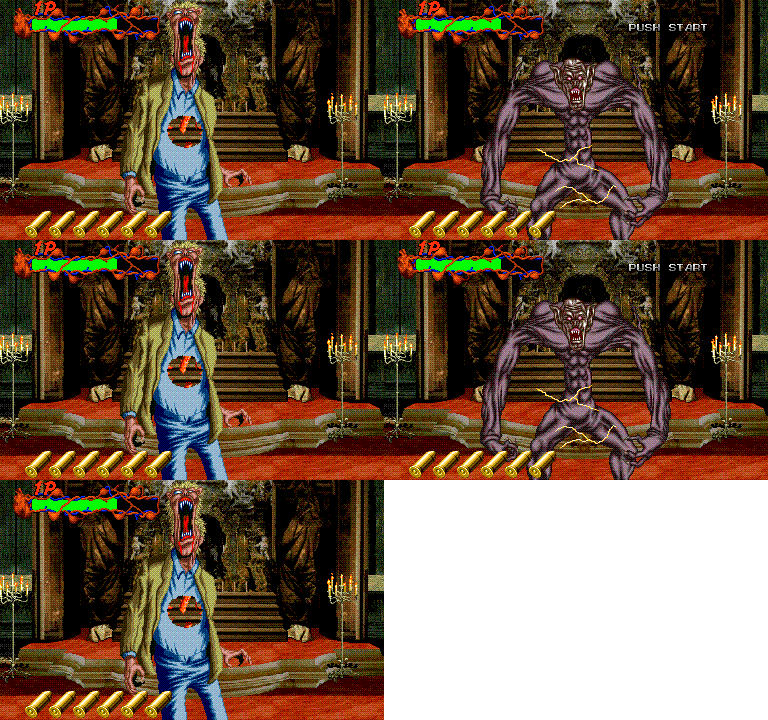
But first, he's got to transform, complete with the most hilarious scream ever.


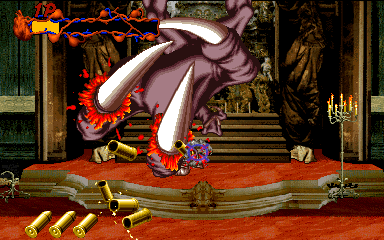
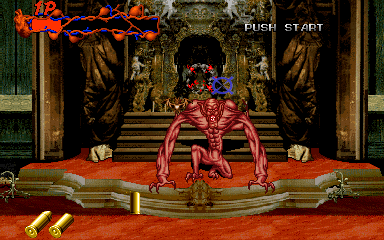
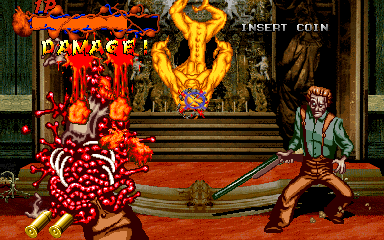
Charles is definitely a lot tougher than the Wolfmen we've been fighting so far. He's got a few basic attacks that he rotates through during this fight. The most basic is when he's up-close and personal, as he'll just stand still, waiting for his moment to attack you. This is exactly the same as the Wolfman's basic attack, and can be stopped in the same way- keep blasting him into submission. Sometimes, he'll mix things up by hanging on the ceiling, and jumping around in the background, but it's essentially the same thing- just keep shooting him to stop his attacks. This fight is all about pumping this asshole full of lead as quickly as possible- if you're a second or so too slow, he'll have a chance to dig his claws into you. Don't let him! This dude's been fooling you for the past 4 levels, and Edward Windsor is not gonna take it lightly!


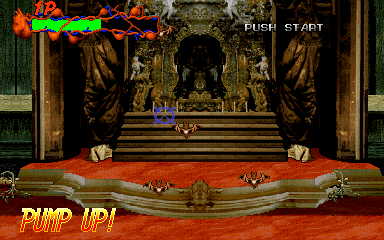
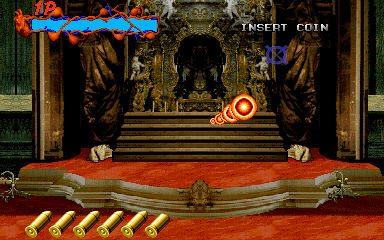
Like the Wolfman before him, he'll also occasionally call forth some goons to attack you- this time, he'll use graverobbers. He usually does this when he's hanging on the roof, which is also the time when it's hardest to hit him- he'll spend most of his time on the ceiling covering his face, which somehow nullifies any and all bullets heading towards him. Quite the party-trick, that. I guess he's trying to tell you, "You don't have time to kill me, these graverobbers are gunnin' for you!" or something. Anyway, his other attacks involve some more traditional vampire bats. Sometimes, he'll launch them from his hands, and they slowly make their way towards you- shoot them or take damage- and other times, he'll change into a cloud of bats as they fly off screen, then reform in the middle (and, weirdly enough, this is the only time in the game that real bats show up).

When he's dead, Charles makes another hilarious scream, and his spirit floats away... No time for a funeral, though. We've got a bad guy to find.
The final stage is on the next page- let's hop to it!
