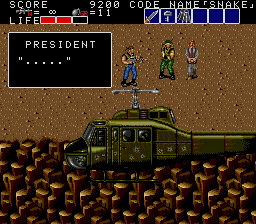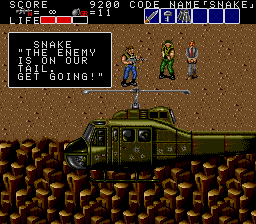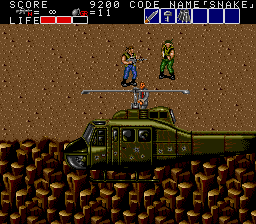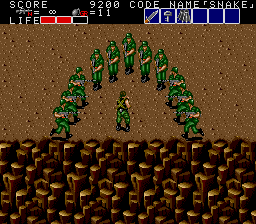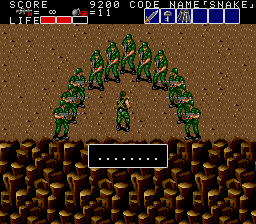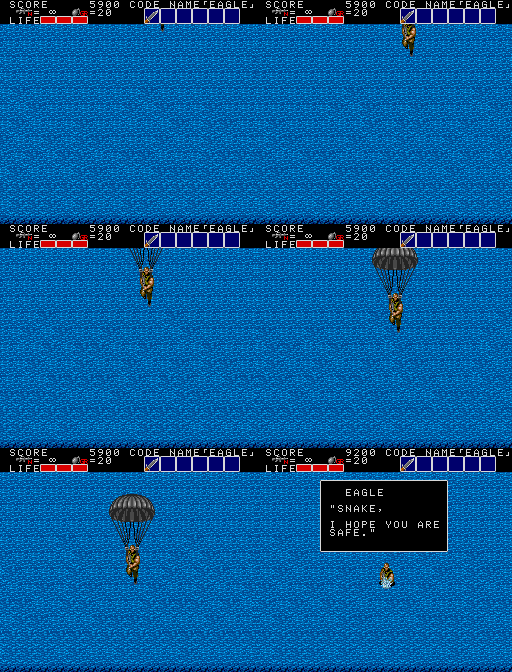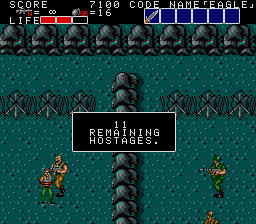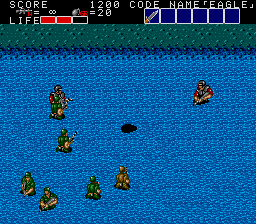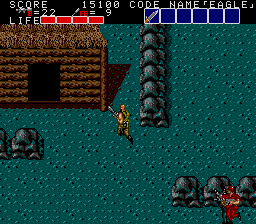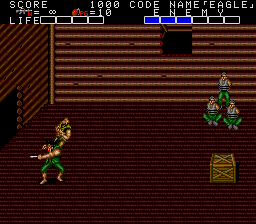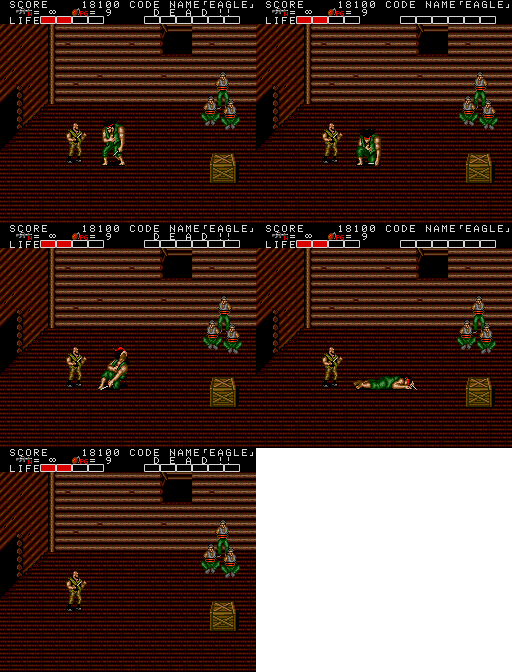
Previously, on Bloody Wolf...
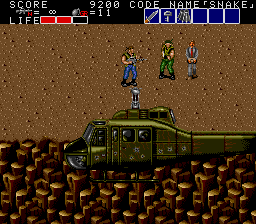
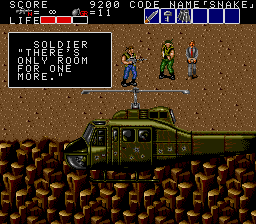
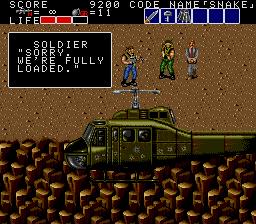
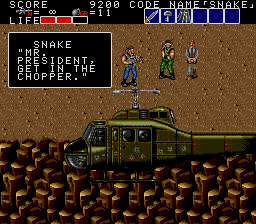
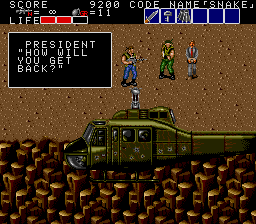
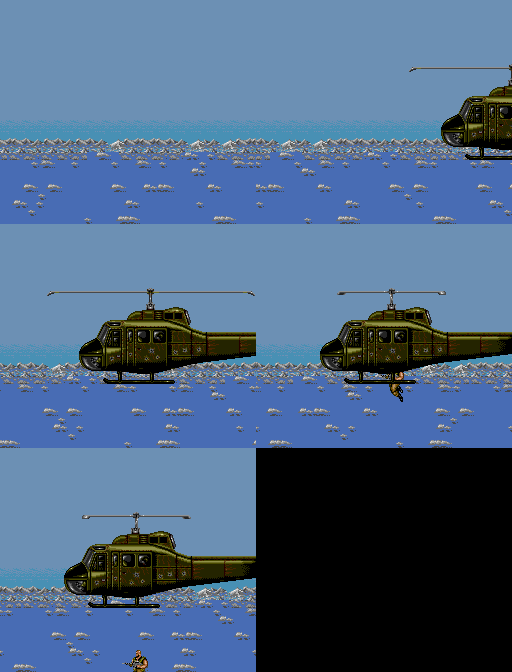
Oh, good, the chopper's here with SNAKE's clone to pick us and the hostages up.
While we're having a second look at this chopper, I have to say I love that it's already got bullet holes on it.


... That's... A bit of a problem. What will we do now?


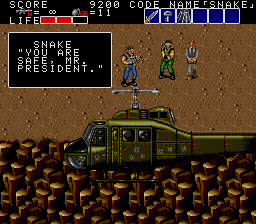
We'll make sure you get a medal for this, SNAKE.
(Sadly, unlike the dudes in G.H.O.S.T. Squad, SNAKE doesn't even get a Presidential high-five.)

So, we get to take these guys out now, right, SNAKE?

... OK, I know this is terrible, but I've always wanted to say this...
SNAKE? SNAKE?! SNAAAAAAAKE!!


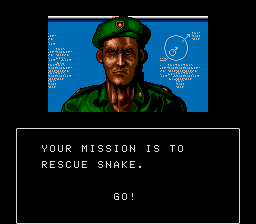
... Round 2 begins! Let's go rescue SNAKE!
In a really neat touch, the soldier you didn't pick at the beginning now gets sent in to rescue the man who went in to rescue the men.
(So, basically, one step removed from the plot of Hot Shots! Part Deux).
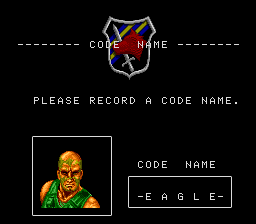
As we've switched the names around, this guy's normally SNAKE, but he'll be EAGLE this time.
Pretty clever use of the Player 2 sprite from the arcade original, really!

Another day, another Bloody Wolf thrown into combat.

Amusingly, if you're playing as the other soldier at this point, he's a bit less concerned about his pal.


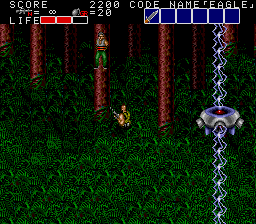
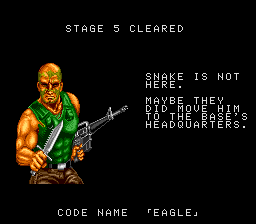
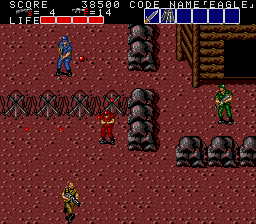
So, Stage 5 is considerably different from the rest of the game. Not that your change of character changes much- EAGLE is the same as SNAKE, but the equipment like the Key and Fins collected in the previous levels don't carry across to this next mission- but it's the structure. Rather than head straight to the exit, you've got to find the twelve hostages scattered around a fairly large, free-scrolling area, with a huge river splitting it in half. As well as standard enemy soldiers and some Buoys (which actually move and always have their electricity beam active- you must destroy them before moving on, or die), there's also a mandatory boss battle, required to save some hostages, but as soon as all twelve are found, you move on to the next stage.
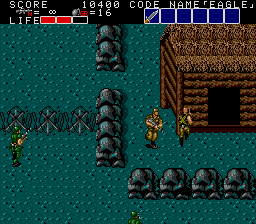
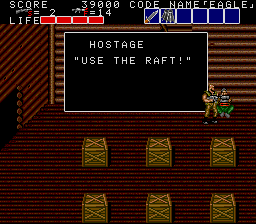
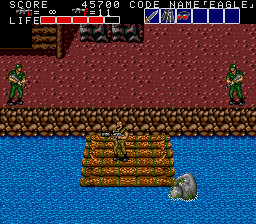
The downside here is that if you die, the hostages you rescued have to be freed again, so you gotta do all of this in one life! As a result, rather than go hunt for all the hostages first then die, we're going to prioritise the boss. So, from where you start, cross the river heading upwards, go to the first cabin on the far-right to get the Grenades and Muscle Emphasis Tablets, then head to the left and go in the next cabin along- for visual reference, it's the one in the third screenshot above, surrounded by snadbags rather than barbed wire. Inside, you'll find...


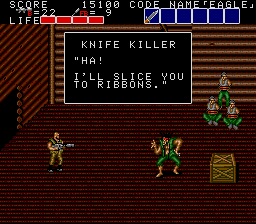
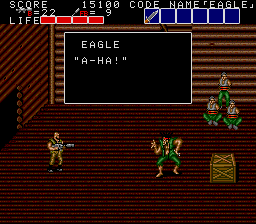
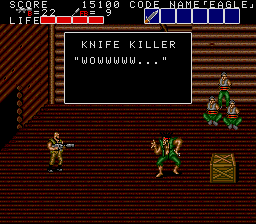
KNIFE KILLER IN THE HOUSE.
He's got hostages! And he's armed with a knife!


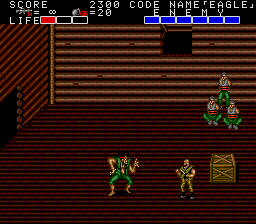
EAGLE brought a gun to a knife fight... But he's gonna play fair. Knives only!
The reason I told you to do this bit first is to save you the annoyance of rescuing all the other hostages, then getting killed by this guy and having to do it all over again. Basically, the Knife Killer is a dick. He moves pretty fast, hops around a lot, and he's difficult to hit, especially since you've only got a knife and need to get close. It doesn't help that you'll only have four health blocks max at this point. The main trick here is to attack Knife Killer while he's doing his lunging stab- he'll move forward a few steps and can't change direction- and doing so from either above or below him, as he can't attack from either of those directions. He can't do so whether he's doing the lunge or not, but it's easiest when he's lunging and helpless. Bait him into the lunge, then punish! Just be careful he doesn't run into you while you're at it.

Six stabs later, and Knife Killer checks out.


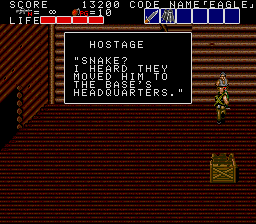
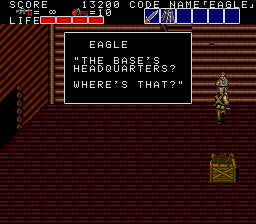
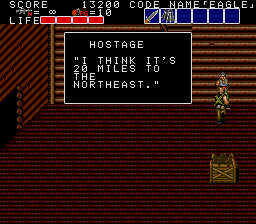
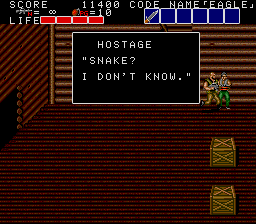
The crate has some Medicine, so be sure to grab that, and one of the hostages has essential info for us.
Sounds like we're playing Musical Chairs again- just this time with SNAKE instead of the President. Fun!


Once you're done with Mr. Knife Killer, the rest of the stage is pretty easy- you don't even really need a map for this, as the hostages are in obvious places. If you simply go around the stage from corner to corner, following the outline of the stage, and enter all the cabins, you'll find all the hostages. The only ones you might miss are those at the very top, tied to trees. As for hazards, after the Knife Killer, most of this is prety easy, with a mixture of Soldier types, but you need to watch out for the Buoys- always destroy them before moving on, otherwise their electricity barrier will kill you. Finally, you have to enter the cabins anyway, but be sure to grab the supplies inside- the one in the top-left in particular has the Fins, which you'll definitely need for Stage 7. However, in the cabin above the one you got the Muscle Emphasis Tablets from, don't take the bottom crate- it's got Flash Bombs. And they're useless.
Find the last hostage, and we get to leave.

I'm sure this whole thing about SNAKE being moved isn't forshadowing of any kind at all. Nope. No sir.

Anyway, Stage 6 is pretty short. It begins with a cabin- go in, and...

Christmas has come early for EAGLE. All the supplies! All of them. From left to right, the top row has the Infa-Red Scope, a Shotgun and a Bazooka, and the bottom row has Muscle Emphasis Tablets, a Flamethrower and some Powerful Grenades. I shouldn't need to tell you which sub-weapon to take with you, but I would recommend the Bazooka here- the Shotgun is kinda handy for the upcoming section, but the Flamethrower does the job just as well, and the Bazooka makes a fairly tough boss a little easier. So go with that.

What little remains of the mainland is just a few exploding soldiers and statue types- you can ignore them, so do, and head for that raft.


Wheeeeee! Raft ride! Raft ride!
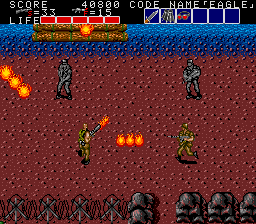
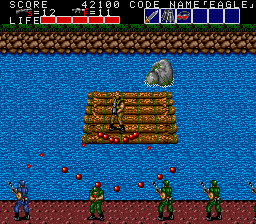
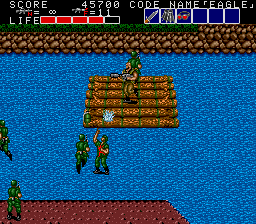
This is one of the areas that isn't done justice by static screenshots- this raft doesn't muck about when it comes to speed, and the enemies drop in super-fast. However, unless an enemy jumping in from the top lands on your raft (take them out before they shoot you!), you'll want to aim for the soldiers on-land at the bottom of the screen- amongst them are machine gun guys who'll launch a spreadshot at you. What you want to do is tap the button to use the Flamethrower intermittently while aiming towards the bottom of the screen. You'll take out the machine gun guys and your rafting experience will be relatively quiet. After a few moments...

... Your rafting fun's cut short by this big ol' rock. Head into the cabin...

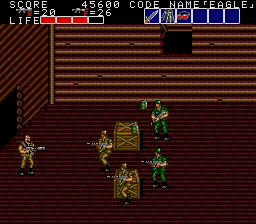
Ah, you've got to be super-careful here. There's only four soldiers in here, but two of them are exploding soldiers and will make a beeline for you... However, you can't just shoot them straight away. If they explode near the crates, they'll take them and their goodies with them. Lure them away from the crates, then blow them up. Don't take too long either, as they'll eventually blow up on their own and might take out the crates. If you successfully lure them away, your prizes are Medicine and a Key. Head back out, kill every soldier on the platform above- this is so they don't bother you in the next section, and...

According to the manual, this boss is Rolling Thunder- keep your Agent Albatross jokes to yourself.


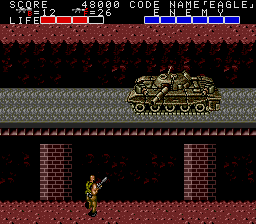
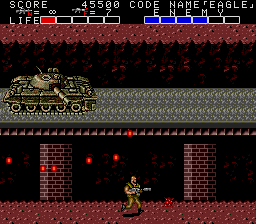
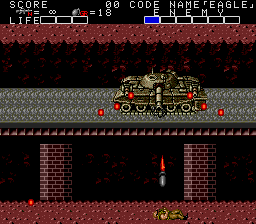
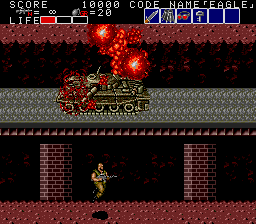
If you brought the Flamethrower and Bazooka with you, this fight will actually be fairly smooth. At first, it slowly trundles on-screen, but don't shoot it- it won't count until it stops in the middle. From there, it has two attacks- a powerful cannon shot that it doesn't use too often, but leaves an explosion and shaves two blocks off your health meter, and a constant spreadshot as shown above. The trick is to stay to one side of the turret- if you cross directly in front of the tank, the turret will turn around and fire at you. It'll also fire whenever it changes direction, and fires a lot if you're on the opposite side of the platform, so if you stay close to the turret but just to the side of it, it won't fire. The bullets are not much of a problem- you can squeeze between pairs of them, so do that but keep track of the turret's position as you move. Now, if you've got the right equipment, this is a breeze- slam it with all your Bazooka shots, then switch the Flamethrower on and cook it- you can probably afford to get hit a few times with this strategy, as it'll go down in a few seconds.
If you didn't bring those weapons- you fool- or you die while fighting it... Then what? This battle's going to be a lot tougher, but you can do it. The main problem is your grenades can't hit the thing- even if you face straight forward and throw, they'll miss it by pixels. The principle of the battle remains the same- stay to one side of the turret and squeeze through the bullets- but obviously, it takes longer, and without the Muscle Emphasis Tablets, one cannon shot will have you down to one health block. You may think to move to the opposite end of the platform for a quick breather, but that's ill-advised as the cannon will fire more often. Stay close, pelt it with your machine gun, and if it fires its cannon, get the hell out of the way! Even taking a bullet is a better idea!

Whichever method you choose, eventually it'll blow up. I guess SNK's tanks really are the strongest in the world.
The bloody fist of justice is on its way to the next page!
