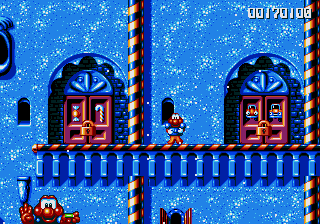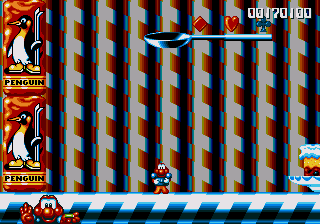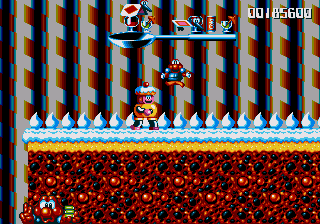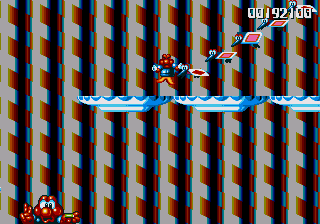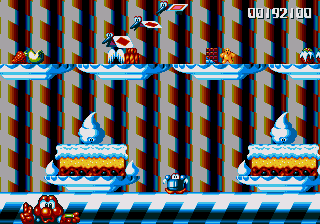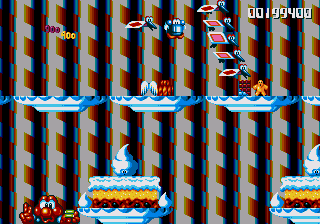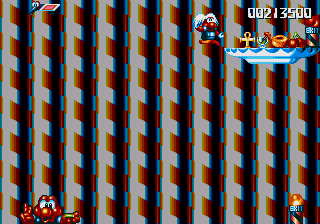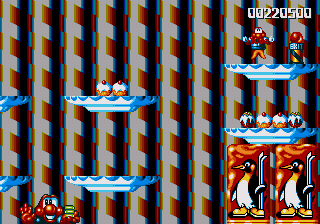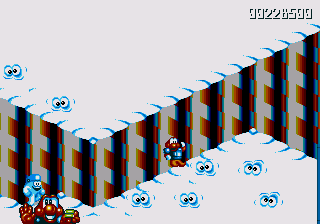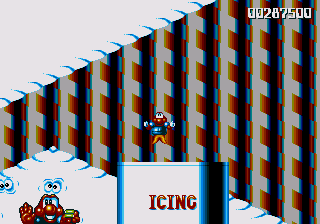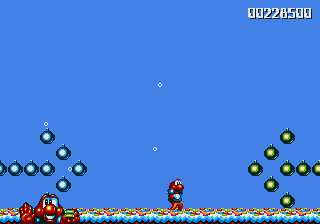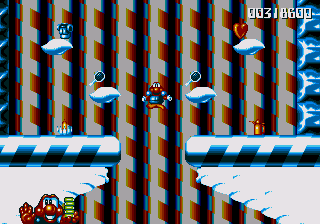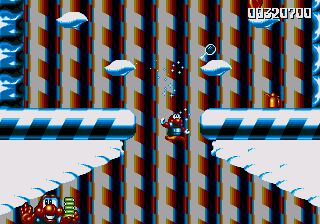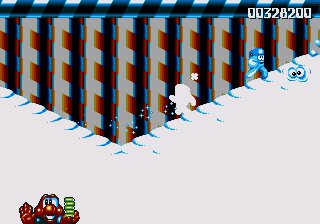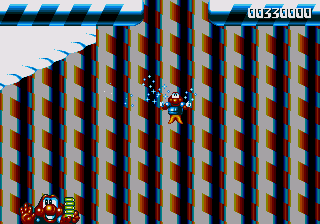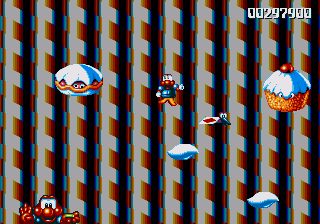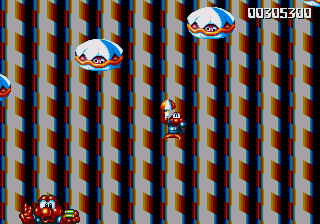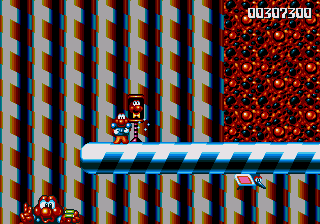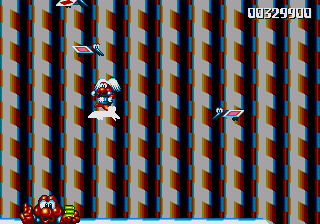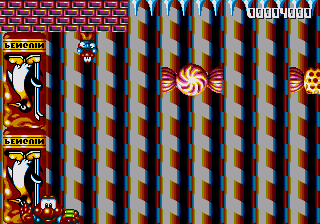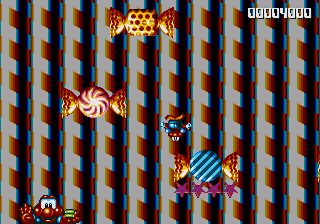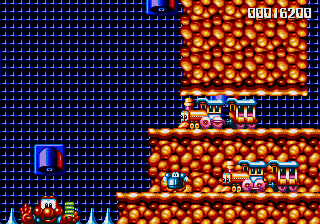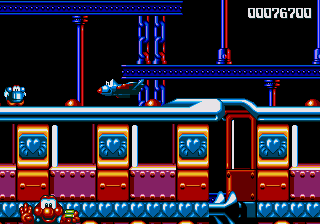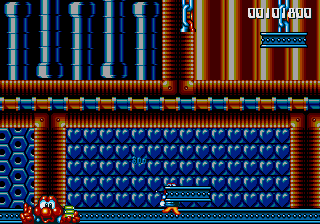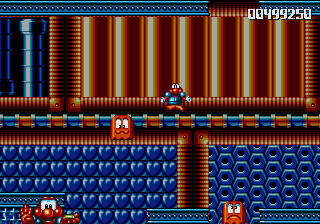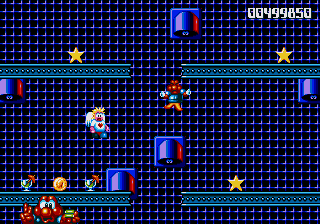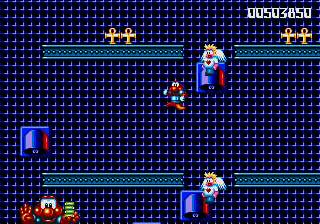
The next two worlds are probably the most aggravating in the game, and come precariously close to ruining the whole thing.
Fortunately, we're getting them out of the way pretty early, and once we're out of here, the good times start rollin' again.
First up, the Sweets World, and a sinister plot is revealed.

Could it be?! No! Robocod is nothing more than a tool for Omni Consumer Products United Biscuits!
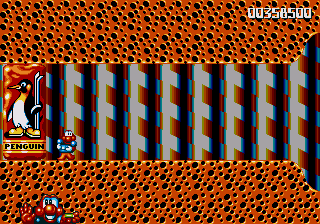
That's right. The real reason it's penguins we're saving is because they're an extremely unsubtle advertisement for Penguin biscuits, a popular type of chocolate biscuit in the UK. For whatever reason, Penguin themselves approached Millennium to put this diabolical product placement in the game, but as Chris Sorrell (main programmer, remember?) admits, 'Penguin proved to be a surprisingly neat fit. In hindsight, I think that the Penguin elements actually added an unexpected component to the quirky charm that was probably Robocod's greatest strength.'
Actually, he's pretty bang on with that assessment. It does add another weird element to the game to go with the others, although it's much, much crazier in the Amiga version, where the penguins in the intro become Penguin bars at the end. (Apologies for the crappy YouTube screenshot, but I can't get any flippin' Amiga emulator working, so this will have to do.)


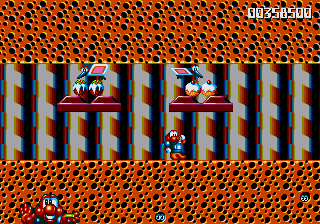
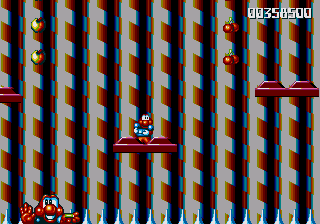
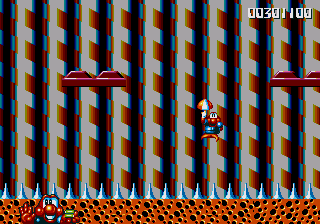
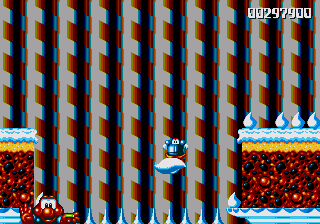
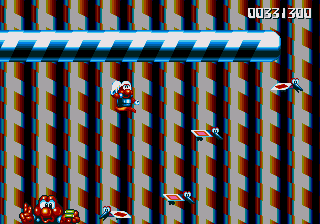
Anyway, dramatic revelations aside, there's not much to say about this stage. You'll mostly be walking on top of giant cakes and giant spoons while fighting off cake enemies that vaguely resemble Bertie Bassett. However, the important part of this stage is near the end, where you'll encounter the Paper Card Bird Strike Force you see in the screenshots above. There's a whole flotilla of the little buggers, and they're guarding a series of plate-shaped platforms, which happen to hide a pair of wings. How are you ever going to get that tasty piece of kit?


You've got to take this one like a true Robocod, and jump at them while ducking into your Expandosuit. It'll offer you enough protection to slam into the whole horde of 'em, and let you get at those tasty wings. Just get out as soon as you grab them, 'cause in such a confined space, it's a right pain to hit anything while you've got the wings on. The reason they're guarding these wings with such persistence is because it lets you get at another BONUS STAGE!!! which isn't quite as worthless as most of the others in the game- it has cake. And an extra life.


The next stage also has a neat item tucked away within, but we'll get to that in a second. Something I really need to stress, and something I'm sure you've noticed already, is that every inanimate object in this game has eyes. You have to give it to Sorrell and the Robocod guys- they really stuck to their guns on this one. Most dev teams would've settled for giving just the living things big, cute eyes, but not Millennium. Barring the items you pick up, nearly everything- be it a typewriter, a mince pie, or a guitar- has a pair of eyes, and it's hilariously bizarre, oddly endearing, and kind-of creepy all at the same time. The 'cream-dunes' in this stage cross my personal line of creepy, however, and I'm glad we only see them once. They look like they're in pain.
Also, there's another BONUS STAGE!!! in the Icing Sugar tin (of all places) that's one of only a few stages to take place underwater.

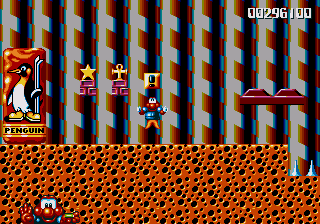
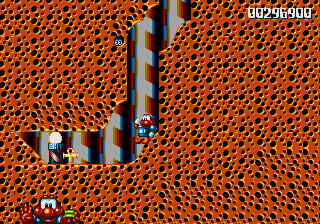
However, the real highlight of this stage is in an alcove that you'll have to find by stretching and hoping you're standing in the right place. Using this extremely scientific method (that isn't based on dumb luck in the least) you'll either find the stage exit or you'll end up in this little Aladdin's Cave of delight. It's the item in the top left we're interested in here- looks like the Expandosuit Pond happens to be wearing. What does this item do, I wonder?


YYYYEEEEAAAAAAAH!
Picking up the Expandosuit item grants Pond complete invincibility. Unlike the Starman from Super Mario Bros. and the Invincibility monitor from Sonic, you aren't just given a paltry few seconds safety from harm. Picking up this baby guarantees you total protection for the rest of the stage, and at least half of the next stage. It lasts an absurdly long time, to the point where you almost think it's going to last forever. Needless to say, this is a very useful item, which is why it only appears about 3 times in the entire game.
Sadly, there's nothing else of interest on this stage. Let's move on...


... To this stage, a truly hideous place, fraught with despair. Oh, sure, you think it's easy at first. It's practically a straight line to the Exit Pole, there's only a few Paper Card Birds in these parts, and while there's an awful lot of spike pits, there's plenty of chocolate platforms, so you reckon this isn't a problem in the least. In fact, I can hear you scoffing at the very sight of this stage already.

See? The level's over before it's begun. Now, to go to...

The next... stage? Hang about, what's going on here?!


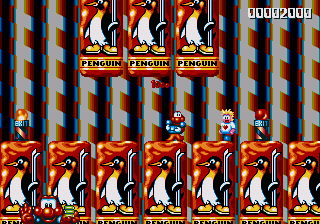
The first Exit Pole is a red herring- you've been had, my son. You shouldn't have been so cock-sure! This is the first of several levels where there are fake Exit Poles dotted about. If you use them, then you'll be thrown back to the start of the stage, and this will repeat forever unless you find the real Exit Pole. How do you know which Exit Pole is real? Well, you'd better try all of them, hadn't you? There's no way of knowing, so hope you're ready to repeat some of the later levels a couple of times, ha ha ha! It's a low-down dirty trick, but at least it keeps you on your toes.
To find the real exit, you have to hop on the arrow-shaped platform that's just above the fake Exit Pole, and ride it upwards. There's also an invisible platform above where the arrow platform stops moving upwards, and anyone with Post-Tower-of-Druaga-Syndrome might instantly think that the invisible platform will lead to the exit out of this hell. An astute thought, but ultimately incorrect- it instead leads you to a secret area with a gigantic spike pit and some health and an extra life at the end. Helpful, but not what we're looking for, really.

The real exit is in the area where the arrow platform stops. Just go left and you can't miss it.
You get an extra life for your trouble. Nice.


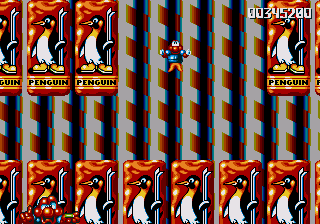
You'll need that extra life, by the way, because the next stage is almost excessively cruel- it's a long-ass way to the top, and in your way are (who else, really?) the Paper Card Birds. You have to navigate the giant mince pies, gradually making your way upwards, and in fairness, it's a pretty novel idea- most platformers are really lacking in vertically-scrolling stages in this period, and Robocod has a fair number of them. Also, the aggravation of missing a jump on this stage is neutered somewhat because of the abundance of umbrellas.
Might as well talk about these umbrella things, then- in true cartoon fashion, whenever Pond collects an umbrella, he can use it if he starts to fall, slowing him down and, in this stage, making it easier to land on a mince pie and not lose too much progress. The problem is that the umbrellas are pretty picky about when they want to be deployed, and each one you pick up gives you one use, and one use only. It's quite annoying during a normal level, having picked up an umbrella, you suddenly start floating when you so much as think about walking off a platform, and even more annoying during a level like this when it refuses to deploy until you've fallen about 50 stories. Gah.


However, halfway through your tower assault, you not only get a checkpoint (the first of about 3 in the entire game) but you also get some wings which would've been useful about 5 minutes ago. Unfortunately, the euphoria is short-lived, as you now have to make your way through a punishing gauntlet of Paper Card Birds. They're patrolling this area in flocks, and each floor of this section only has a small gap to get through the next one... Usually heavily guarded. While you can hit the annoying mites while you've got wings, it's not an exact science, and more often than not you'll either fluff up and get hit, or make a successful hit... Which propels you into the next nearest Paper Card Bird.
In case it's not apparent yet, I absolutely hate those bastard Paper Card Birds.


And then, Pond encounters the heart of the Penguin Advertising System, but finds escape impossible!
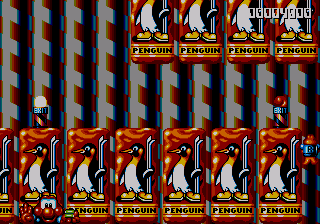
Quick quiz, hotshot- which Exit Pole is the real one? The one on the left, the one in the middle, or the one on the right?

BZZZZZT! Wrong!
The correct Exit Pole is the invisible one down the gap on the right-hand side.
Obviously.


And then it all gets a bit weird, in case it isn't weird enough already.
The final stage in the sweet world is upside-down. Literally. There's no particular reason for this to happen, but who needs a reason? Fortunately, your controls aren't reversed, but it's still takes a second or so to get used to the fact that everything's the wrong way round now. Sadly, this concept isn't explored very well, like a lot of things in this game- this stage is extremely short (it amounts to little more than hopping across a few sweetie platforms before ending up at the Exit Pole) and there's only one other upside-down stage in the entire game (at least, that I found), and it's in the hidden world that, uh, we haven't talked about yet.
Mercifully, beating this stage brings an end to the Sweets World.

The next world is the most reviled world in the game- the Car World. My hatred will hopefully be apparent in the next few paragraphs.


I'm not even going to bother talking very much about the first three stages here. The first one is a boring jumble of slopes and trains, the second one takes place on a train and it's the first auto-scrolling stage, and the third has some instant-death girders that fall from the top of the screen- hope you're ready for them. In fairness to the auto-scrolling stage, there's a neat trick to make it easy- just crouch. Safely wrapped up in his Expandosuit, Pond can't be hurt by any of the plane enemies that bother you here. Just, uh, remember to get up when you've got to actually move.


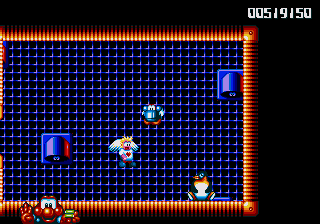
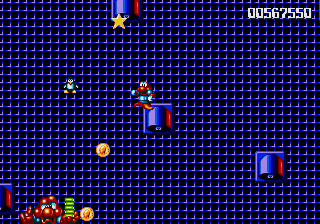
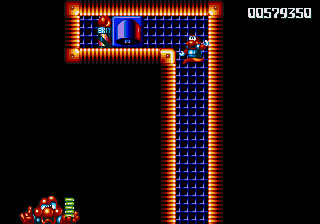
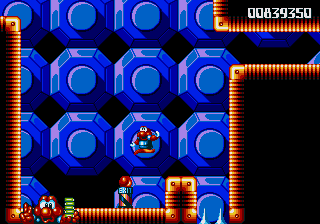
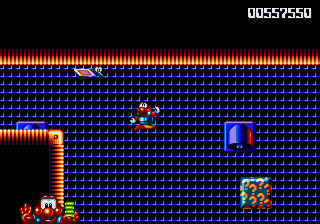
The third stage, however, has a craftily-hidden BONUS STAGE!!! (use the Happy Slabs to get into the gap in the girders, as pictured) that help highlights a weird little quirk of the game- the lives system. Whether this was intentional, or just a sacrifice for aesthetics is something I'm not 100% on, but in case you haven't noticed, Pond's hit points and lives are displayed as a picture of Pond himself in the corner of the screen. The number of fingers he's holding up tells you how many lives you've got, the amount of batteries he's holding denotes your health. Now, as you can see here, there's 4 extra life ankhs in the right-hand screenshot. Pond currently has 3 lives to hand. Can you see the problem here?


Pond's only got 4 fingers!
In case it isn't painfully obvious at this point, this means you can only carry 4 lives at a time, which is pretty unique among platformers. Usually you're limited to 9 lives, in some cases 99, and in the case of the GBA port of Super Mario World, an insane 999 (perfectly possible to do if you've got time to kill) so only being allowed 4 at a time is strange. Weirder still is the way the game deals with stockpiled lives- any life ankhs you pick up aren't set aside for you, but if you've got 4 lives and earn an extra one through score (every 500000 points, remember) then when you die, you'll automatically be given another one when you come back on screen, until you run out of stockpiled lives.
It's a bizarre system that James Pond - Underwater Agent also uses, but it was dumped for the third game. Anyway...


Aaaaaand here we go, the worst part of the game.
Back when I rented this game from the video store, this was the stage where I just gave up. Being only about 5 when this game first came out (at a time when my greatest vidcon accomplishment was something along the lines of 'beating my brother at Double Dragon by chewing the NES controller') it's understandable that I might've been a bit perplexed by this stage. However, the confusion continues to this very day and it's possibly the only part of this game that I genuinely, truly hate. I know I've been ragging on the Paper Card Birds a lot, but that's partly to establish a running joke, and partly because they killed me a few times, and I'm a bitter, horrible man. The Car Maze, as I have dubbed it, is a window into platforming hell.
It happens to be one of the few stages where the penguin hostages are hidden, and it's a nightmarish maze where all the sections basically look the same (i.e. ugly), there's several 'one-way only' parts that either prevent you from backtracking or send you to some part of the maze you didn't want to go to, and actually getting to the penguins is a pain because you've got to repeat the same 'hop on the platform, wait for it to s-l-o-w-l-y creep its way up the screen, then hop off it to rescue a penguin' three times. The sole saving grace of this stage is the very-much-fun trampoline you get to toy around with.

Fortunately, we're at the exit now, so all this horror is behind us. It's all happiness and sunshine from here on...


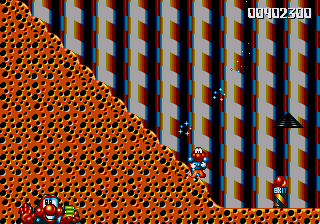
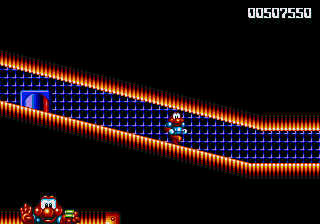
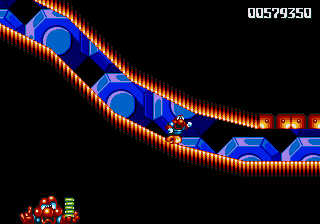
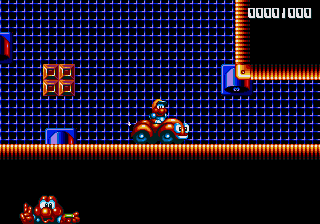
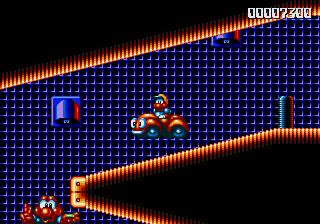
Well, it would be, as soon as we get out of this world. There's two more levels of this, and they're both nearly entirely without merit. The stage pictured above demonstrates Pond's running ability succinctly- if you so much as look at an incline in this game, Pond will start start zooming down it at the speed of light. Fortunately, this is actually quite fun, and there's only one instance I can think of where it's used to lure you into a trap like a bed of spikes. Amusingly, running at such speeds and ramming into a wall causes the entire screen to shake. Bad-ass.


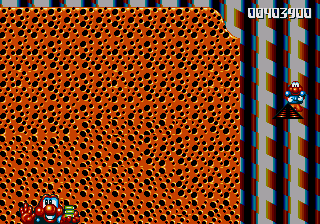
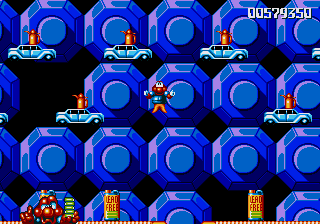
The final stage of this horrid world is also one of the easiest, assuming you can pull off a pretty insane stunt in the opening seconds. You need to get to the platform in the left screenshot, which happens to be guarded by a Paper Card Bird that prevents you from stretching and grabbing onto it. It's difficult, but it can be done. Once you get there, you'll find the next vehicle, and sadly, it's got nothing on the MAGICAL FLYING BATHTUB. Instead, it's just a car. One that gives Pond a sweet helmet and a much-improved jump, but it's still not that useful. The rest of this stage isn't very note-worthy, though, so let's press on... And, thankfully, this is the final stage in this world.

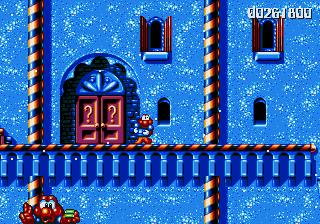
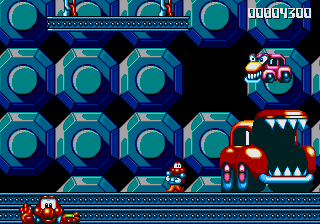
And here's the next boss door. Can you guess what the boss is going to be?


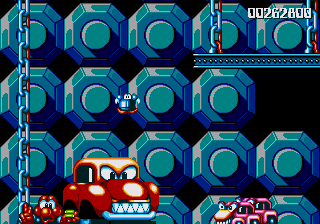
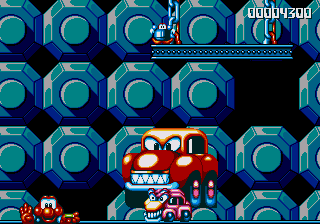
That's right, it's a giant car with fangs!
Anyone willing to bet that this terrifying boss traumatised someone as a child?
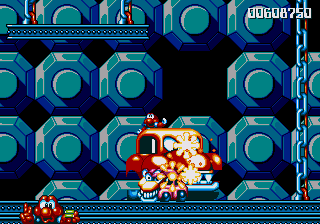
Again, this boss doesn't have a name, so let's call him Crudler the Corrupter, because giving silly names to silly bosses is my job. Initially, this boss is pretty intimidating, because he'll keep spawning the annoying purple cars every time he opens his gob- these little buggers home in on you relentlessly, and killing them only makes Crudler spit out some more. Doesn't help that Crudler hops around like a complete lunatic. However, they can only get at you if you're on the floor. If you can bounce on their heads to get to the girder on top of the stage, you can camp out there, hitting Crudler on the head (while tucked into your suit for massive damage) then getting back on the girder, repeat until...

Yep, he's pretty dead.
Now that he's out of the way, maybe I can elaborate a bit more on why I hate these two worlds- they're just so bland. The Sweet world has a lot of white and brown shades for the backgrounds and landscapes, and so the levels all end up looking very samey. The Car world suffers from the same problem, and also has the dreaded Car Maze and several other boring stages. Practically every other world in the game is alarmingly vibrant, with lots of psychedelic colours (especially the Castles in the Sky World, when we get to that) and so these two, so early in the game, threaten to take away any enthusiasm you might have.
My advice to you is to stick at it. This is just a temporary dip in the game's entertainment value.
Things start to pick up very quickly after this... On the next page, even!
Click this link, and things get TOTALLY GOD-DAMN AWESOME
