♫ BGM: Phantom Ensemble ♫
The Prismriver Sisters are a bit different from the other bosses you've fought thus far.
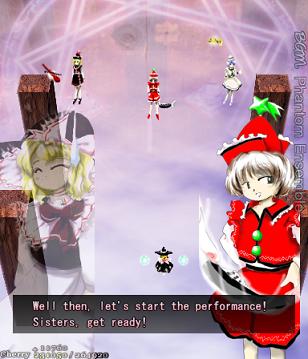
Often in the Touhou series, Stage 4 has some sort of 'gimmick' with the boss depending on who you're playing as. In Perfect Cherry Blossom, the gimmick is that each character fights a different Prismriver sister at the beginning of the fight, and each sister has 2 different bullet patterns before they team up for a spell card, which every character has to fight. As I'm nothing if not impossibly thorough, let's tackle all of them. Since there's so many of them, though, I've only supplied one picture for each of them- I guess if you want to see more, you'll actually have to play the game, won't you? First up to bat, it's Reimu.


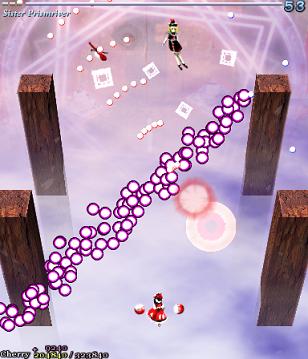
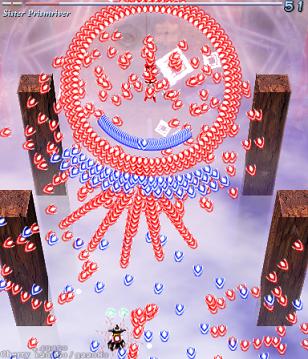
Reimu has to fight Lunasa Prismriver and she probably gets off the lightest- she doesn't put up that much of a fight. Her first attack wave sees her spoooooky floating violin send off bursts of energy that generate ping pong bullets heading the wrong way, then a load of wandering purple bullets materialise from the path of the ping pongs, if that makes any sense. This is one of those patterns that sees the game metaphorically whacking you on the head with a newspaper while tutting and saying "Bad dog, bad dog! Staying at the bottom of the screen is for losers!". If you do that here, things are going to get very cramped, very quickly, but it's easy enough to manage- just get out of your comfort zone, and move around a bit. When the purple bullets first appear, they're slow, but gradually accelerate- keep that in mind, and keep moving and Lunasa gives up pretty quickly.
Next up is something you'll be seeing a lot of in this fight, the nefarious art of rows of bullets crossing over each-other- I keep referring to this as cross-stitching in my head, but I know that's wrong somehow, so let's call it crossing the streams instead. She starts off with some weird diagonal bullet patterns that are stupid-easy to dodge, then busts out some stream-crossing purple bullets that, if you're sat at the bottom of the screen like an absolute idiot, are pretty tricky to dodge. Remember, this ain't Galaga 3- you've got the whole screen to move about, so do it or taste painful bullet death. She'll just repeat those two attacks until you've wailed on her enough, which draws Lunasa's exclusive attacks to a close.


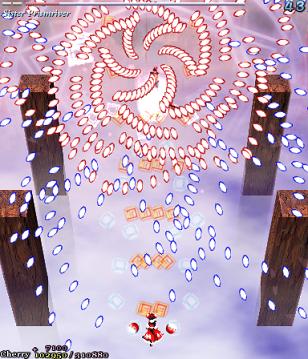
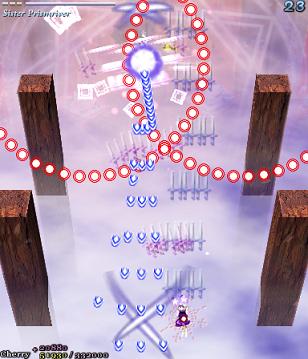
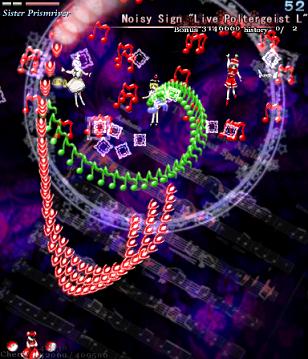
Let's have a look at Marisa's set next then, shall we? She gets to fight Lyrica Prismriver who's a little from Column A (piss-easy) and a little from Column B (balls-nasty). She starts out with the balls-nasty crossing the streams nonsense- she generates gigantic swirling vortexes (or is that vortices?) of bullets, makes 'em spin around a bit just to mess with you, then sends them out, and at this point you realise that the different colours are heading for you in opposite directions and you promptly panic and die. The best approach is just to wing it and improvise... Or, if you want, just bomb it. It's not like you're going to need those things for anything else, right?
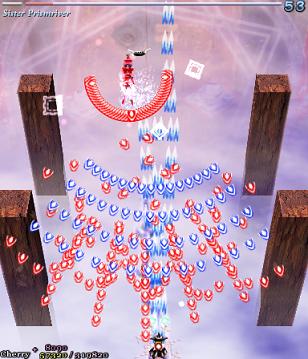
The next attack looks pretty intimidating, but actually it's not so bad, just requiring some fast movement on your part. Lyrica basically throws out two different kinds of bullet patterns here- the blue bullets fan out in a wide pattern to try and catch you, while the red bullets come at you in relatively rigid rows, and all the time you'll have some other red bullets pottering about. I know, terrible description, but I'll be frank with you- this battle's pretty boring, so I want to get it out of the way. Just keep shooting at her, and then Lyrica's exclusive attacks come to an end.


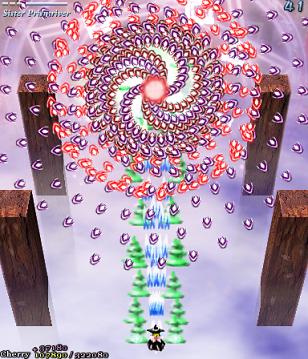
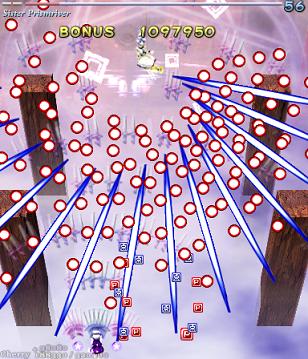
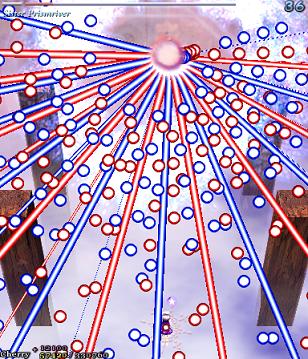
Finally, Sakuya gets to fight Merlin Prismriver, and most people on the internet say she has the toughest time of all. In fact, that's a lie. While Merlin has one of the most fiendish opening gambits- at least, the first time you tackle it- the rest of her attacks are actually extremely simple. Well, relatively speaking. This first attack is what puts everyone off, because it's a rare appearance from one of the most evil attacks in the game- homing lasers. Remember those lasers from the Letty Whiterock battle that didn't really do anything other than snake around the screen and look pretty? Oh yeah, they're back, and this time they hate you- they've got homing capabilities now. Their unpredictable movement means that rather than just heading straight for you, they'll twist and turn their way down the screen which means rather than just nudging to the side, you'd better give 'em a wide berth otherwise they'll ram right into you. Oh, and while you're doing out, try your best not to run into the rings of red bullets, or the scattered arrow bullets now, won't you?
The next pattern isn't nearly as rough- it's actually quite fun. Merlin sends a spread of long thin diamonds your way, while also peppering the battlefield with sphere bullets that move right across the lasers. It's vaguely reminiscent of the absolutely evil Non-Directional Laser attack Patchouli Knowledge throws at you in The Embodiment of Scarlet Devil (in that both patterns involve bullets flying over big long projectiles) but lucky for us, we're not playing that absolute swine of a game, so it's not quite as bad. The gaps between the diamonds are big enough, so just try and find a spot not occupied by the sphere bullets. Can't be that hard, right?


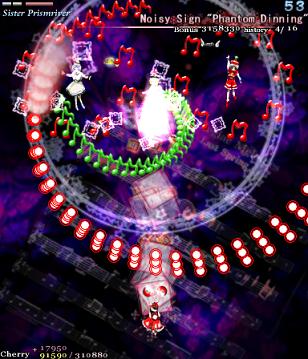
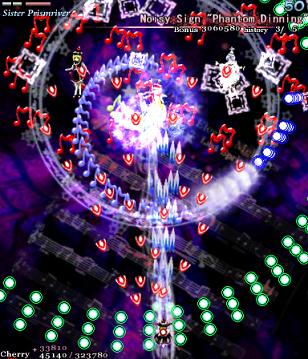
Once you've beaten whichever Prismriver Sister you had to fight, their powers combine to summon Captain Planet to wail on your ass together with their team Spell Card, 'Phantom Dining'. It's a shame, then, that they apparently make the worst enemy team in any video game, because this Spell Card is absolutely pants... When you know how to handle it. Much like everything in this game, but I'm digressing. The Prismriver Sister in the middle (the same one you fight at the start) fires a spread of musical notes at you that explode into columns of big bullets- the gaps between them are big and plentiful... For about 5 seconds. Then the homing arrow bullets appear out of nowhere, which doesn't make things hard- only interesting as you have to flit between the columns of bullets and keep the homing arrows at bay as well. Just take big, long strides from left to right, and you'll prevail.


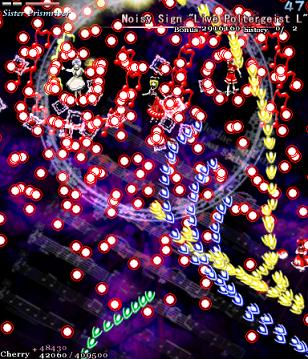
The Lunatic version, 'Live Poltergeist L', starts the homing bombardment right away, and throws in lots more bullets just for the hell of it.
Have fun with that.
Now, after this Spell Card, the Prismriver sister you attacked the most is the one you'll fight next, and this time they've got one non-Spell Card attack, and one Spell Card for you to get through before they team up again. Naturally, it's best you exploit this- during their team-up attack, focus on one of the sisters to make sure you fight them. If you don't, you might get a different sister to the one you're expecting, and it can totally blindside you and ruin a perfectly good run.
Protip! Focus all your fire on Lunasa.


You'll want to pound Lunasa with everything you've got during the team Spell Card, because she hardly puts up a fight the second time around. It's pretty pathetic. Her first pattern here is vaguely similar to the second one she was using earlier- lots of diamond bullets- but this time, the blue diamonds get launched out very, very slowly at you- they're not so much flying down the screen as they are crawling- and many of them clump together as they're making their way towards you. While you're trying to get through that mess, Lunasa starts throwing the diagonal lines of red diamonds at you again, so just make sure you're in a position to move quickly when she does. It's no big deal, this one.
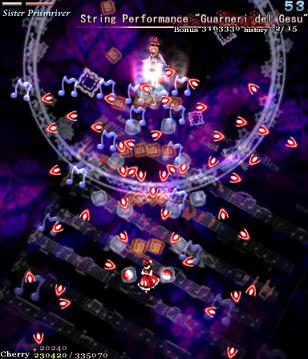
Next up, a Spell Card that's similar in principle to Lunasa's very first attack on this stage, i.e. focused on filling the screen with slowish bullets that absolutely overwhelm you, making you thankful for the fact that your hitbox is only 5x5 pixels big. 'Guarneri del Gesu' (whatever that means) sees the return of musical notation death- red musical notes drift on-screen and then explode into 3 arrow bullets, then silver music notes follow suit, exploding into a spread of sphere bullets. Lunasa really doesn't let up here- the second one set of notes explodes, the next set is on your ass but, fortunately, none of them ever seem to spawn on top of you. They'll definitely spawn right next to you, but never on top of you. At least she plays fair. Just remember- don't stay at the bottom, move around, and you'll live.


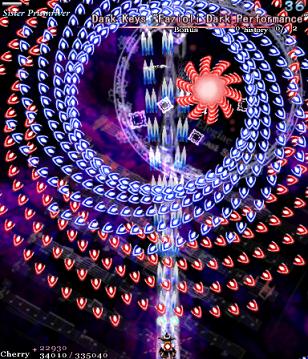
Lyrica is a very disappointing fight- it's honestly juts more of the same attacks she had earlier. The first attack is nearly identical to the second attack from her first assault, but it's just a tad slower, and that's terrible. As for her Spell Card here, 'Fazioli Dark Performance'? It's more of that crossing the streams nonsense, very similar to her first attack on this stage, but to be fair, she definitely cranks it up a notch. It makes a much prettier swirly pattern, and, er, it seems to cover far more of the screen. From what I've seen, the best place to be is the far-left/far-right corner. That's all I've got to say about this- very poor show.


Finally, Merlin shows the rest of them how it's done, and actually changes one of her previous attacks in a meaningful way. First, she changes her little Non-Directional Laser tribute from Round 1 into something even more like NDL- the long diamonds are replaced with actual lasers which telegraph their positions in advance, and she doubles the amount of sphere bullets she lobs at you. However! She'll try to fake you out by telegraphing the laser positions too far in advance, making it a little unclear sometimes where the safe spots are. Trying to keep on top of things here is pretty difficult, but if you can persevere, you'll stop her pretty quickly.
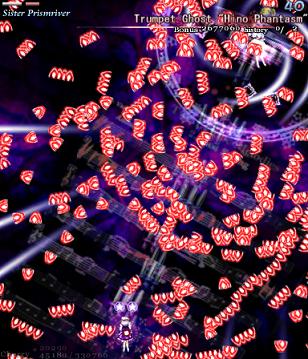
Her Spell Card for this fight, 'Hino Phantasm', is a bit of an odd one. Those damned lasers come back, but they can't even be bothered to home in on you- instead, they'll dart around the screen and create gigantic clumps of bullets. It's kind-of like Alice's 'Red-Haired Dutch Dolls' attack... At least, at the start. Unlike Alice's attack, however, the gaps between the clumps start off pretty small... And they only get smaller as the fight goes on, until it gets really, really cramped out there. If you want a tip, either kill her as fast as possible, bomb like a total scrub, or stay as far away from the bottom of the screen as possible. Move about a bit, and hey, maybe you'll live longer.


When you're finished kicking around your chosen Prismriver Sister, they'll combine their powers once again to form the Megazord to try and finish the fight.
And this time, they've brought lightsabers.
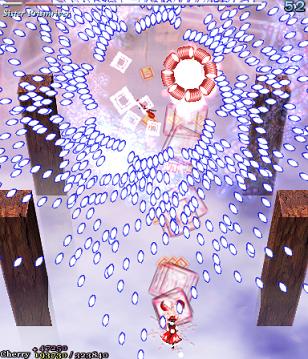
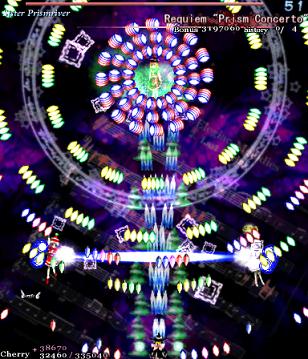
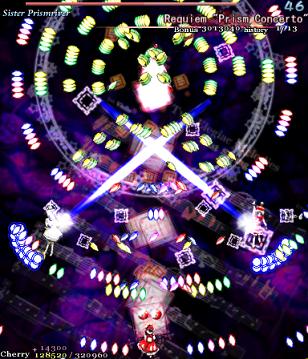
'Prism Concert' is the name of this Spell Card, and the sisters take their positions- one of them (the same one you fought at the start... Again) moves up to the top of the screen and starts firing out itsy-bitsy diamond bullets arranged in itsy-bitsy rows, and the other two sisters get closer to the bottom, one on each side. After a few seconds of dawdling, they'll break out their aforementioned lightsabers and stick 'em out in front of them- any diamond bullets they touch turn into kunai bullets, changing their trajectory- at the start, it'll simply straighten the rows out (painfully easy to dodge) but as the fight goes on, they'll start moving around a bit and flaunting their Jedi skills, sending the diamond-turned-kunai bullets all over the shop. They'll stop sticking to their oh-so-organised rows, and the whole screen becomes totally chaotic! The only tip I've got is just to keep pounding the Sisters until they give up, and hope a stray bullet doesn't drill a hole through your head.


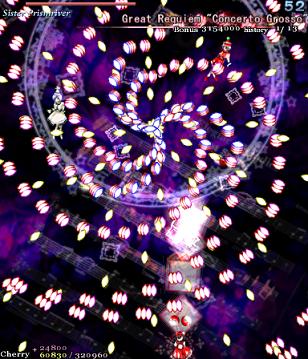
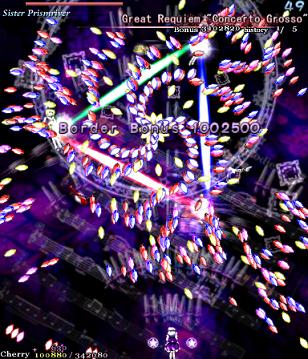
Finally they'll have one last stab at you with 'Concerto Grosso', a Spell Card pretty similar to the last one in concept- lightsabers turning diamonds into kunai bullets and changing their trajectory- but completely different in execution. This time, the sisters get into a triangle as a gigantic swirling vortex spews out as many bullets as it possible can in a spiral pattern... Now, if the sisters had just left it alone at this point, it'd be a pretty bloody brutal attack, let me tell you. The opening few seconds of this card are actually harder than the rest of it, 'cause they ruin it by bringing their lightsabers out to play. Same idea as last time, but for some strange reason, the kunai bullets end up coming out in massive clumps rather than the absolute madness from the last attack. They're obviously not that tightly packed together, but enough so that avoiding them is pretty easy... Just as long as you pay attention and find the safest gaps.


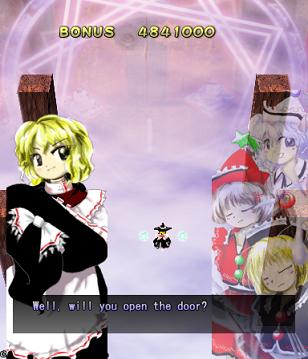
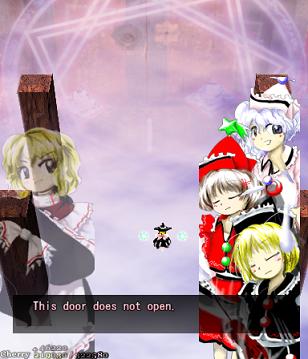
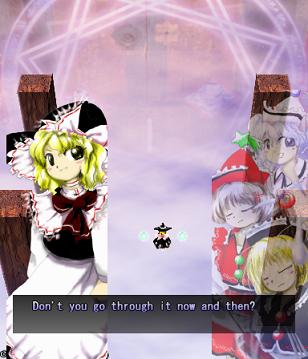
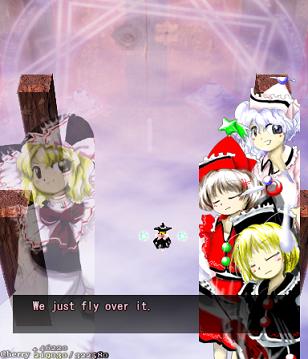
All this fighting, and they won't even open the bloody door for us?!


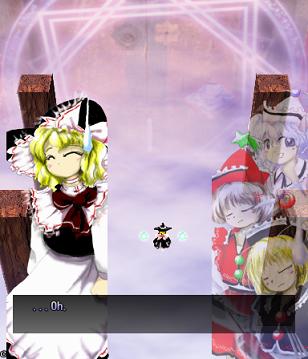
... Oh.
That's certainly anti-climactic.
Man, am I glad that's over with.
For the record, this is the single most difficult page I've ever had to write. Let's just press on.
Looks like a trip to the Land of the Dead is in order...
