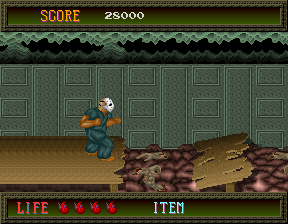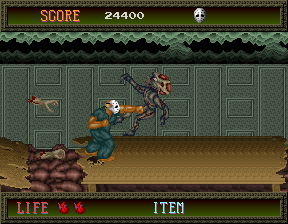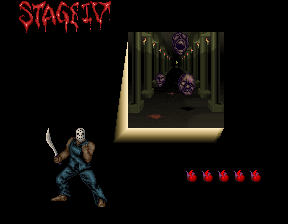
Stage IV sees Rick back in the mansion again, fortunately out of the dungeon.
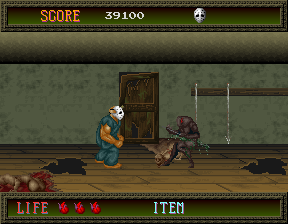
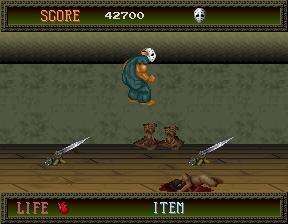
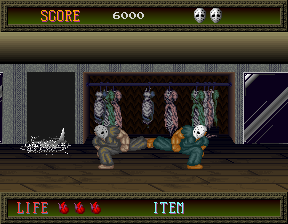
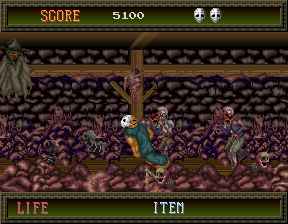
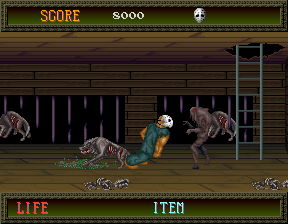
It starts with another auto-scrolling section, with some new enemies... Kind-of. Between this stage and the previous one the Deadmen have apparently learnt how to jump, which they'll do with gusto in this section. They're surprisingly graceful for jumping zombies, and spend a lot of time in the air... Which gives you ample time to impale them with a new toy, the spears lined up against the wall (tap Up to grab them). You don't have to nail the Deadmen with the spear while they're in mid-air, but why wouldn't you? The only other noteworthy hazards here, aside from the return of the slug thing from Stage III (use the spear to decapitate it) are the rotating spikes on the floor. They s-l-o-w-l-y rotate in an attempt to slice Rick's ankles off, but they're animated in such a way that they can hit you sooner than you think- they swing violently when they're in slicing range, you see. Just be careful around them, and only move ahead when it's safe, and you'll be fine.
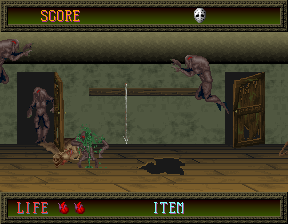
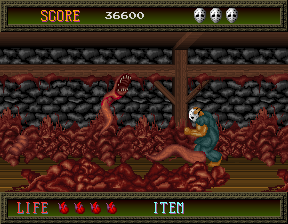
Oh, and watch out for the holes in the floor.
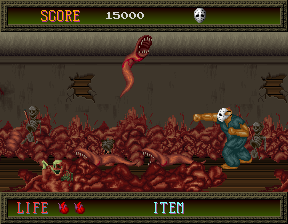
If you fall down you have to go through an auto-scrolling Body Eater room. Good luck with that.
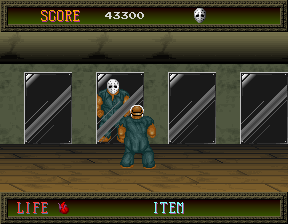
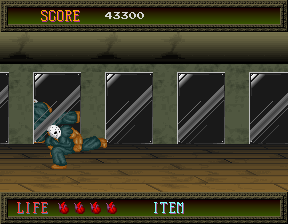
And so we enter the hall of mirrors.
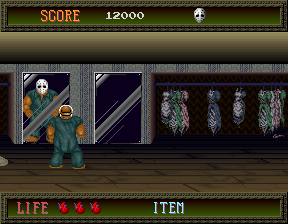
Ominous music starts to play as you make your way down this seemingly threat-free hallway. You can amuse yourself by playing around with the mirrors, though- hold Up to get Rick to look at himself, and you'll notice that most (although not all) of Rick's sprites are correctly mirrored (duck and kick and you'll see Rick's back in the mirror).
We're not here to play around, though. Once you pass the fifth mirror...
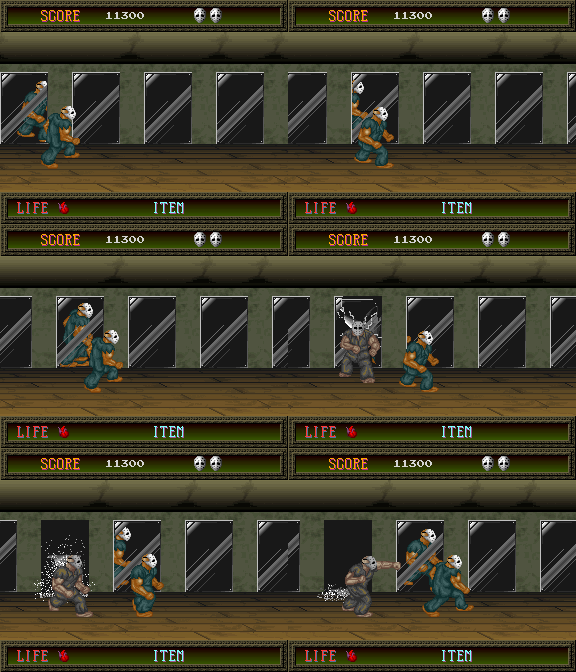
MIRROR FIGHT! MIRROR FIGHT!
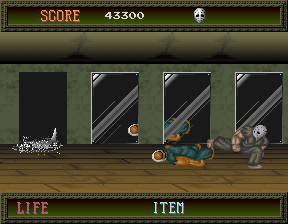
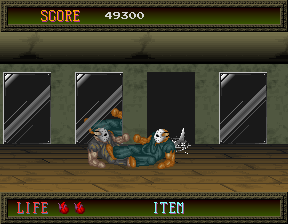

Mirror Rick is, as you'd expect, your clone. He has every attack you have, with one extra- he can do a jumping slide-kick which is very difficult to avoid. Unlike you, however, he can only take three hits before hitting the dust (literally- he turns to ash as soon as he's defeated). He's one of the more aggressive enemies too, as he won't stop attacking until he's dead. There are two approaches here- with both, you need to learn which mirrors spawn him (there's three in this corridor- it's every five mirrors you pass) and take advantage of the fact that he always spawns behind you. You can either punch him as soon as he appears (this will prevent him from doing his jumping slide-kick straight away, but can go awry if your timing's off) then fall back and nail him with a reverse slide-kick, or perform the reverse slide-kick as soon as he appears (this will almost always hit him unless he uses the jumping slide-kick first) which can kill him instantly if you hit him twice. Either way, you need to learn the reverse slide-kick, the hardest move to perform- it's the same as the normal slide-kick except you change direction a moment before you hit the floor, so Rick will slide in the direction opposite to the one you were facing. This is the one place you really need this technique, as there isn't enough room to do the normal one without walking into Mirror Rick, so practice it and learn it. You just need to defeat three Mirror Ricks and we're done here.
That seems like a lot of explanation, eh?
It's for your own good, though. Mirror Rick might as well be a boss fight, he's that tough without the reverse slide kick.
Once you're done with him, the boss is waiting for you in the chapel.
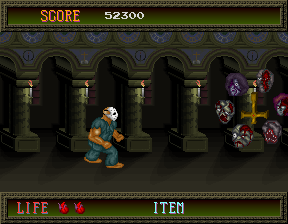
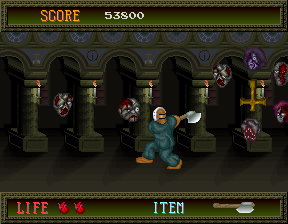
Hello there, religious iconography!
The boss of Stage IV is the inverted cross, one of the few elements to get properly censored in the US home version (we'll get to that later) and... It's actually really easy. Far easier than Mirror Rick if you know what you're doing. The start of the fight is a bit weird as you have to walk down the chapel hall a bit before the cross appears, and then you need to keep walking until the scrolling stops- along the way you'll see a massive axe which you'd better pick up if you want to get through this fight unscathed. The cross itself is surrounded by six decapitated heads, and these are its only attack- it'll arc above you from one side of the room to the other, as the heads fly off and try to ram into you. They fly off in set patterns and can be dispatched with a single attack, but they'll keep respawning around the cross, so they're a constant threat. To beat this boss easily you need to position yourself to the right, so you can just about reach the cross with your hatchet when it's on the right side of the screen. Hammer that attack button and you'll cut through the heads and damage the cross, and as long as you remember to turn around and duck on occasion to deal with the heads, this fight should be over quick. This is probably the easiest boss in the game!

After the cross explodes, Rick makes his way to the altar...
A little hymn plays, and then... A scream.
Jennifer must be on the next stage.
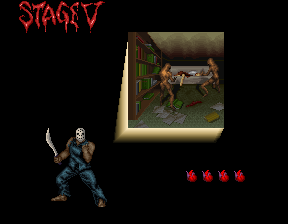
Stage V is the longest in the game, and also has the most alternate routes.
Because of the unique nature of this stage, we're going to have to do things a little differently. At the end of each section, where you're given a choice, you'll be able to click on which route you'd like to see, which will automagically lead you to the relevant section on this page. At least one of these sections can be found more than one way, so you might jump around this page a bit. See it as an homage to those old choose-your-own-adventure books (or see it for what it is, a bit of shoddy HTML coding)
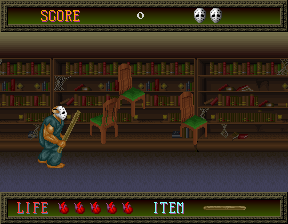
![DIE, UPHOLSTERED PERIL [Oh, come on, that doesn't even make sense - Ed] Quiet, you.](images/splatter/splatters52.png)
Before we get to choose our path, though, Rick must pass through a library full of chairs! A whole bunch of possessed chairs, back from the Poltergeist fight on Stage II, bounce around this small library area. This is a pretty short segment mostly because at the beginning you're given a two-by-four to do some serious carpentry on these four-legged furniture fiends. [You're fired, for excessive alliteration - Ed] Admittedly, it's slightly more fun to punch them because, like in the Poltergeist fight, you catapault them across the room when you do, but if you want to get through without getting hurt (PROTIP: you do) then grab the two-by-four and get crackin'.


The next room is full of hands! Grasping, clawing, jumping hands that also flip you off (well, it's hard to tell, and the internet really can't decide if it's an homage to Evil Dead II or not) and crawl around curious patches of fleshy floor. Touching these fleshy parts will hurt you, and the hands will sometimes jump up (they usually flip you off before they do) so it's best to take them out while they're in mid-air. However, parts of the safe floor are at angles that cause Rick to slide when he's on them, and the best way to get past them safely is to just keep moving so you don't lose momentum- any jumping hands can be jump-kicked as you move along. In the more stable parts of the room, you get to tussle with some Top Heavies for the last time- there's plenty of room to slide-kick if you're that way inclined, but as long as you don't slip up on the unsafe floorboards, you'll be fine.
At the end of this section, you can either go down the first ladder or up the second one.


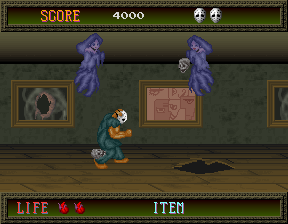
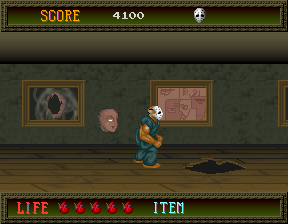
The portrait room is an auto-scrolling area with only two enemies, both of which specialise in trying to get you by surprise. The first is the Joker, a ghost who hovers at the top of the screen holding a skull. They'll meander to and fro, and when they're above you they'll drop the skull to hurt you (and if they nail you, they laugh in that way only female ghosts can). Kick them in mid-air and they'll drop the skull harmlessly (but if you're quick, you can kick the skull in mid-air to send it flying). The other enemy is the face that tears out of the paintings- they usually do so once you've walked past them, so be sure to swivel round and punch them into ectoplasm. Aside from some gaping holes in the floor, this is pretty easy...
At the end of this section, you can either go down the ladder or through the door... Unless you fell down one of the holes.


Oh boy, it's our best pal, Mirror Rick again! This time he's hiding out in a room of wardrobes littered with women's clothes. There's less mirrors here, so each one you see will spawn a Mirror Rick. The approach is pretty much the same as it was on the last level- either punch then reverse slide-kick, or just go for the reverse slide-kick from the off. Really, I'd try and avoid this room if I were you, simply because Mirror Rick is pretty hard to deal with. Fortunately, taking the right route means you won't have to go here or even visit the next room, which I dislike even more somehow.
At the end of this section, you have no choice but to go through the door.


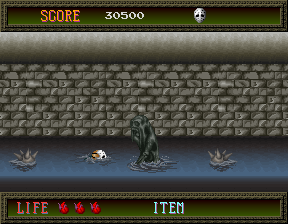
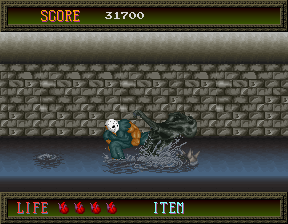
Oh hey, the water demons from Stages II and III are back for Round 3! This is a very short segment that plays out much the same as the other water demon sections, the only noteworthy thing is that you don't have a two-by-four to help you out with these guys. The best approach is to duck and kick so their punch sails over your head, but watch out for the floating spikes.
At the end of this section, you have no choice but to go down the ladder.


This is Master Dead's room, and this is one of the highlights of the stage- it's a little different from everything else, and even has its own funky music that doesn't play anywhere else in the game (unlike every other section here which recycles music). Amongst the festering, rotting flesh, you'll be attacked by zombies which take two punches to knock down... But their corpses stay on screen. Shortly after you enter the room, Master Dead- a scraggly scarecrow-like wraith- will float on screen and start casting a spell at the edge of the screen (with the words 'I'M THE CRUELLEST'... Well, I think so anyway). If you let him finish his incantation (with a resounding 'HA!', no less) then all the zombies you've knocked out will get back up. The only way to stop him is with violence- kick him before he finishes. He'll then float over to the other side and try again, so keep switching sides and whacking him before he raises the dead. More zombies will roam on-screen from time to time, but you can keep the pattern up if you slide-kick into them on your way to Master Dead. When he's had enough, he'll disintergreate, leaving only his cloak and hat behind...
At the end of this section, you can either go down the first ladder or up the second one.


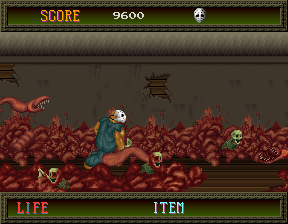
This is the last room on this route, and unfortunately it's a Body Eater room. You may have seen this place before if you fell in one of the floors of the first section of Stage IV, so there isn't much to say- it's an auto-scrolling section with Body Eaters emerging from the piles of rotting flesh in the background. Unlike the Stage I boss, you don't have the safety net of the corner here, and it's for this reason that I personally find them the hardest part of the game. Usually I try to stay as far right as possible, taking out Body Eaters as they spawn, but I've never developed a comfortable strategy here... So you'd be best to avoid this route altogether. Fortunately there's only two ways you'll end up in this room- one of them is too dangerous to contemplate (Mirror Rick rematch? Oh, no) and the other gives you a much better choice (Master Dead's room lets you go to the dungeon which is safer) so, if you're smart, you won't even step in here. If you're foolhardy enough to, though... Good luck with that.
At the end of this section, you move straight on to the boss fight.


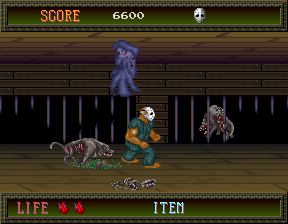
This is the last room on this route, a simple dungeon. A basic auto-scrolling room, this one has Joker ghosts floating above (just like the painting room they'll drop skulls on your head unless you kick them) and some Deadmen. Kill the Deadmen and our best friend, the zombnie dog, comes back from Stage III! Since you don't have the shotgun this time, they're actually easier to deal with. Get them to appear, kick them while they're feasting on Deadman slime, then stay where you are and punch them as they lunge at you. Pretty simple, although you have to watch out for the Jokers above you while you're doing this. Also, at the end of this section before the ladder, you can get two zombie dogs to spawn at once, which doesn't normally happen. Get to the ladder before they arrive.
At the end of this section, you move straight on to the boss fight.
For future reference, here's a rudimentary map showing which paths lead where.
Before we get to the boss, let's just review this situation- which route should you take? In my experience, the safest route is up at the end of the hands room into the portrait room, down into Master Dead's room, then down into the dungeon, where the dogs are easy to avoid if you follow the tip above. This route avoids the rematch with Mirror Rick (even when you've mastered the art of the reverse slide kick, you're still likely to lose a heart or two), the Body Eater room (which should be avoided at all costs) and the water room (it's not too tough, but without that two-by-four you're more likely to get hurt). If you're going for points for some reason and you'd like to max it out, this route also lets you visit the most rooms of any route (if you choose to fall into a pit in the portrait room and can survive the water room, that is) and go to the Body Eater room, which spawns a lot of enemies. As I said though, you don't want to go there, man.
With that out of the way, let's go meet Jennifer.

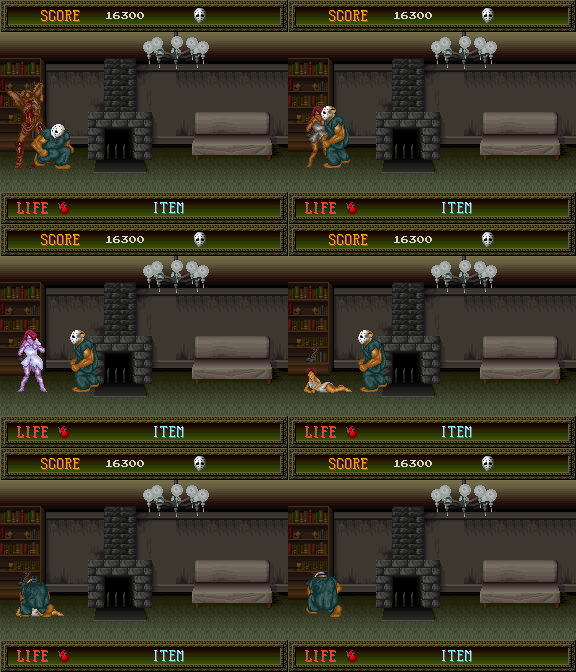
As you enter the room, you ought to know something's not right.
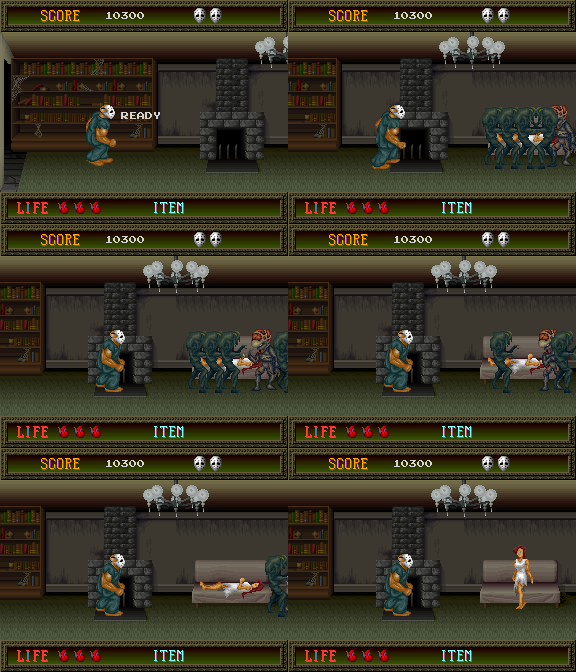
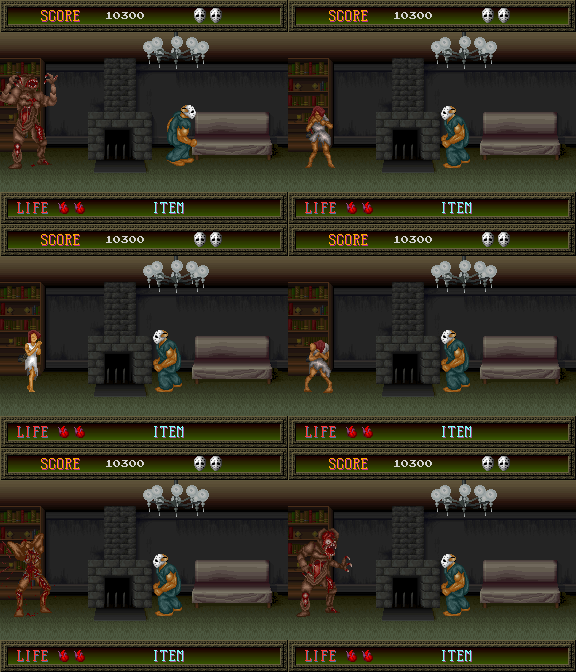
Jennifer's lying on a bed, surrounded by three Deadmen and a Top Heavy, who quickly leave.
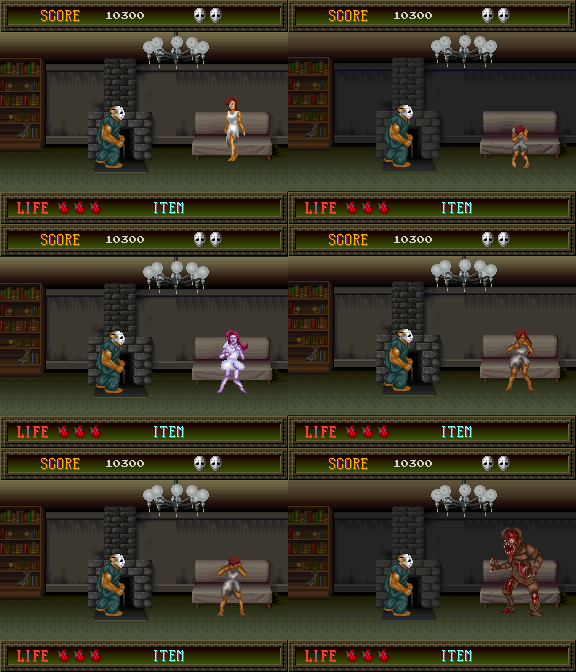
Jennifer steps off the bed, says something unintelligible and...

... Oh my.
Hahaha, you thought this game was going to have a happy ending? You naive fool!
Your girlfriend is about to kill you!


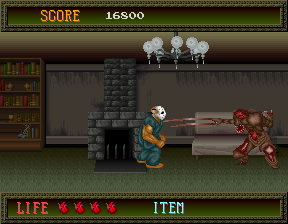
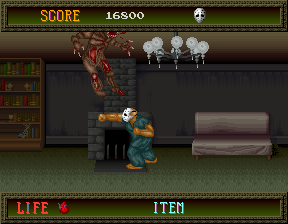
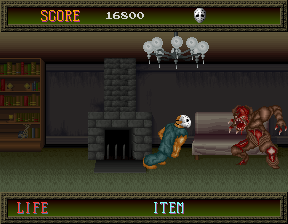
Mutant Jennifer is the hardest boss fight in the game, no joke. She's faster than you, has killer attack range, and can mess you up in a second if you don't know what you're doing. So, let's get this thing right. At the start of the fight, she'll leap across the screen towards the other side, going over your head to do so. What you need to do is get in a position so that you can punch her while she's just above you, ideally in the same direction she's heading. So if she's leaping from the right side to the left, you need to punch her when she's almost on the left side so she ends up in the left corner... Then you need to move back. As soon as she hits the floor she'll use her retractable claws against you, which can't be ducked so you have to walk away from them. She'll then leap again, so repeat the procedure. The screenshot on the right should hopefully show what I mean- this is where and when you need to hit her.

Hit her enough times and her transformation goes into remission... For only a moment.
She tries to say something to you as well, which sounds like "Help me..."
Then she turns back into a mindless beast.


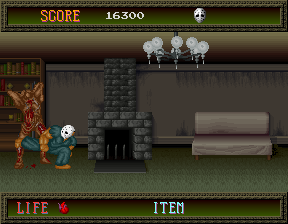
In the second phase, she'll keep leaping, but she mixes up her screen-length hopes with slightly shorter ones that only make it half the screen. For these ones you should punch her the opposite way (i.e. hit her so she ends up in the corner she was just in) but remember to fall back as soon as you can. After she transforms back for a second time, the fight gets ugly- after one last big hop, she'll use only tiny hops towards you, and uses her claws when she's in range. This is a very difficult section, and while you can punch her far enough to get out of range, it's very tricky and requires very good timing. If you have a heart or two to spare, you might want to try hitting her from her first big hop, then slide-kicking her- this does double damage, remember- then corner her and duck and kick. If your timing is true, you'll repeatedly hit her before she can retaliate, and from there you just have to keep at it until she finally gives up. At best, you'll lose one heart- at worst, two, possibly three. It's a smidgen easier than timing your punches, though, and if you've been storming through the game you should hopefully have five hearts for this fight. Good luck.

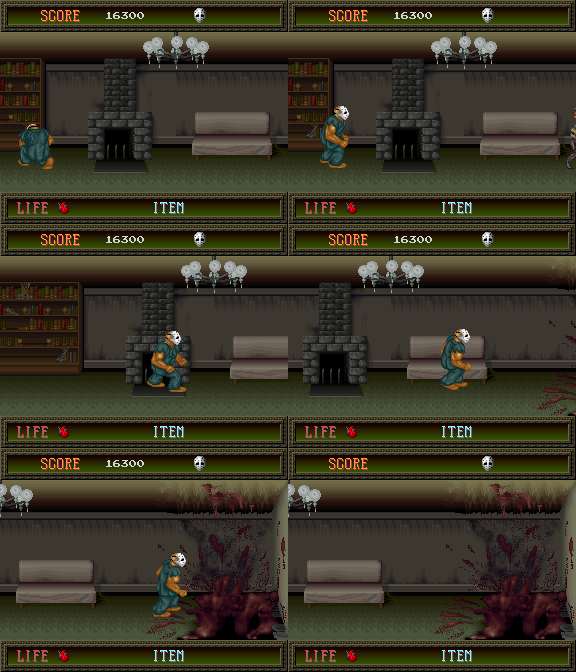
After she transforms for the final time, she falls to the floor.
As Rick picks her up, she says something that sounds like "Thank you..." and then disappears into ash.
This isn't an illusion or a fake Jennifer, by the way. Jennifer's dead, man.
Needless to say, this is the standout moment of the game. In a time when saving your girlfriend/the princess was one of the most common video game plots, Splatterhouse turns it on its head in the only appropriate way- like a twist in the horror films it draws inspiration from. As well as being one of the more gruesome scenes in the series (Jen's transformation is... Nastily detailed) it's also interesting, for an arcade game in particular, in that you get shown this through a non-interactive cut-scene in the middle of a level instead of between scenes. Admittedly there was stuff like the intermission scenes in Rolling Thunder before this used to advance the plot, so to speak, but those were static affairs divorced from the game itself- when Jennifer transforms here it's all done as if part of the game itself, right in front of you. It's laid out like it's part of a stage but you have no control, so you can't do anything to save her. It's a tiny thing, I know, but it adds a little to the horror of the situation. Just a thought, like.

... Anyway, afterwards, a Top Heavy comes on-screen to taunt Rick, so he heads into the mansion's womb.
There's nothing left for Rick here now. Let's trash this joint!


![DIE, UPHOLSTERED PERIL [Oh, come on, that doesn't even make sense - Ed] Quiet, you.](images/splatter/splatters52.png)
