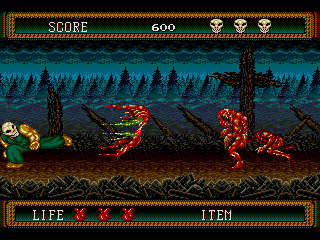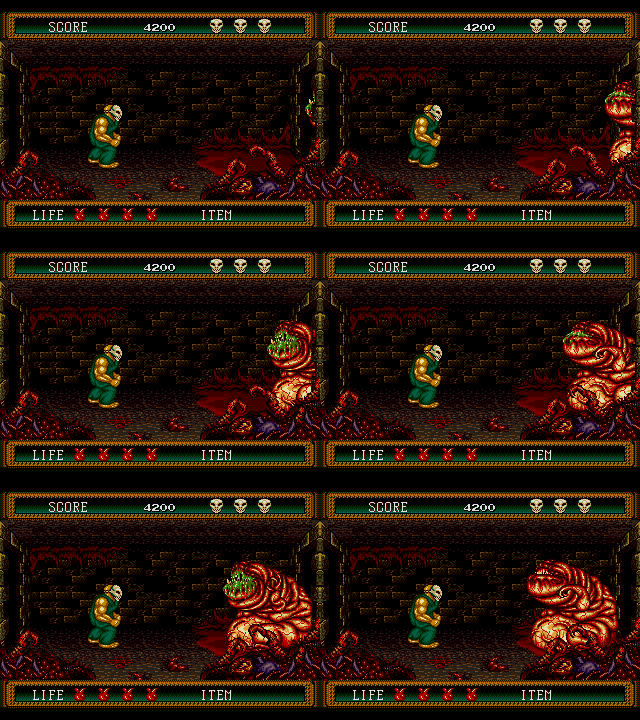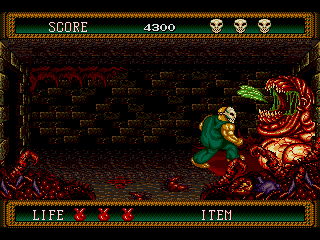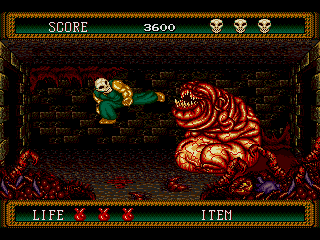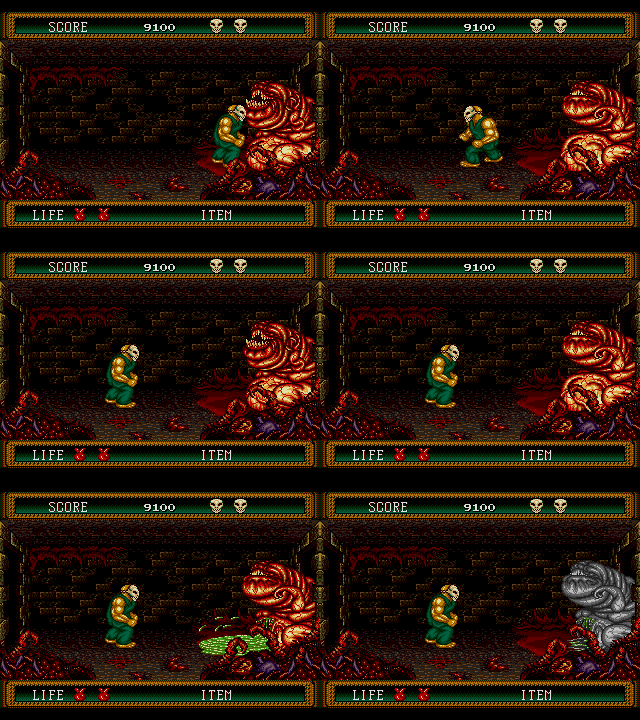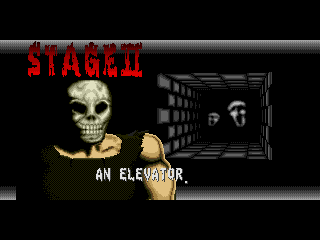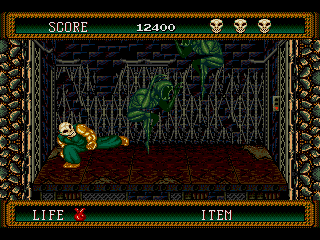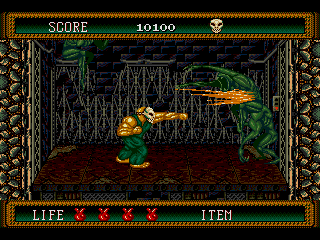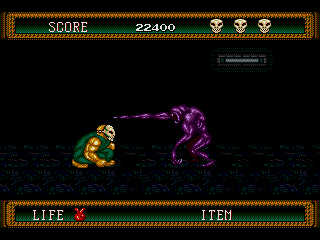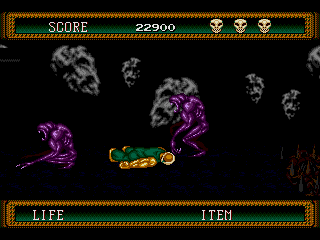
Just like the first game, Splatterhouse 2 opens with Rick flat on his face.
That Terror Mask must be pretty powerful if it knocks you out the second you put it on.


Anyway, Stage I picks up where the last game left off- it's the charred remains of West Mansion.
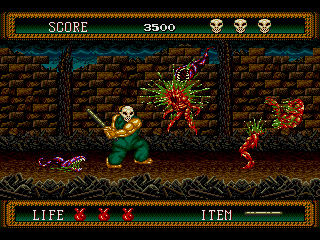
Somehow, this is even easier than the already simple Stage I from the first Splatterhouse. There's no Top-Heavies, bats or hidden spikes to bother you here- the only enemies who seem to have survived the destruction of the mansion are the Deadmen (who are now horribly burnt and disfigured) and the Body Eaters (who can appear from the ceiling or burst from a Deadman's stomach, so I guess they were a rip-off of the chest bursters from Alien after all). There's also some small pits crawling with Body Eaters that you'll have to jump over, but really, that's it. No tricks, no traps, just getting back into the swing of things. You'll eventually come across a lead pipe which functions the same way as the two-by-four in the first game- use it against a Deadman and splatter their guts all over the wall... Ah, like old times, eh Rick?
At the end, you'll enter a doorway, and our first boss is on its way.

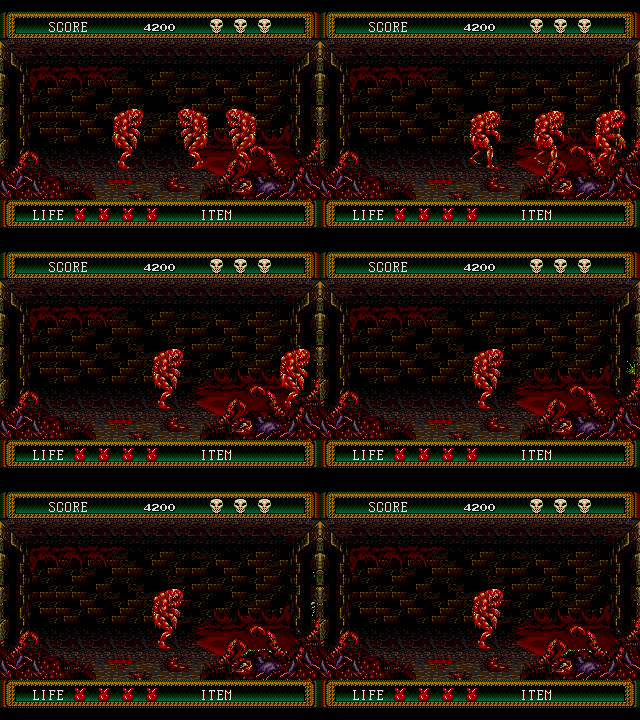
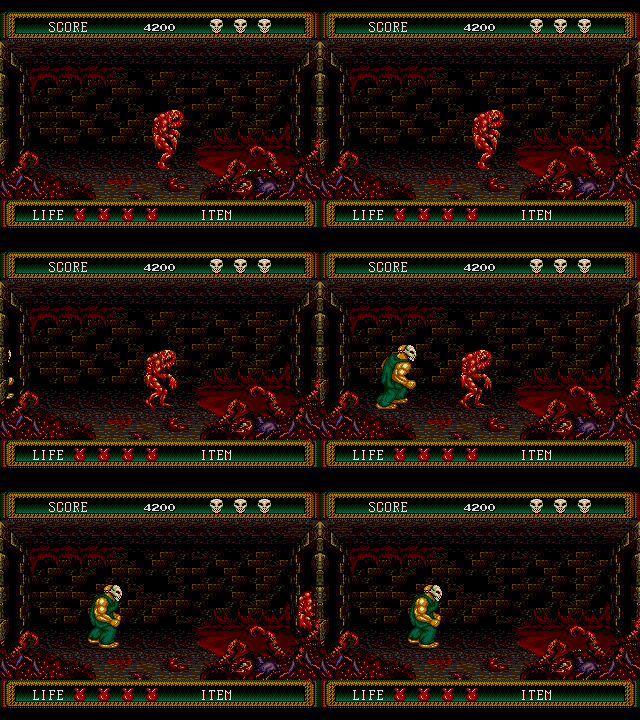
The game cuts to inside the boss's lair, where three Deadmen seem to be having some difficulties.

Two of them enter the room on the right and die.

The third one, shaking, tries his chances in the death room when Rick enters, with predictable results.

OK, here's our first boss, Deadman Fat!


... And he's the easiest boss in the game. No, the series.
(Except, perhaps, for the Heart of the Mansion boss in the 2010 game which boils down to 'PRESS X TO KILL THE BOSS')
Deadman Fat has two attacks- he'll try and ram into you, and when hit he'll spit out a glob of... An unidentifiable substance. Let's call it acid. In reality though, all you need to do is punch him, smacking him into the corner, then get in close and mash the attack button as quickly as possible- each hit knocks him back, and if you're in the right position, his acid globs will sail right over your head. You don't even need to duck, just get in close and machine-gun punch him into a fine paste.

Just watch out when he bites the dust- his belly explodes and it'll hurt you if you're too close.


Onwards to Stage II, and Rick has found a hidden elevator.
Before we go on, I'd better note how health works. Just like the first game, you don't get all your health back after beating a stage. Rather than just one heart this time, you get two hearts inbetween stages... However, on the default difficulty, the first game let you have five hearts rather than the standard four if you could make it through a stage with a full set of hearts. This isn't the case this time, and you're capped to whatever amount of hearts you start a life with (which changes depending on difficulty and the version of the game you're playing- as we're on US Normal, that's a cap of four hearts for us).


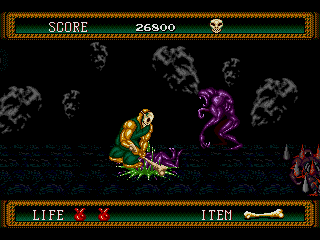
Oh, you'd better say hello to this game's standard fodder, the Screaming Mimi. Or Deathnoid, if you prefer.
While the standard enemy in the first game was the Deadman, aside from a small appearance in Stage IV, we've seen the last of them this time. Instead, the Screaming Mimis (Deathnoids in the Japanese version- we'll be calling them that as Screaming Mimi is a bit of a mouthful) will be your most persistent foes... And persistent they are, as we'll find out. They're also annoying for reasons beyond the game itself, as they constantly emit an annoying shriek that will drill itself into your head by the time we're done here!
Anyway, for this first part, we get an elevator sequence (a scrolling brawler staple, although not as common in single-plane brawlers) where Deathnoids (the one-hit variety, fortunately) will drop in from the top of the screen. They'll either appear in the left corner or the right corner, then shuffle about on the spot until they jump over to you and make their battle-cry. IF you place Rick just a little to the right of where you start the stage- place him neatly inbetween the two patches of dirt on the left side- you'll be in just the right place. Deathnoids to your left can be punched out straight away, and the ones on the right will either sail over your head when they jump, or you can jump-kick them if their jump's a bit short. Since they're the green type, they'll only take one hit before flying off-screen.


Eventually the elevator stops, and we end up in the... Err... Dungeon? Again? OK, whatever.
Ah, now we get to see the Deathnoids in their most annoying form. The first one you see here is just a green one, but the rest of them in this area are purple, take two hits, and behave far more erratically. Some of them shuffle towards you while punching (and boy, do they have reach- their punch far outreaches yours!), others jump around wildly, and all of them will jump towards you after you've hit them once. You'd think that the slide kick is the move to go for here, as it'll take them out in one go, but it's a bit too risky- if your slide kick ends too early, Rick will probably get up to be greeted by a faceful of Deathnoid fist, or run into the spikes around here. Instead, you're best to close the gap and duck their punches until you get an opening, them smack 'em and hit 'em again when they jump back towards you. Just try to avoid taking on two at once, that spells danger. You'd better get used to fighting these purple Deathnoids- we'll be seeing them a lot and they don't get any less annoying.


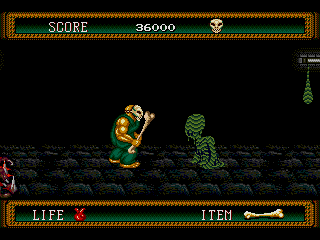
Aside from the Deathnoids, this section's fairly simple. The only other things to concern yourself with are spike-traps (some have corpses already in them, the others don't so they rise and retract from the floor- be careful with your timing), the bone club weapon (can kill Deathnoids in one hit but you need to be really close, so be careful) and the grey sludge monsters (affectionately called Mud Dead- clobber them into paste with the bone club then jump over the puddle left behind, as they can't be killed on this stage- if you wait, they'll just reform). Keep moseying along until you get the end, and we have a boss battle! A proper one this time!


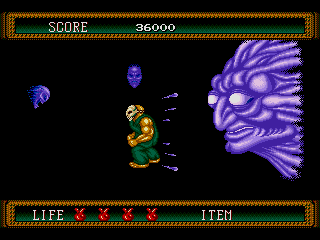
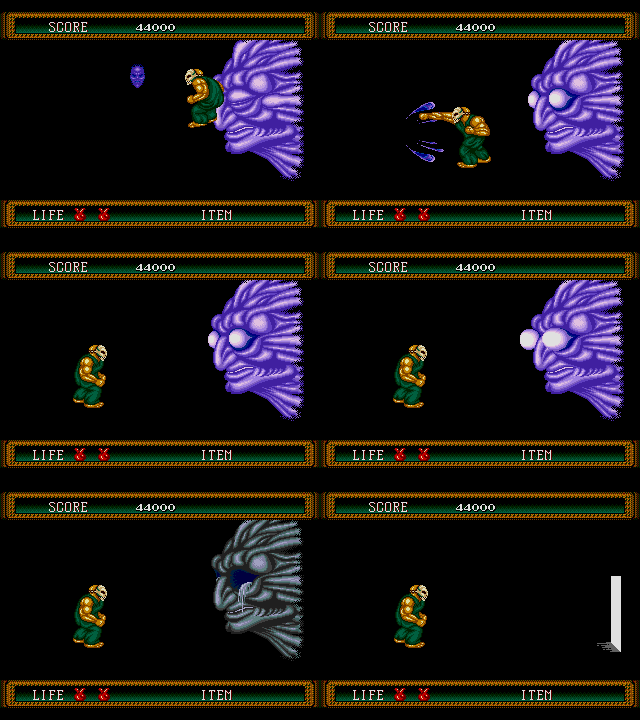
This is Demon Face, then. He's a giant face. Possibly a demon. Looks more like a ghost to me, but let's kill it anyway.
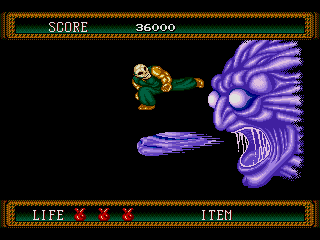
He's a bit tougher than Deadman Fat, mostly because his attack pattern exemplifies one of the issues I had with Splatterhouse 2- more focus on small, fast, hard-to-hit enemies. Demon Face doesn't attack you directly too much- little demon faces will spawn above you in packs of three that float around in a few set patterns, and they can be destroyed by giving them a faceful of fist, Wait for an opening, then jump up and kick Demon Face right in his eyes to hurt him. Wait too long and you'll give him a chance to fire a huge, disgusting mass of spit (or, for our British readers who have the mentality of a schoolkid, a huge flob) that you have to jump over. Once you hit his eyes, he'll close them and s-l-o-w-l-y reopen them, so you have to fight off the little demon faces while you're waiting. All you can do here is learn the patterns of the faces, hope you don't oafishly miss or jump into them, and nail this dude right between the eyes until...

That's gonna give him a proper headache, eh?
Afterwards, a door appears, leading to the next stage.


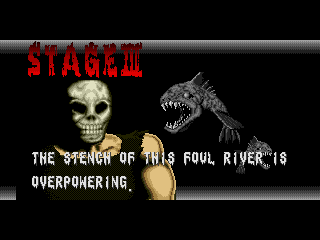
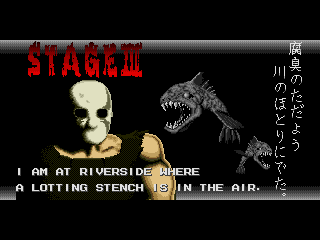
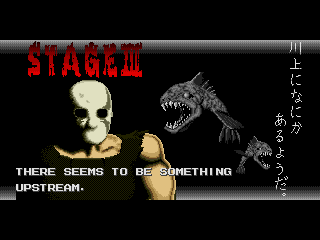
Just like the first game, Stage III leads us outside. There's a foul, lotting stench at this riverside...


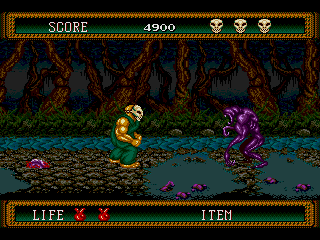
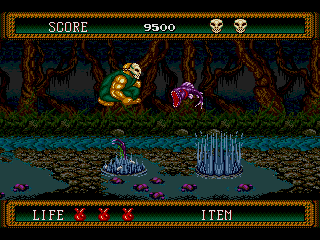
The Riverside, then! Fun! When you first play this bit, you might find it a bit tough, especially since the Deathnoids are flippin' everywhere, but with practice, you can actually coast through it purely on instinct. It's just a long stretch by the river with three hazards: Deathnoids (because of course), Flying Fangs (horrid fish that spring out from pools of water, if they get you they'll cling on like Body Eaters... If they miss, they make a mess of themselves) and aforementioned pools of water (fall in and you'll get a bonus Flying Fang gnawing at your leg). The general idea here is to try and knock the Deathnoids in the water when you can- it's an instant death for them- and stop before any pools of water to wait for the Flying Fang to appear, then either duck or punch it. It can be tricky, but by your fifth playthrough you'll snore through this section.
Now, this next bit... Can I go out on a limb here and call this the most well-known part of Splatterhouse 2?
I'm pretty sure no-one will object. When I think of Splatterhouse 2, this parts comes to mind first...
Even if it's partly a rip-off of a bit from the first game.

... Yep. Gonna let that speak for itself.


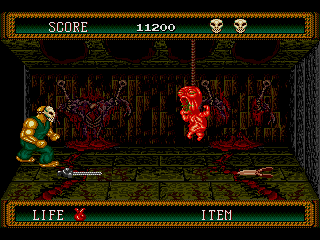
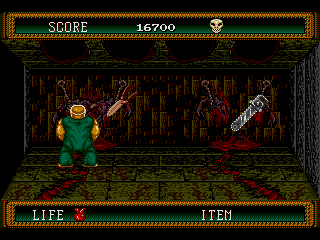
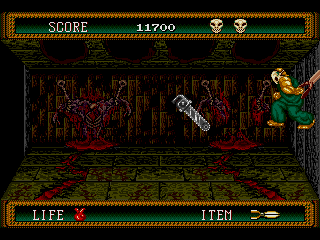
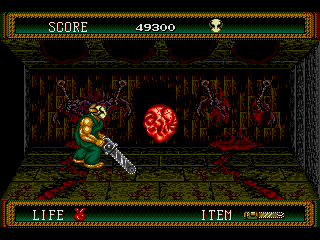
As you enter the room, this... Thing on a rope taunts you, and the chainsaw and garden shears spring to life! Those keeping score at home should quickly realise this is a mini-reprise of the Poltergeist battle from the first game. The garden shears will rise up and fling themselves diagonally at you, just like the knives the first time around. Standard rules apply- get in the corner and smack it when it's on it's way down. As a bonus, you actually get to pick it up Hitting it for the first time will get the chainsaw to join in- starting from the left, it'll drop down from one of the holes in the ceiling and try to saw you. The obvious tactic here is to grab the shears and fling 'em at the chainsaw- hit it and you'll take it out in one shot, but it's easy to miss and you only get one shot. If you fluff it up, you'll just have to punch it instead. Punch the chainsaw. With your fists.


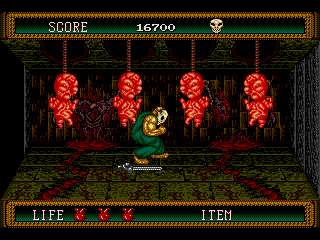
Once the chainsaw's out of commission, you can grab it. You don't strictly need it for this fight, but if a horror game gives you a chainsaw, generally, you'll want to grab it, right? The real boss fight begins with these flesh-bags-on-ropes- straight after beating the possessed tools, they'll come down from the four holes in the ceiling, all at once, so duck unless you want to get hurt. Then, they'll attack you two at a time- all they do is drop down, spit some green goo at you, then go back up- so greet them with the chainsaw twice each to kill them. Before the next pair attacks, groups of them will drop down all at once, so keep ducking until they stop- they can't be killed when they're all in a group, and standing up will get you hurt. Take out the next group, and we're nearly done.
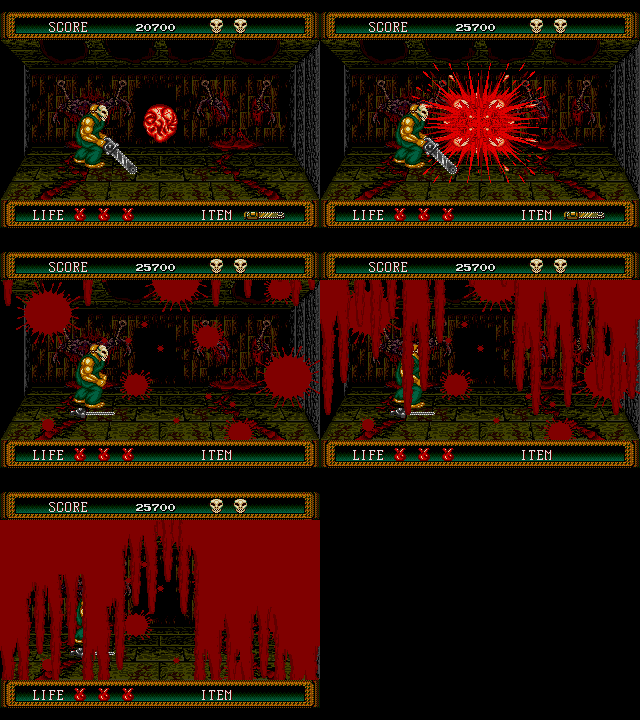
So... This isn't a stand-out boss fight from a game mechanics perspective, but it's still one of the most memorable parts of the game for me. It's... I mean, damn. Look at that background, look at what you're fighting, look at all that blood! It's just really grim!

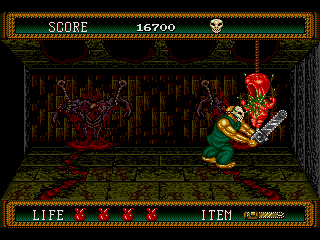
After you take out the second set, a giant face will burst through the wall in the background.
All it does is move its move a bit- it doesn't directly attack you. Show it your best chainsaw skills, and...

Oh... Oh, dude, that shit is nasty.
I told you. This is like something out of Braindead/Dead-Alive, man. Grim.
We are four stages away from saving Jennifer... For real this time, right?
Hey, maybe on the next stage we'll finally get into the house itself. It'd be nice.

